
Making the Toll House Chocolate Chip Cookie and Other LDW Preparations
This weekend we are spending time at our lake cottage. It is always so much fun to get together with friends and family for one final hurrah where we can lounge around, savoring time together, and saying a fond farewell to the amazing summer that we’ve had.
Before we came to the lake I had some errands to run and things to do. As much as festivities can easily seem like they are carefree and easy, the reality is that they often require a lot of work and thought to put things together…especially when you are leaving home, packing up, and going somewhere. I always have to have giant lists of to-dos with giant lists embedded of things to buy, things to pack, foods to prepare, etc, etc. Never ending lists.
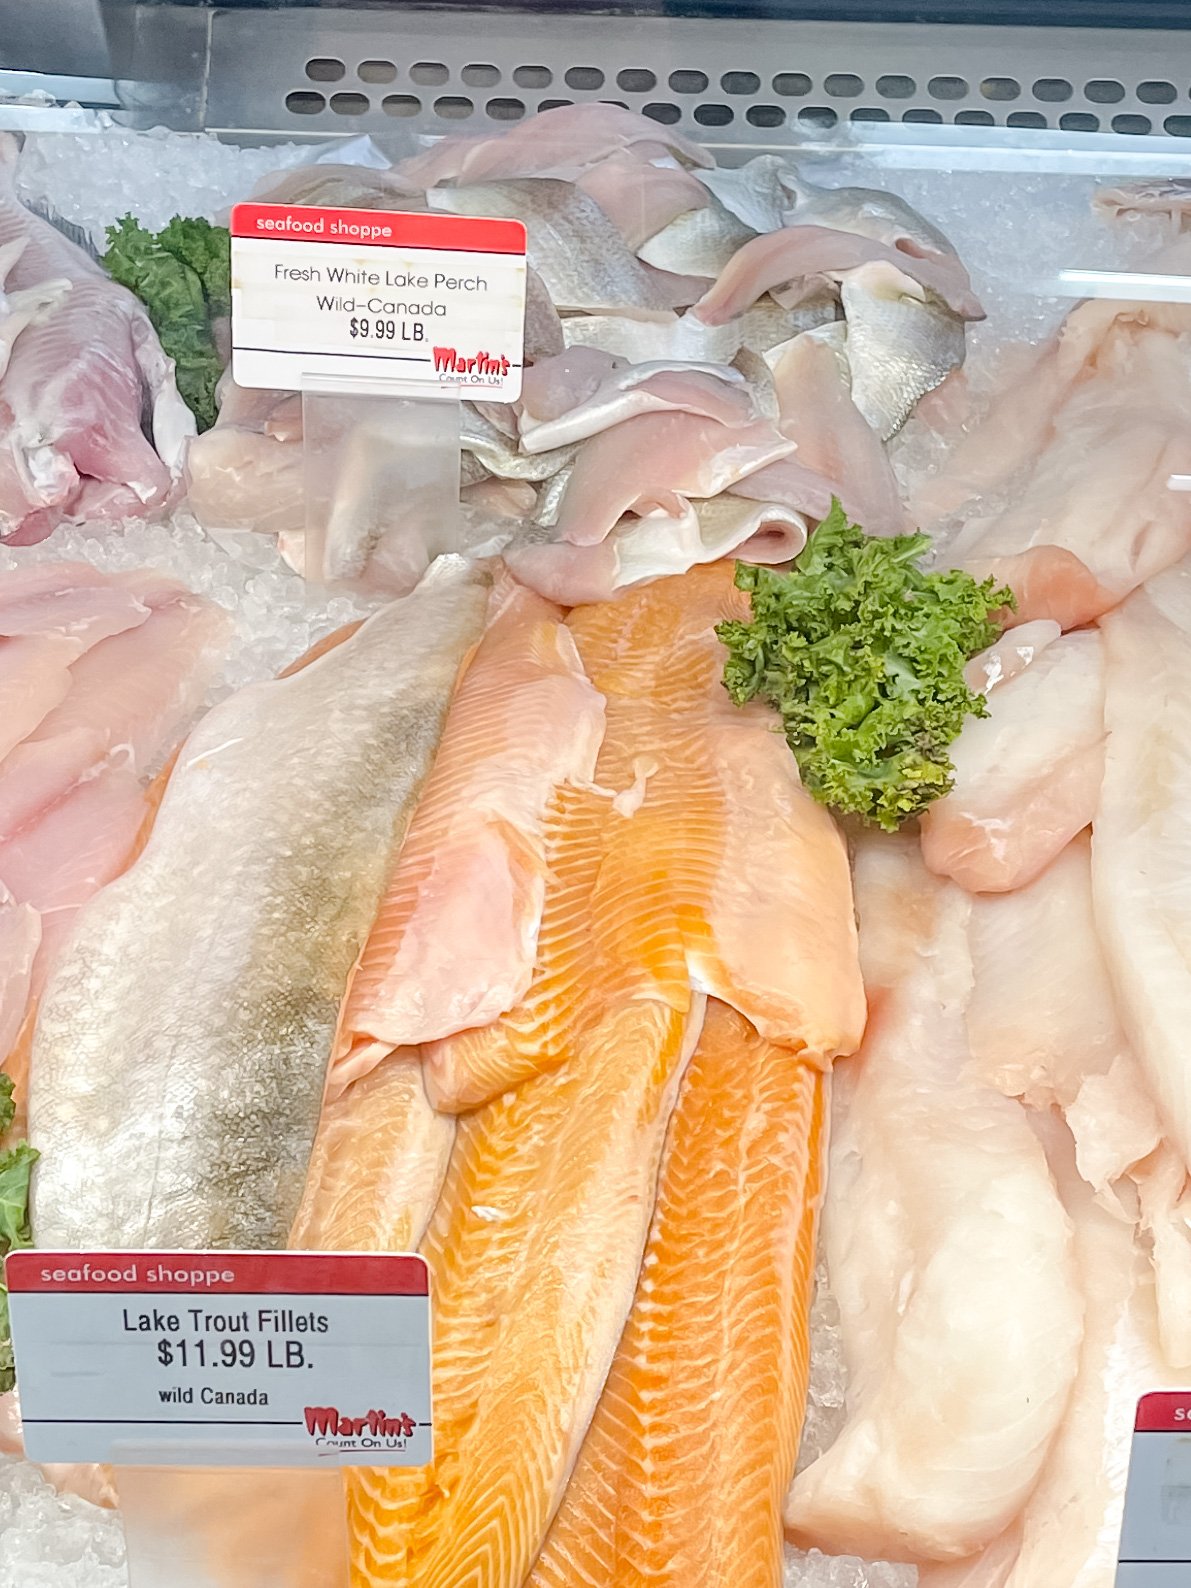
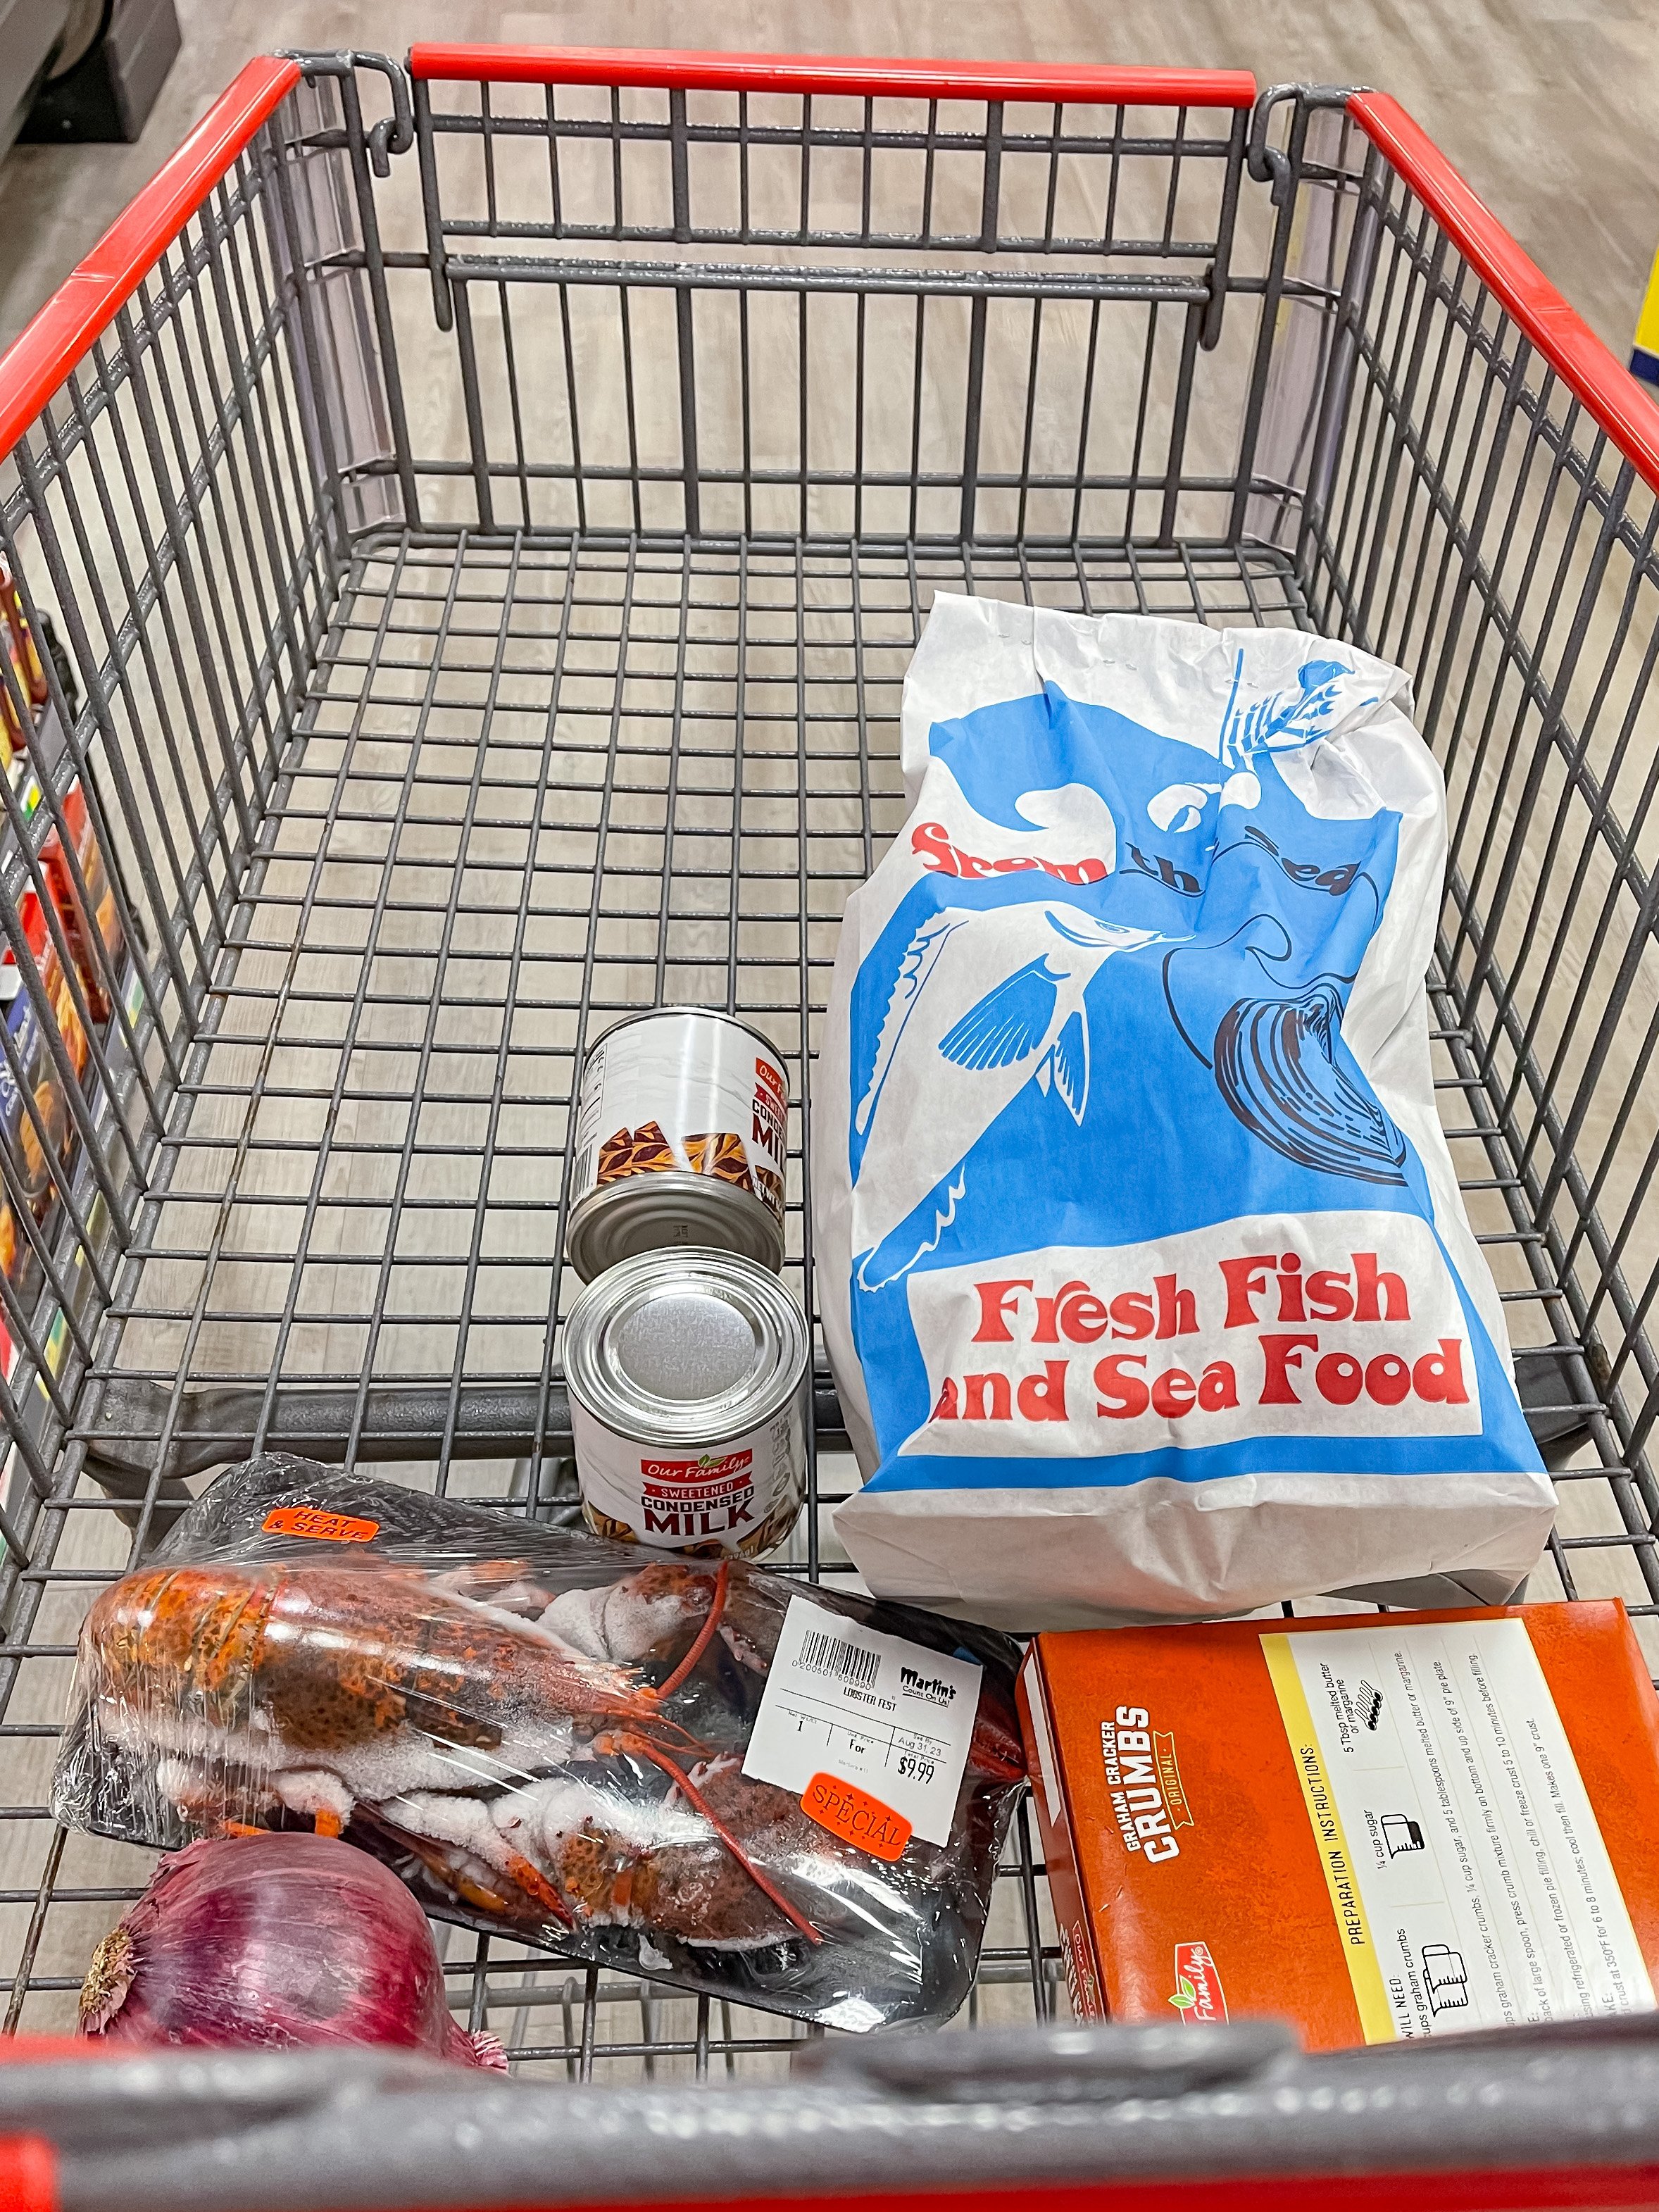
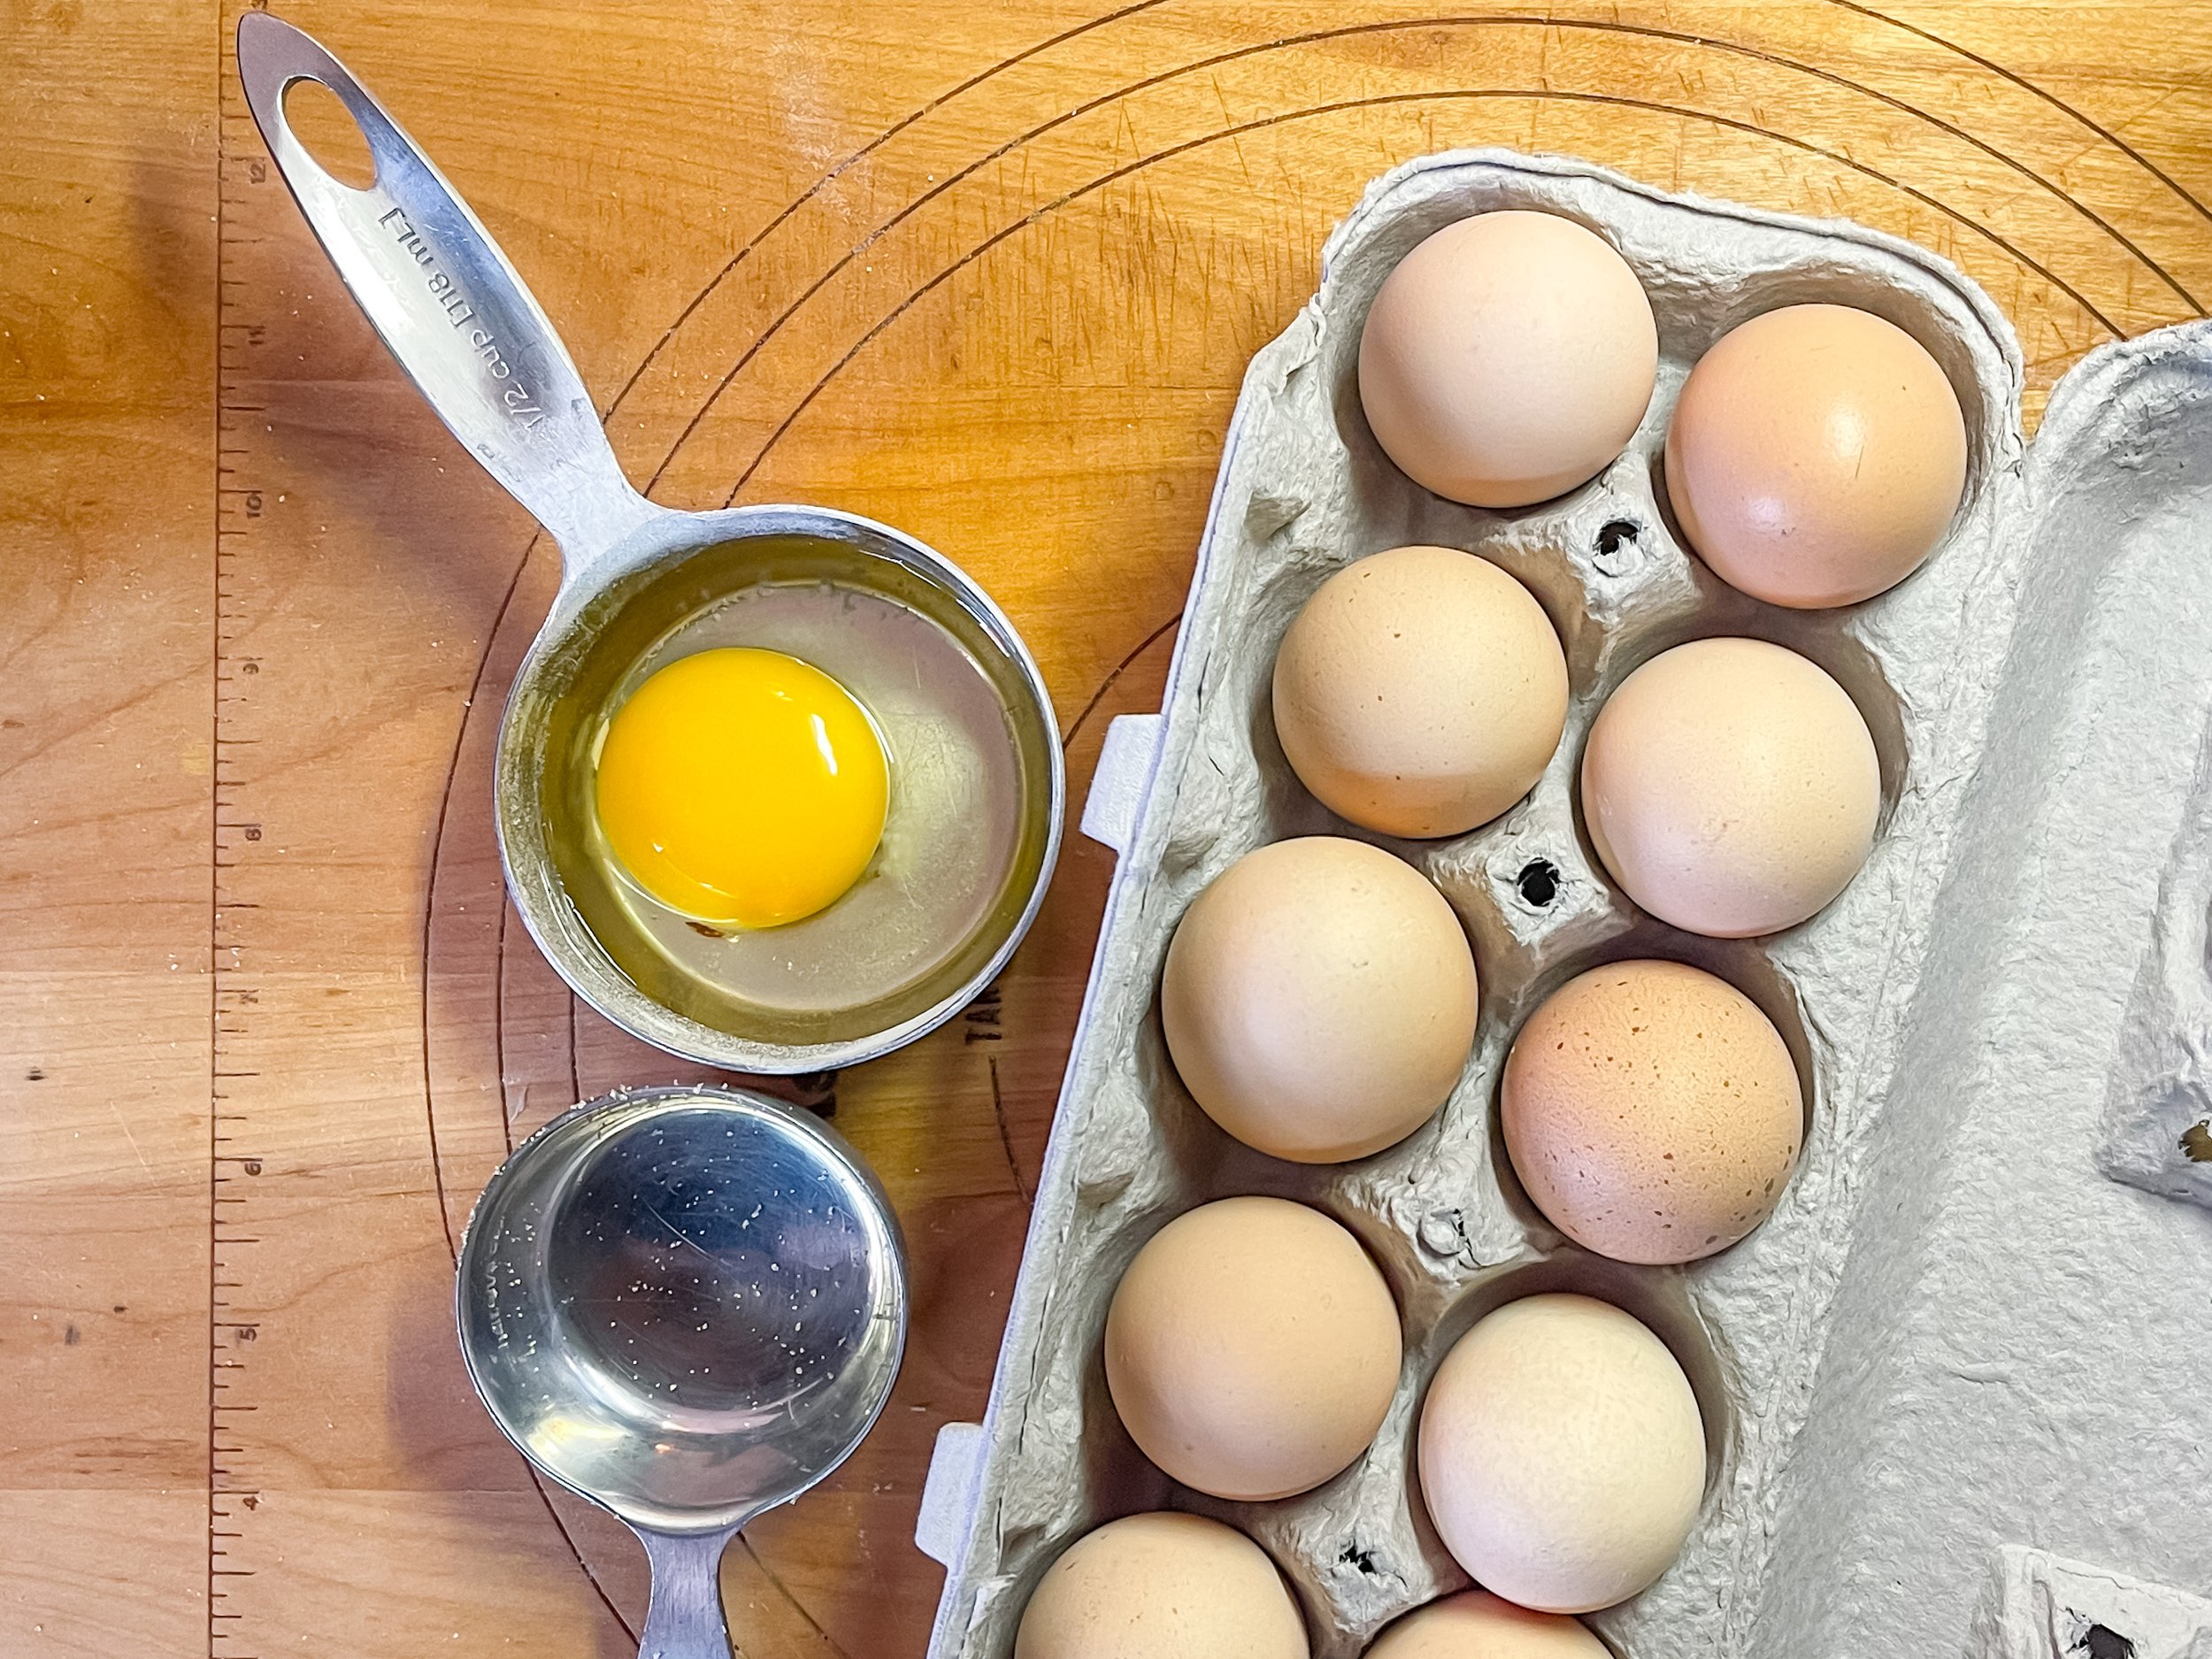
One of the things on my to-do list was to stop at the local supermarket for ingredients. While I was there I found some amazing wild caught Canadian perch. It looked so fresh and yummy, I just couldn’t help myself. I also stumbled upon a deal for whole lobsters for $9.99 each! I bought four of these guys. The kids don’t eat seafood so Nick and I will have a lobster dinner two times or we talked about maybe having a lobster boil with Nick’s parents, who live next door. Either way it will be fun!


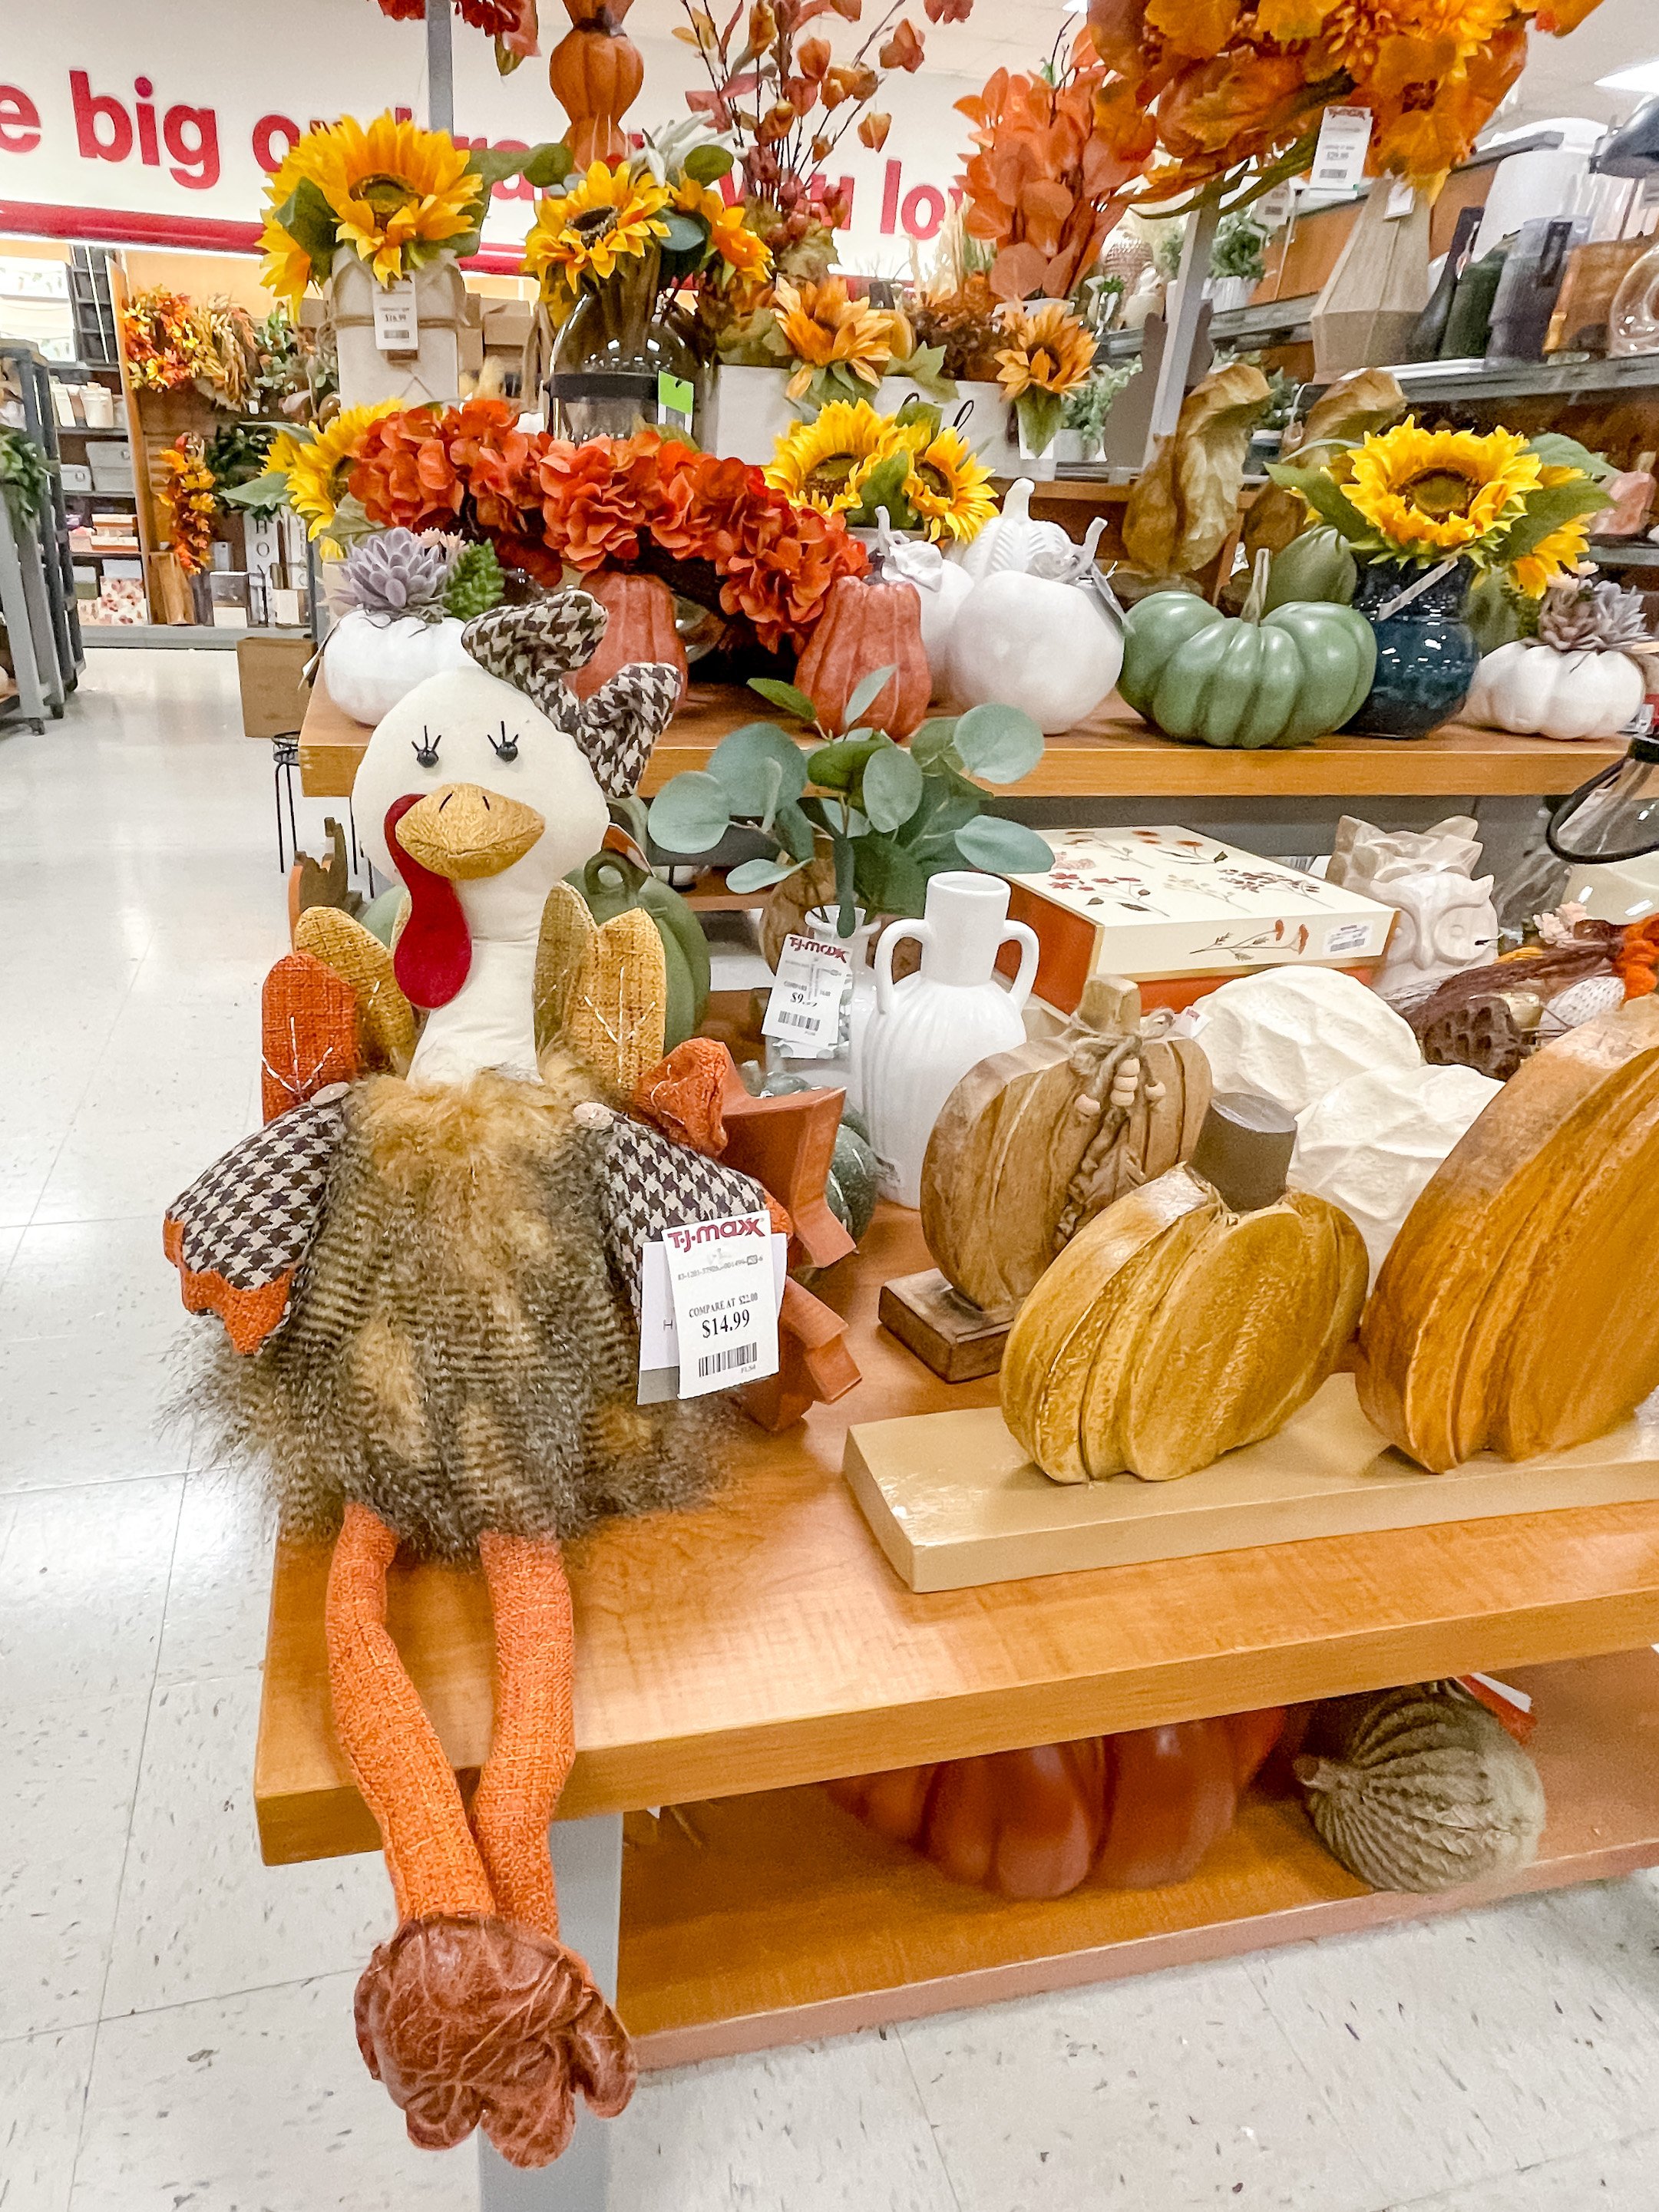


Another place I had to stop at was TJ Maxx, where they had all fall decor displayed in all it’s glory. There were some really cute things like the little dog statue, pillows galore, and a sassy turkey. Nick said I do not need any more pillows so I am admiring them from a distance. The true fall items are always displayed in stores in the middle of the summer which is too early for my blood, and so now the halloween items are getting front and center attention. While I thought all of the spooky coffee mugs were cute, I decided on this sweet sweater weather mug from England to take home. Hopefully this will fulfill that need I talked about, with needing a new autumny mug.

When I got home I put my purchases away and then went to the kitchen to begin preparing all of the yummy foods for the weekend. I made a few dishes but the one I wanted to share with you is the OG comfort treat…Nestle’s Toll House Chocolate Chip cookies. These cookies are the ones we all grew up with. This time I am making them to be a dessert after lunch on Sunday afternoon at the lake.
There is something so cathartic about a good cookie. It is a piece of pastry that can take you back in time, to where you are sitting at your Grandma’s kitchen table, your feet not even reaching the floor, and you are dunking cookies in cold milk and enjoying that chewy/melty/salty/sweet taste as it reaches your tongue in just an absolutely perfect combination.
When I was making them this time though I thought of how you don’t always have this recipe on hand if you don’t use Nestle Toll House Chocolate Chips and have the convenience of the recipe on the back of the package.
I was also thinking of you new mamas, or young wives you may have just started cooking and baking. A lot of times recipes are directed for those who already are baking pros but this I decided to aim towards those of you who may not feel comfortable yet with baking. Hang in there, I got you.
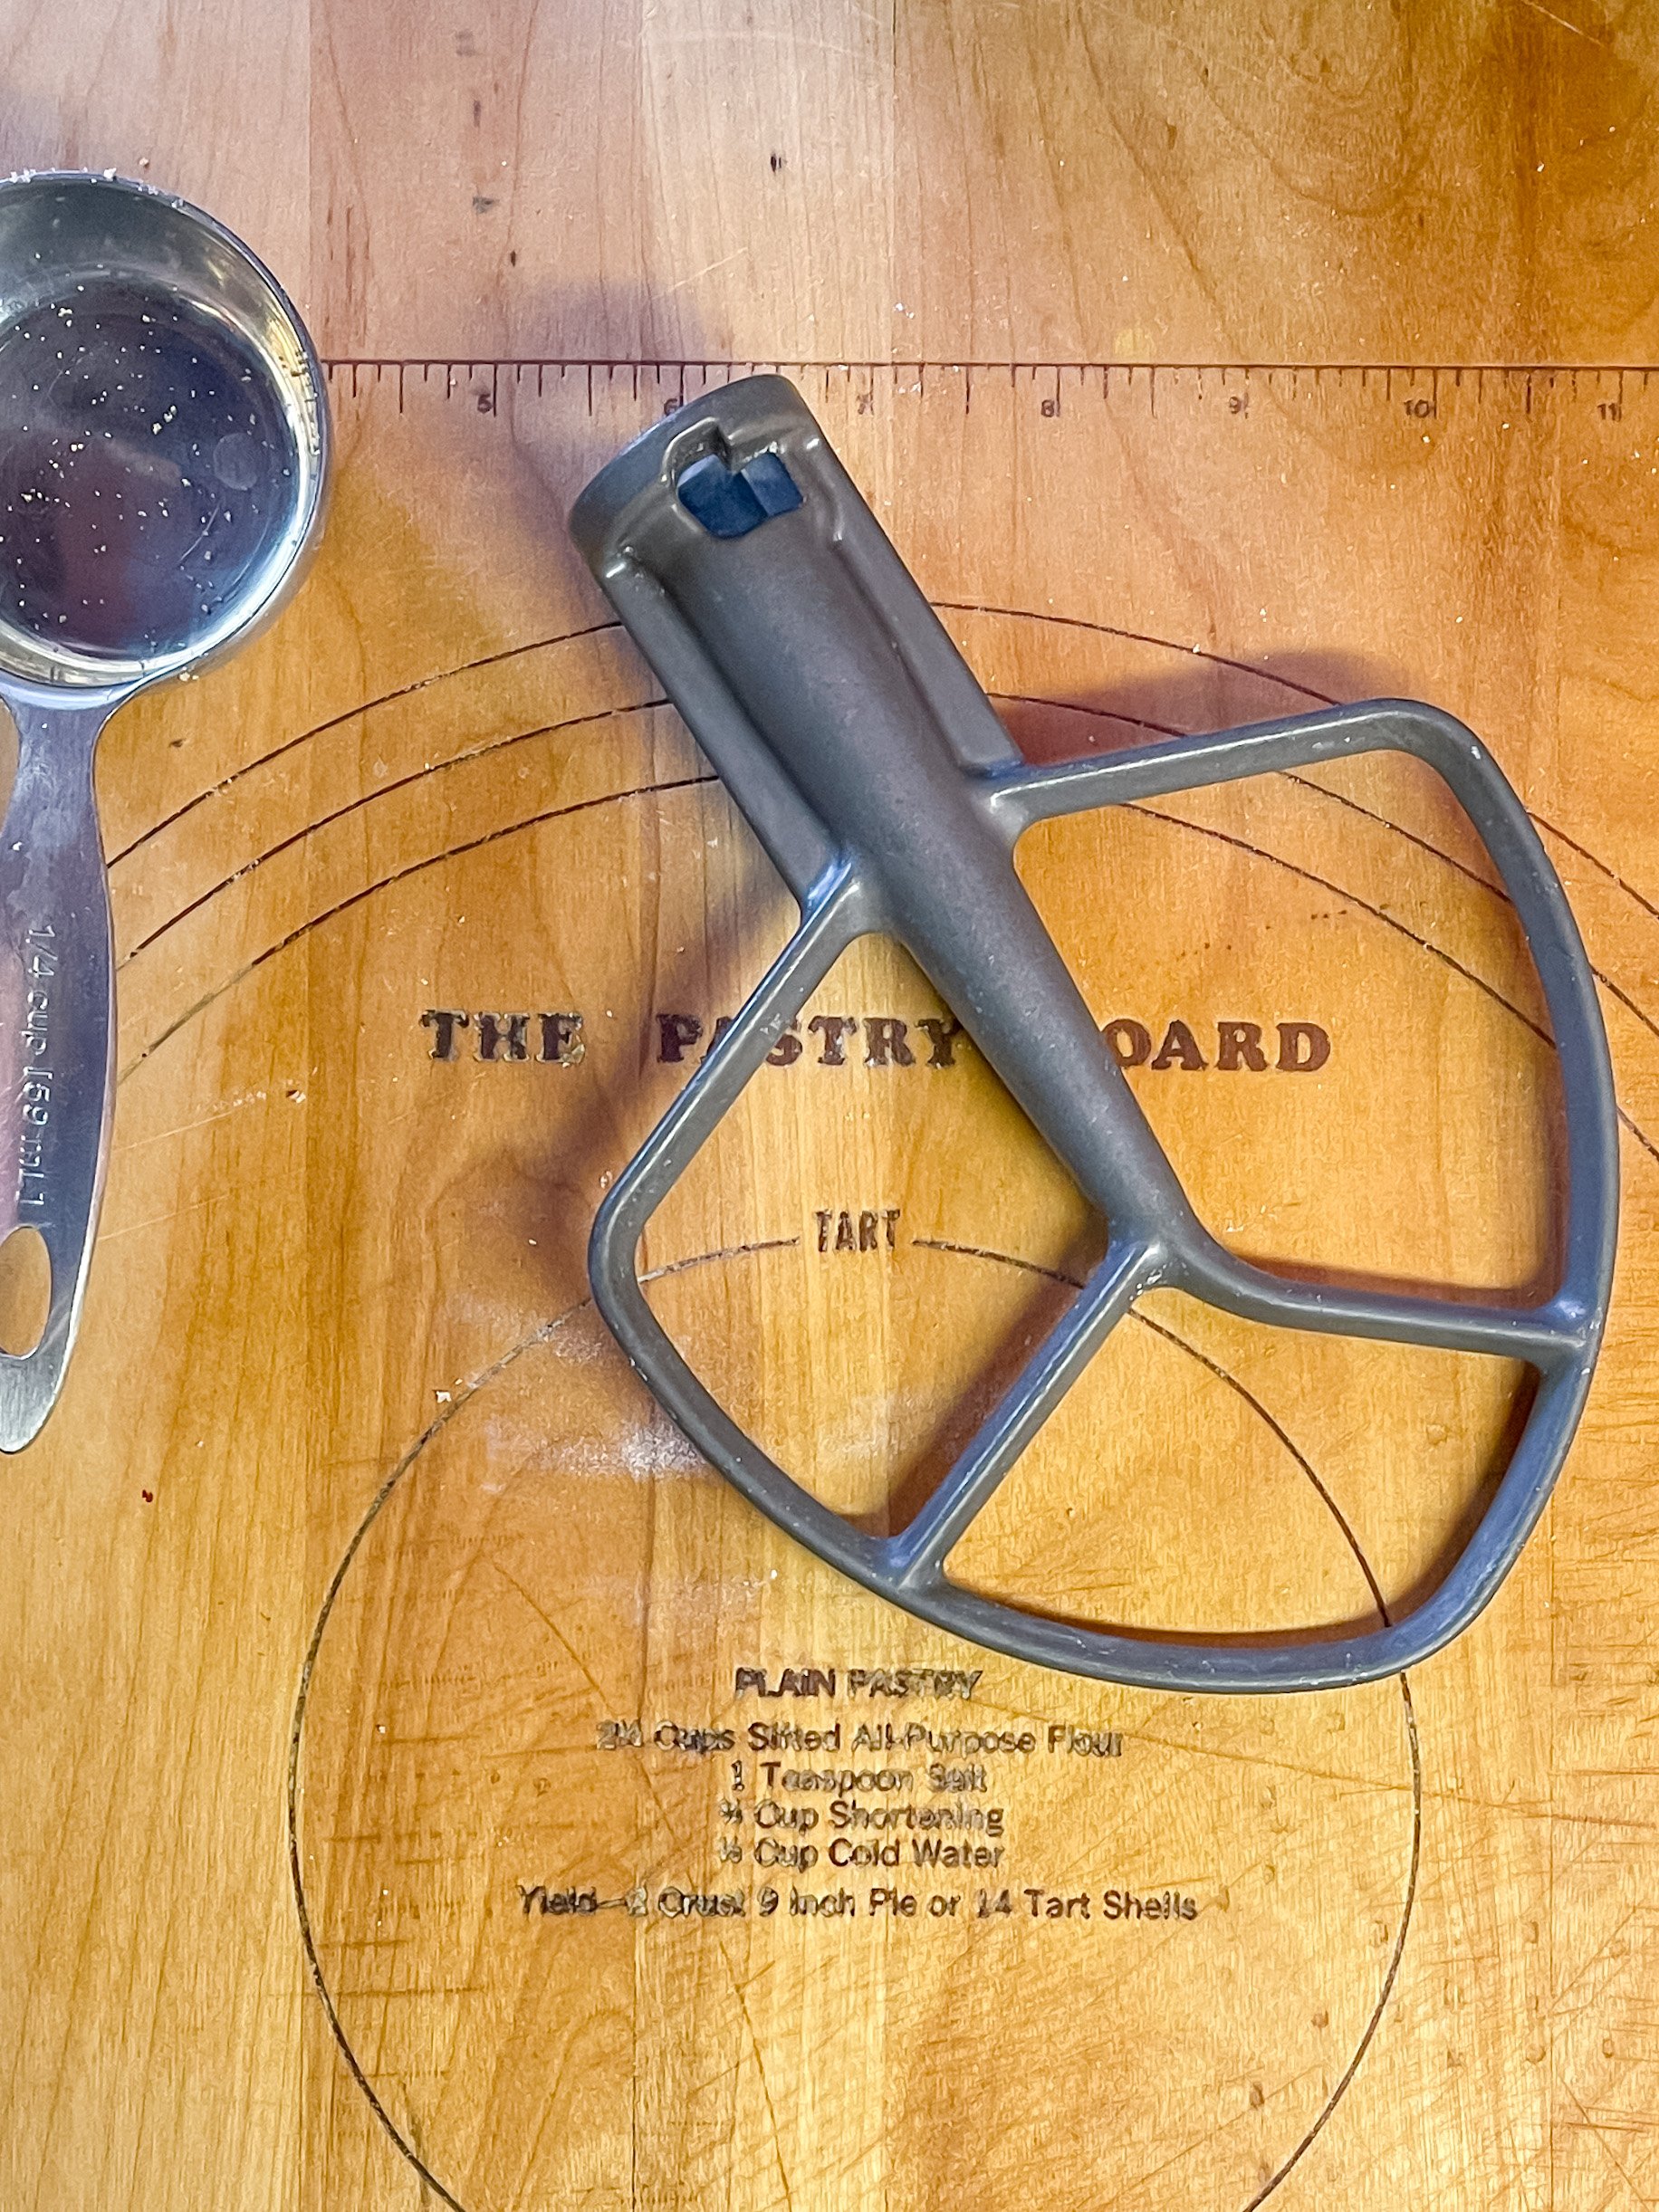
Below is a printable recipe that you can print off and tape inside of a cabinet door…I do that with all of the recipes I find myself using all of the time. Those tried and true recipes I can just open my cabinet door and whip up without any searching for a recipe.
I am also walking you through step by step so you can see what to use, how to do it, and what consistency/color the dough should be along the journey of making cookies.
Toll House Chcolate Chip Cookie Recipe:

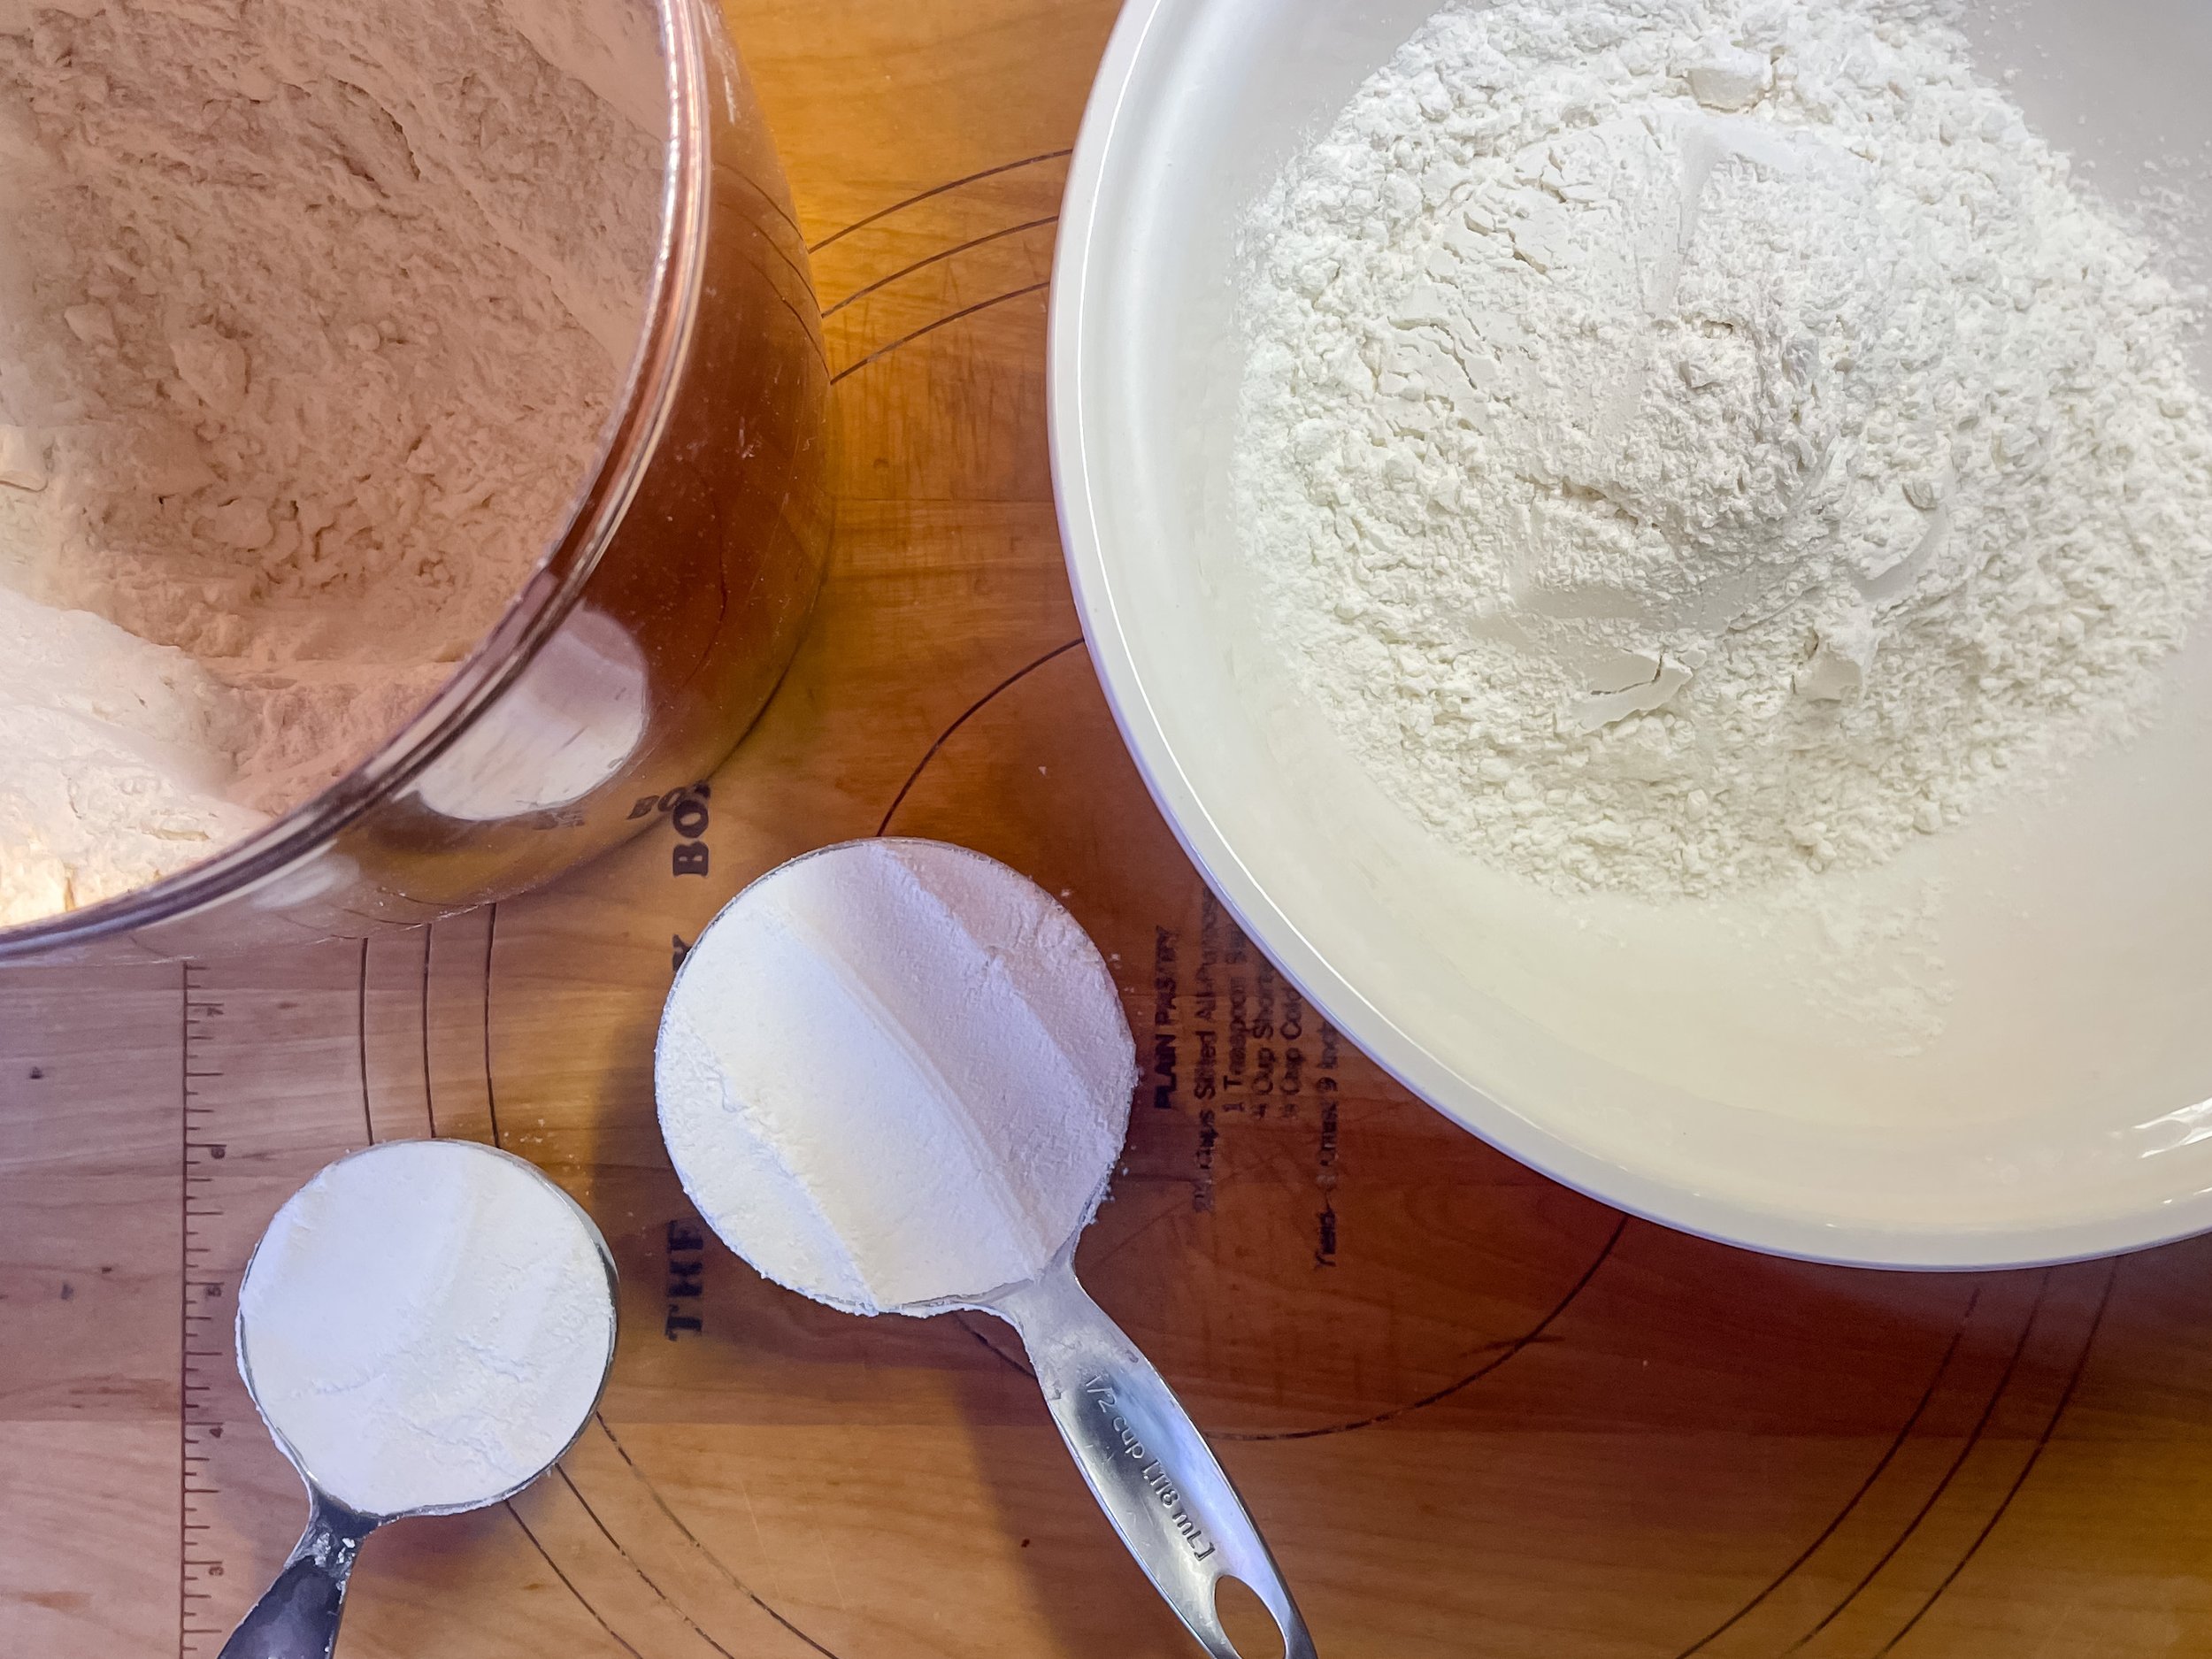
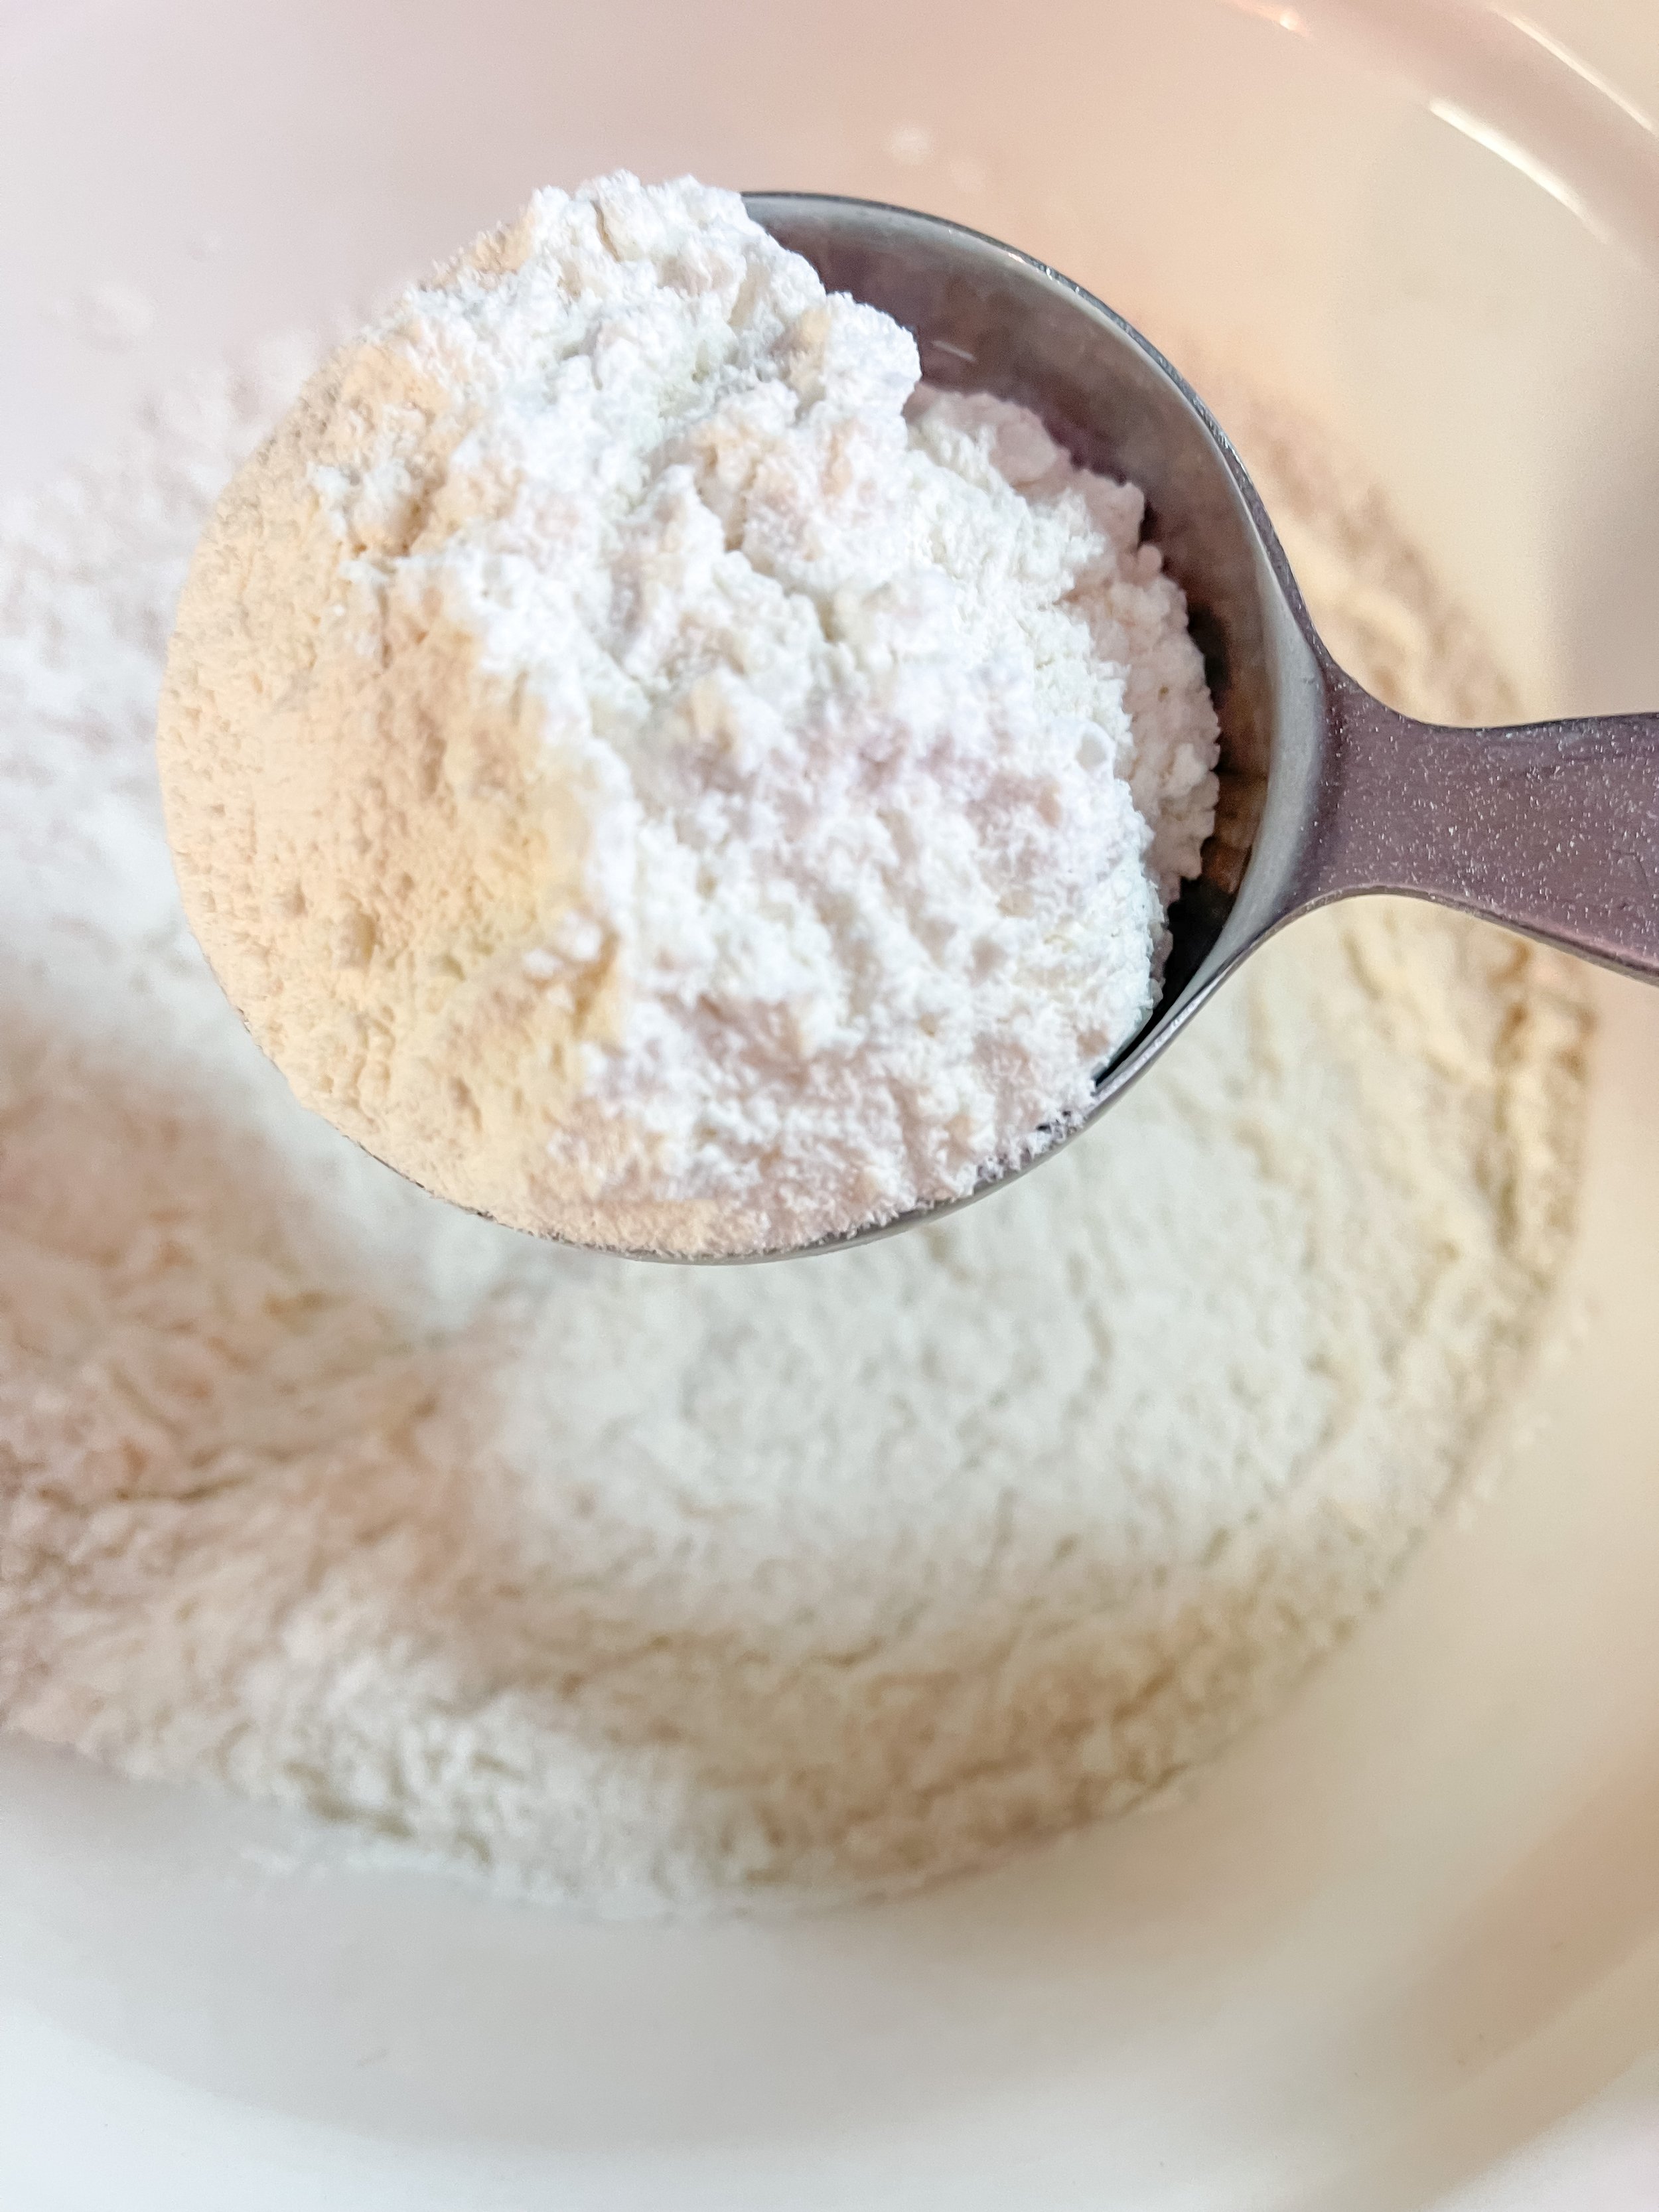
First things first. We’re going to be using two bowls for this recipe. The first one we are going to use is for our dry ingredients. Choose a medium-ish sized, super cute bowl. Then measure out your 2 1/4 cups of all purpose flour and put it in the medium-ish sized, super cute bowl. All purpose flour is what the recipe calls for. I am a fan in particular of the King Arthur’s unbromated all purpose flour.
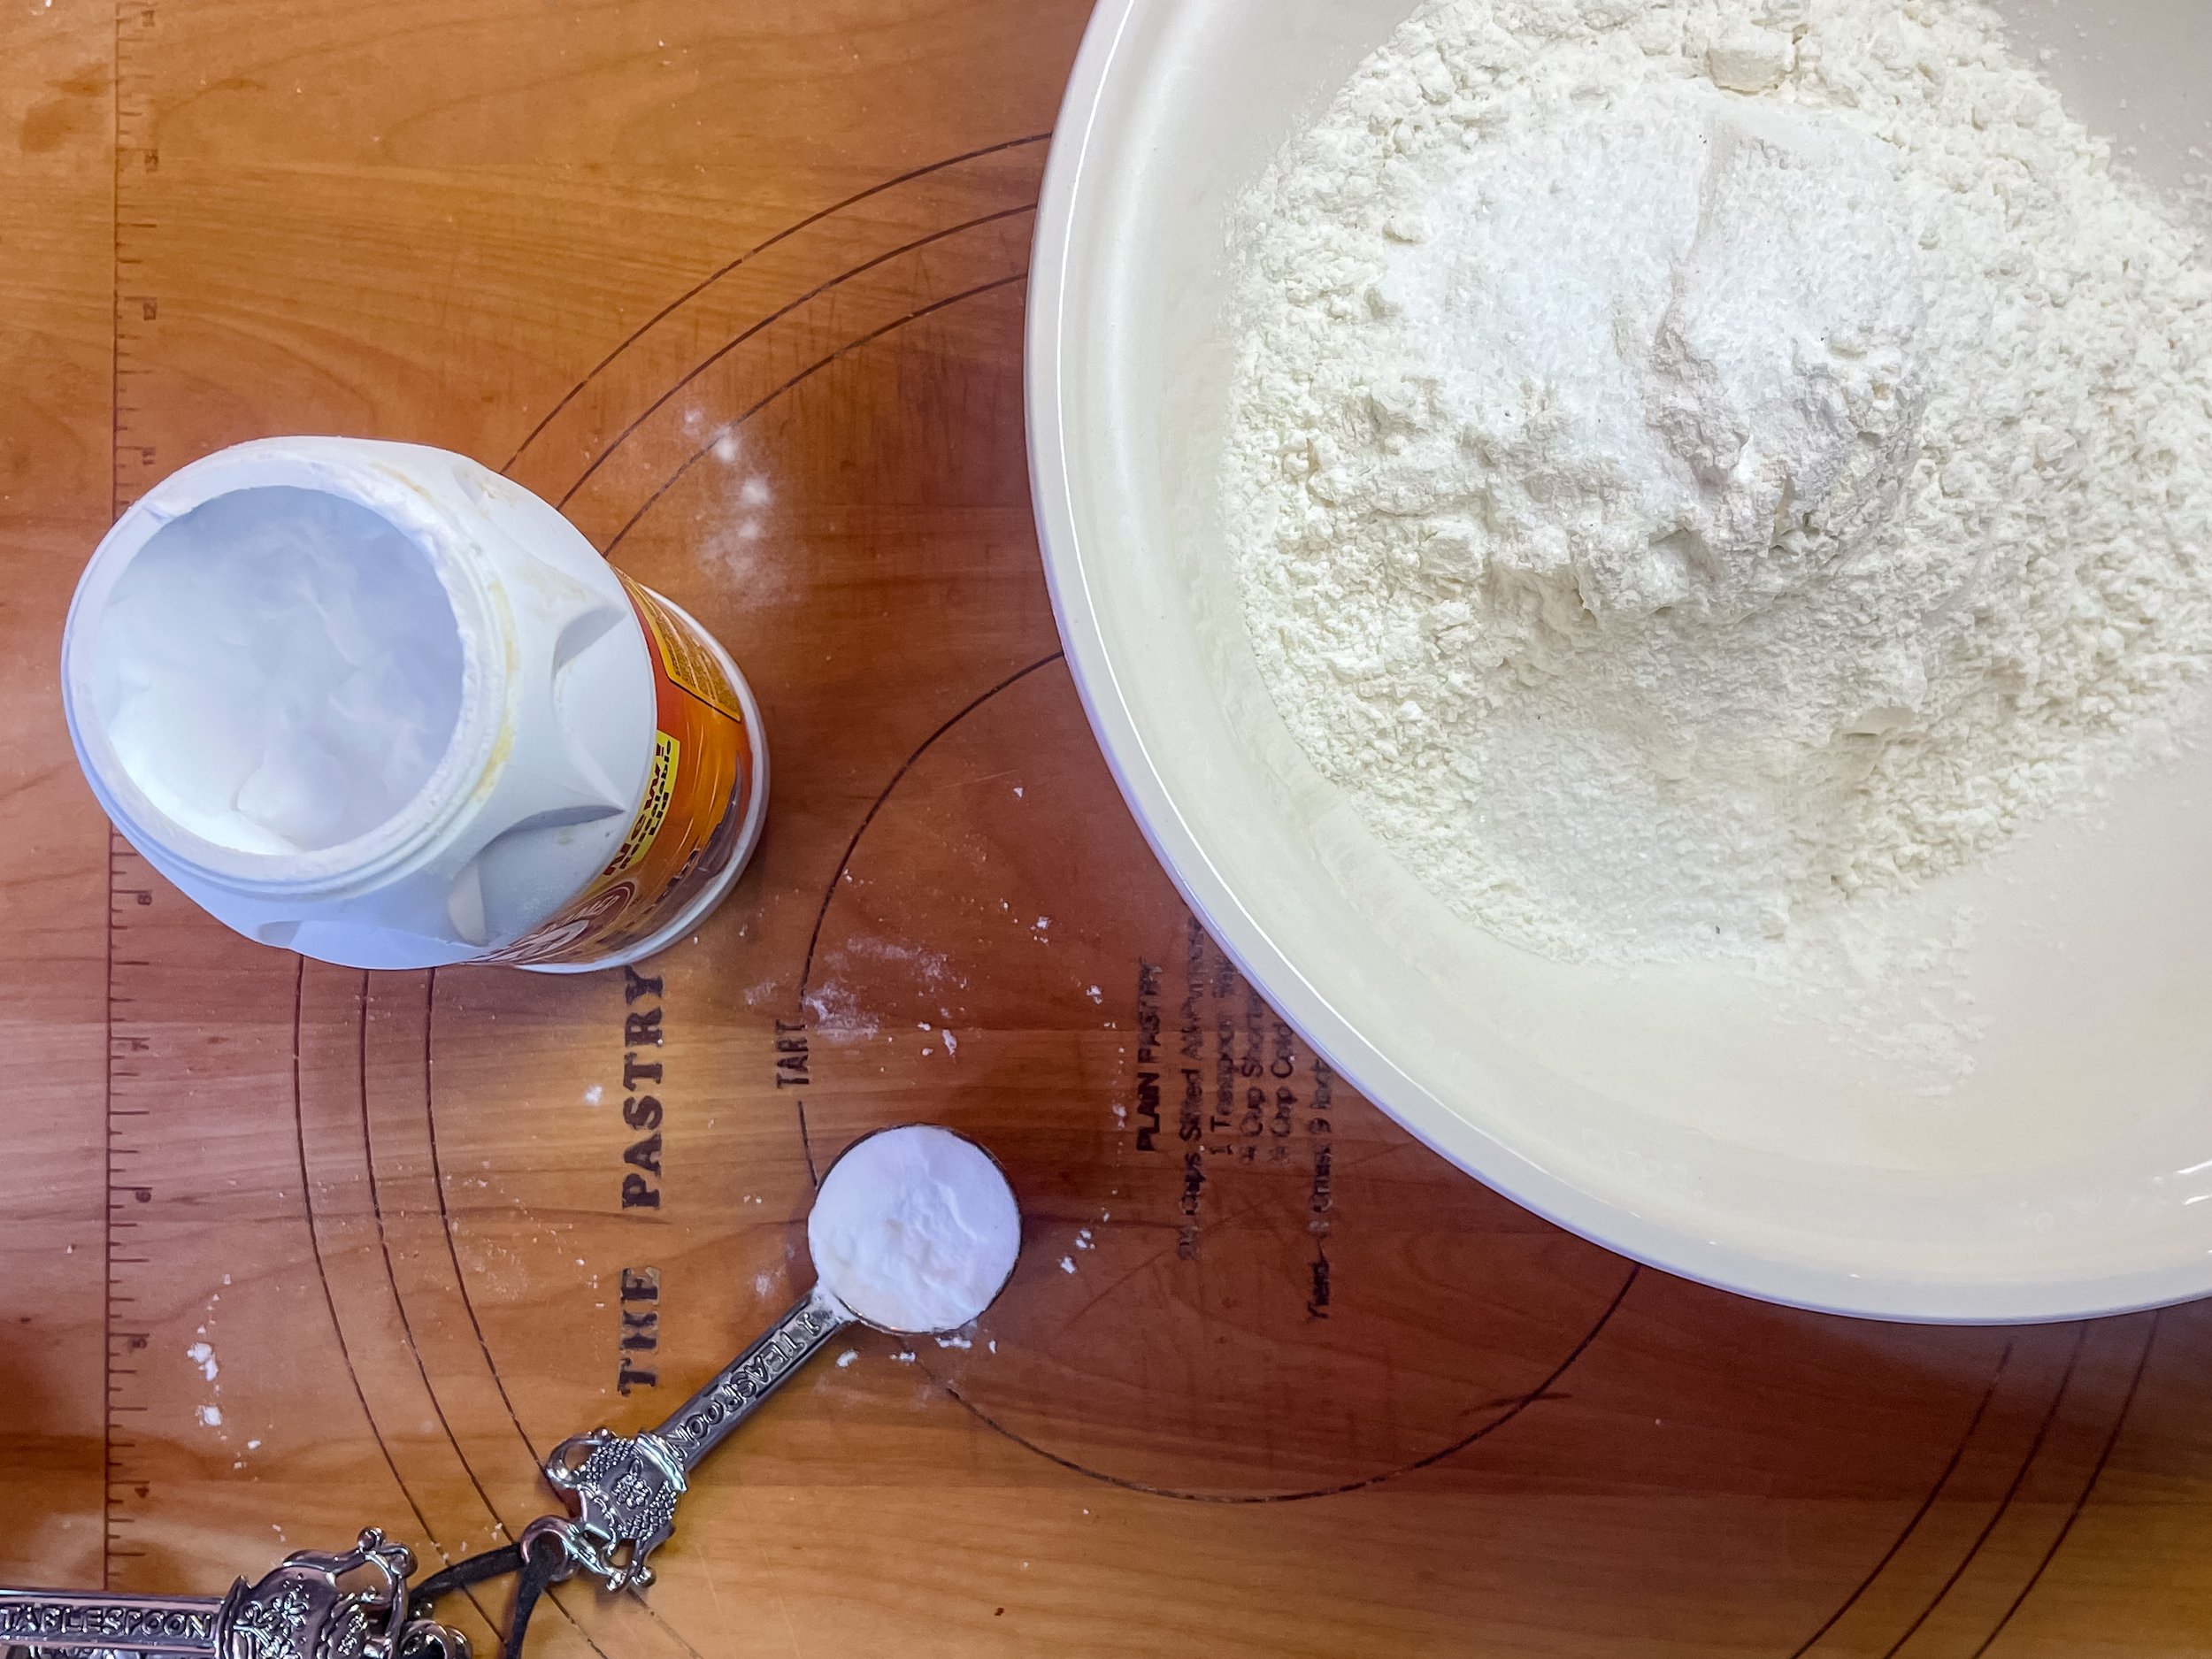
Next up we measure out 1 teaspoon of baking soda. This is what contributes to you having cookies that aren’t flat like a pancake.
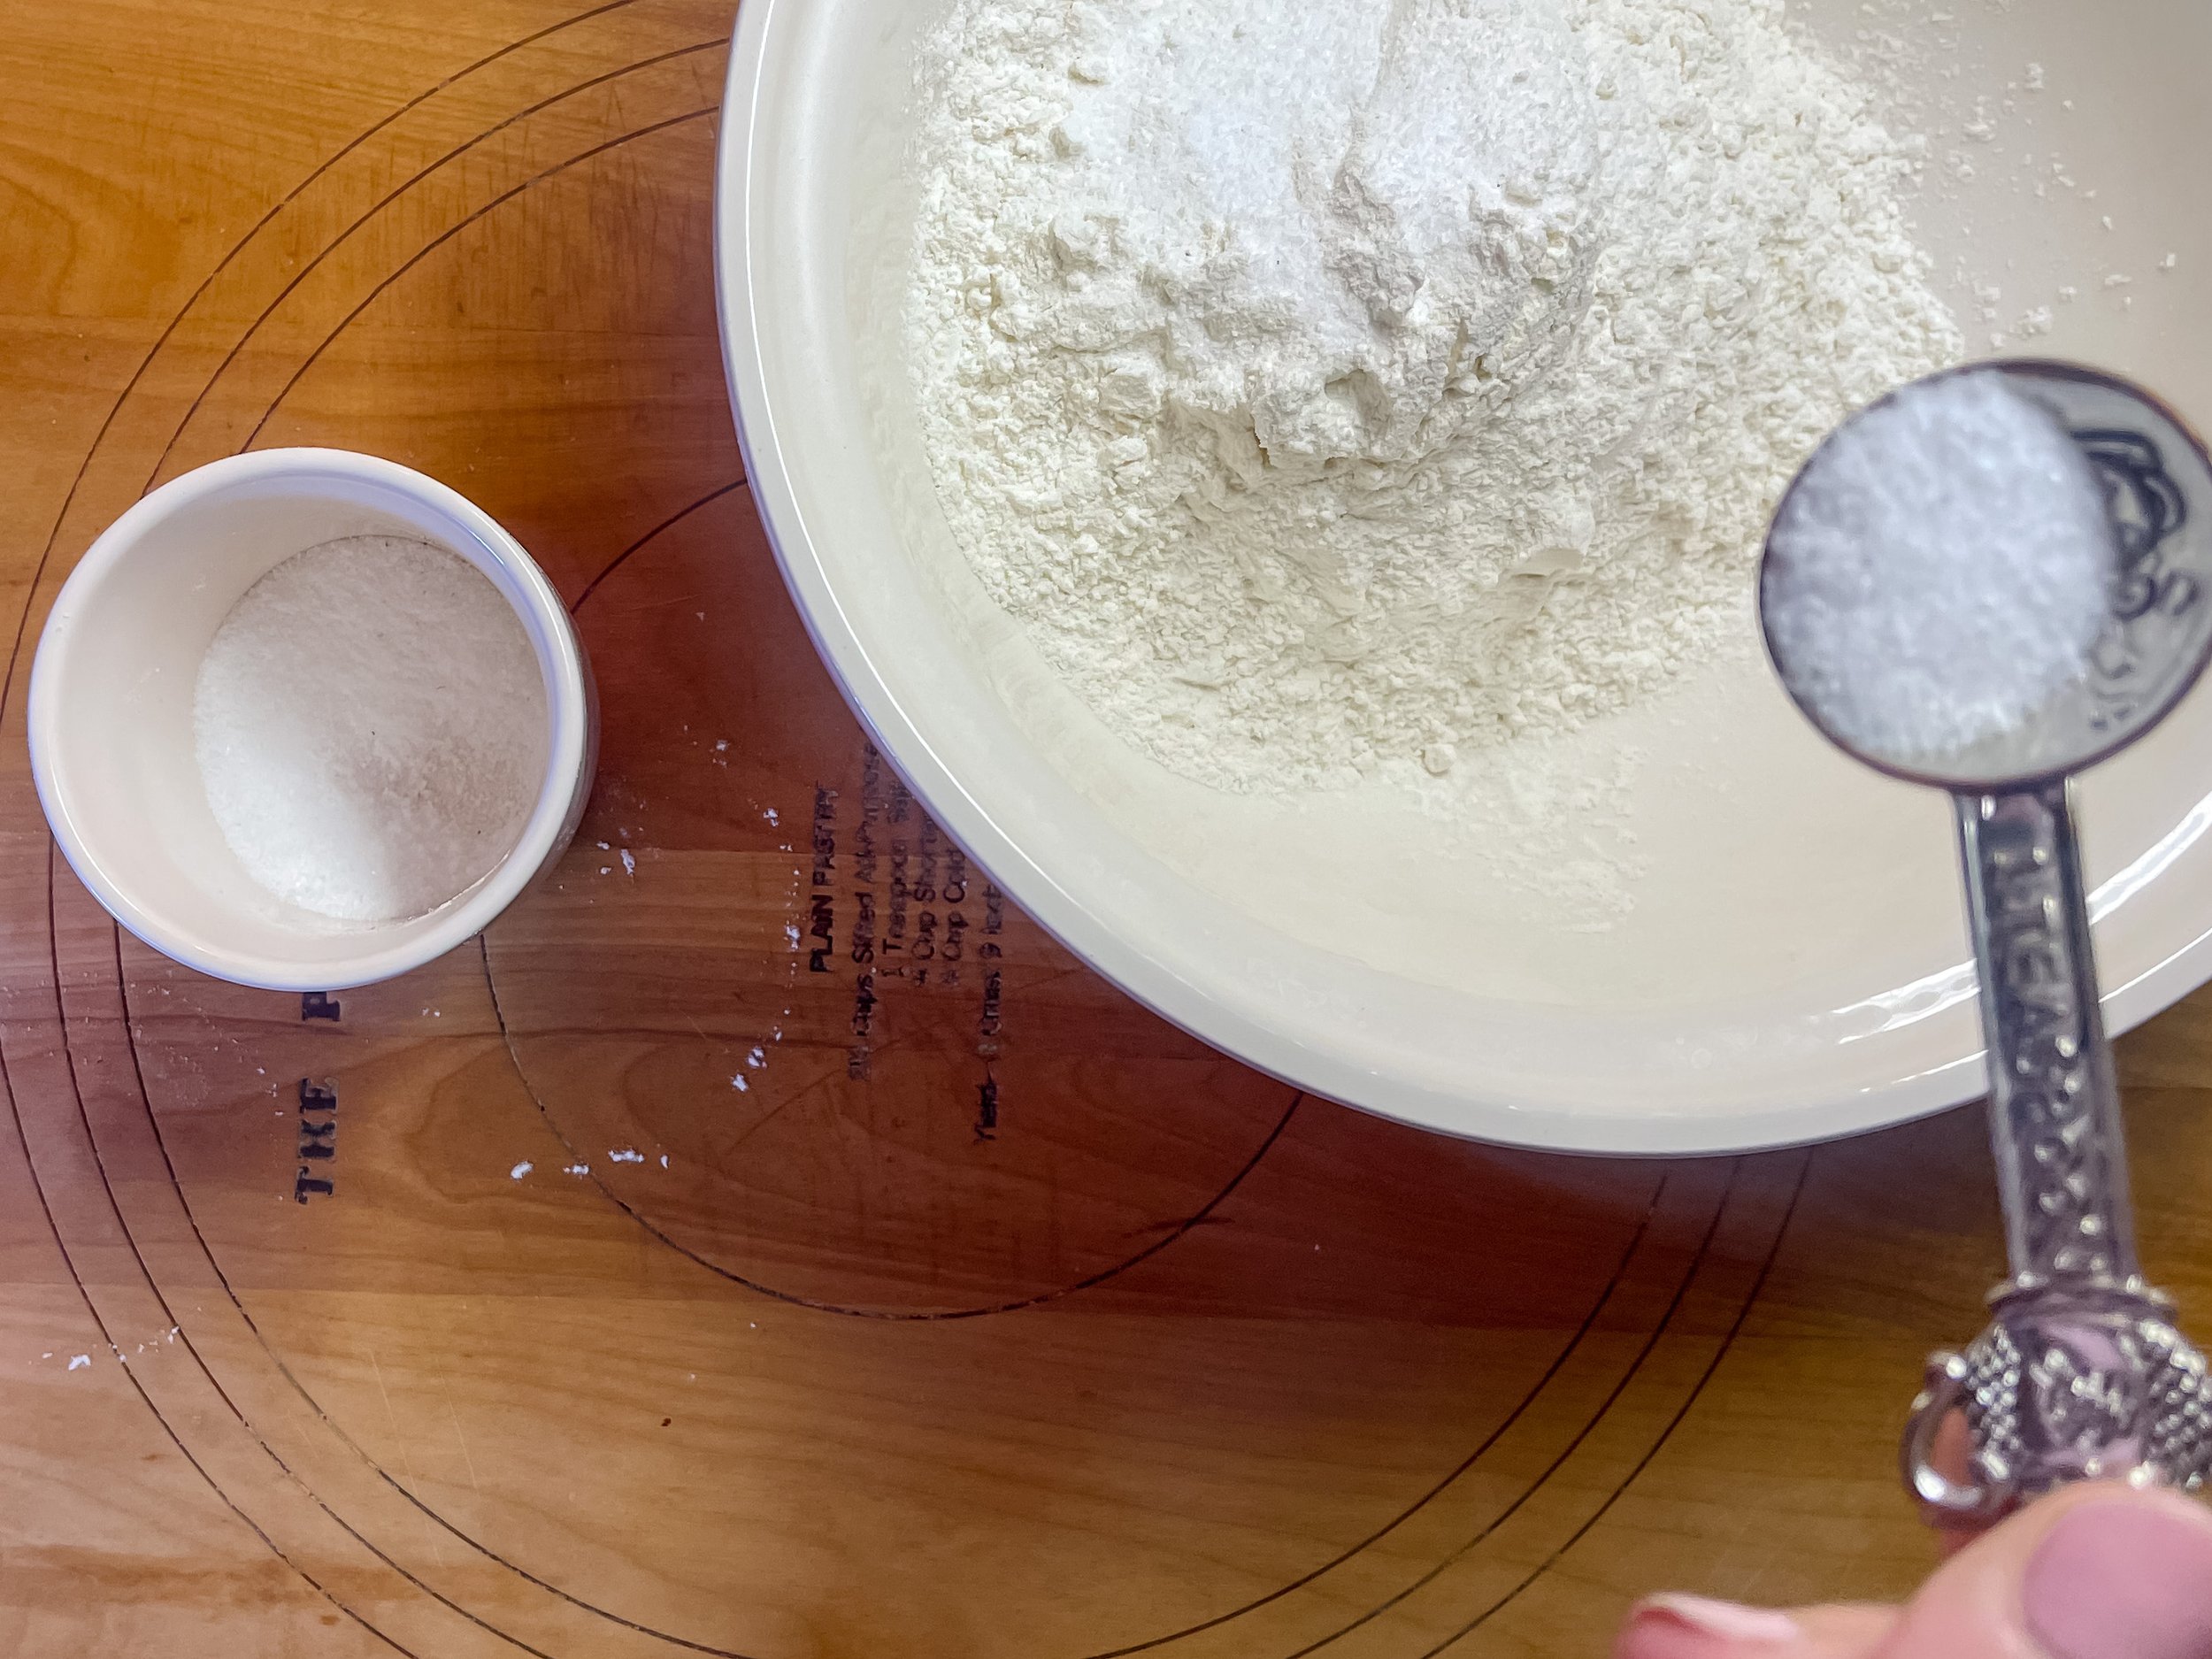
Then friend salt is the final ingredient to this dry ingredient mix. Add 1 teaspoon of salt to the bowl, which will bring out the flavor of the sweetness and give you that salty-sweet flavor we all love.

Whisk these three ingredients together so they are incorporated well together. This will make sure all of the cookies have that a bit of saltiness and all of the cookies rise well. After this put your cute, medium-ish sized bowl to the side.
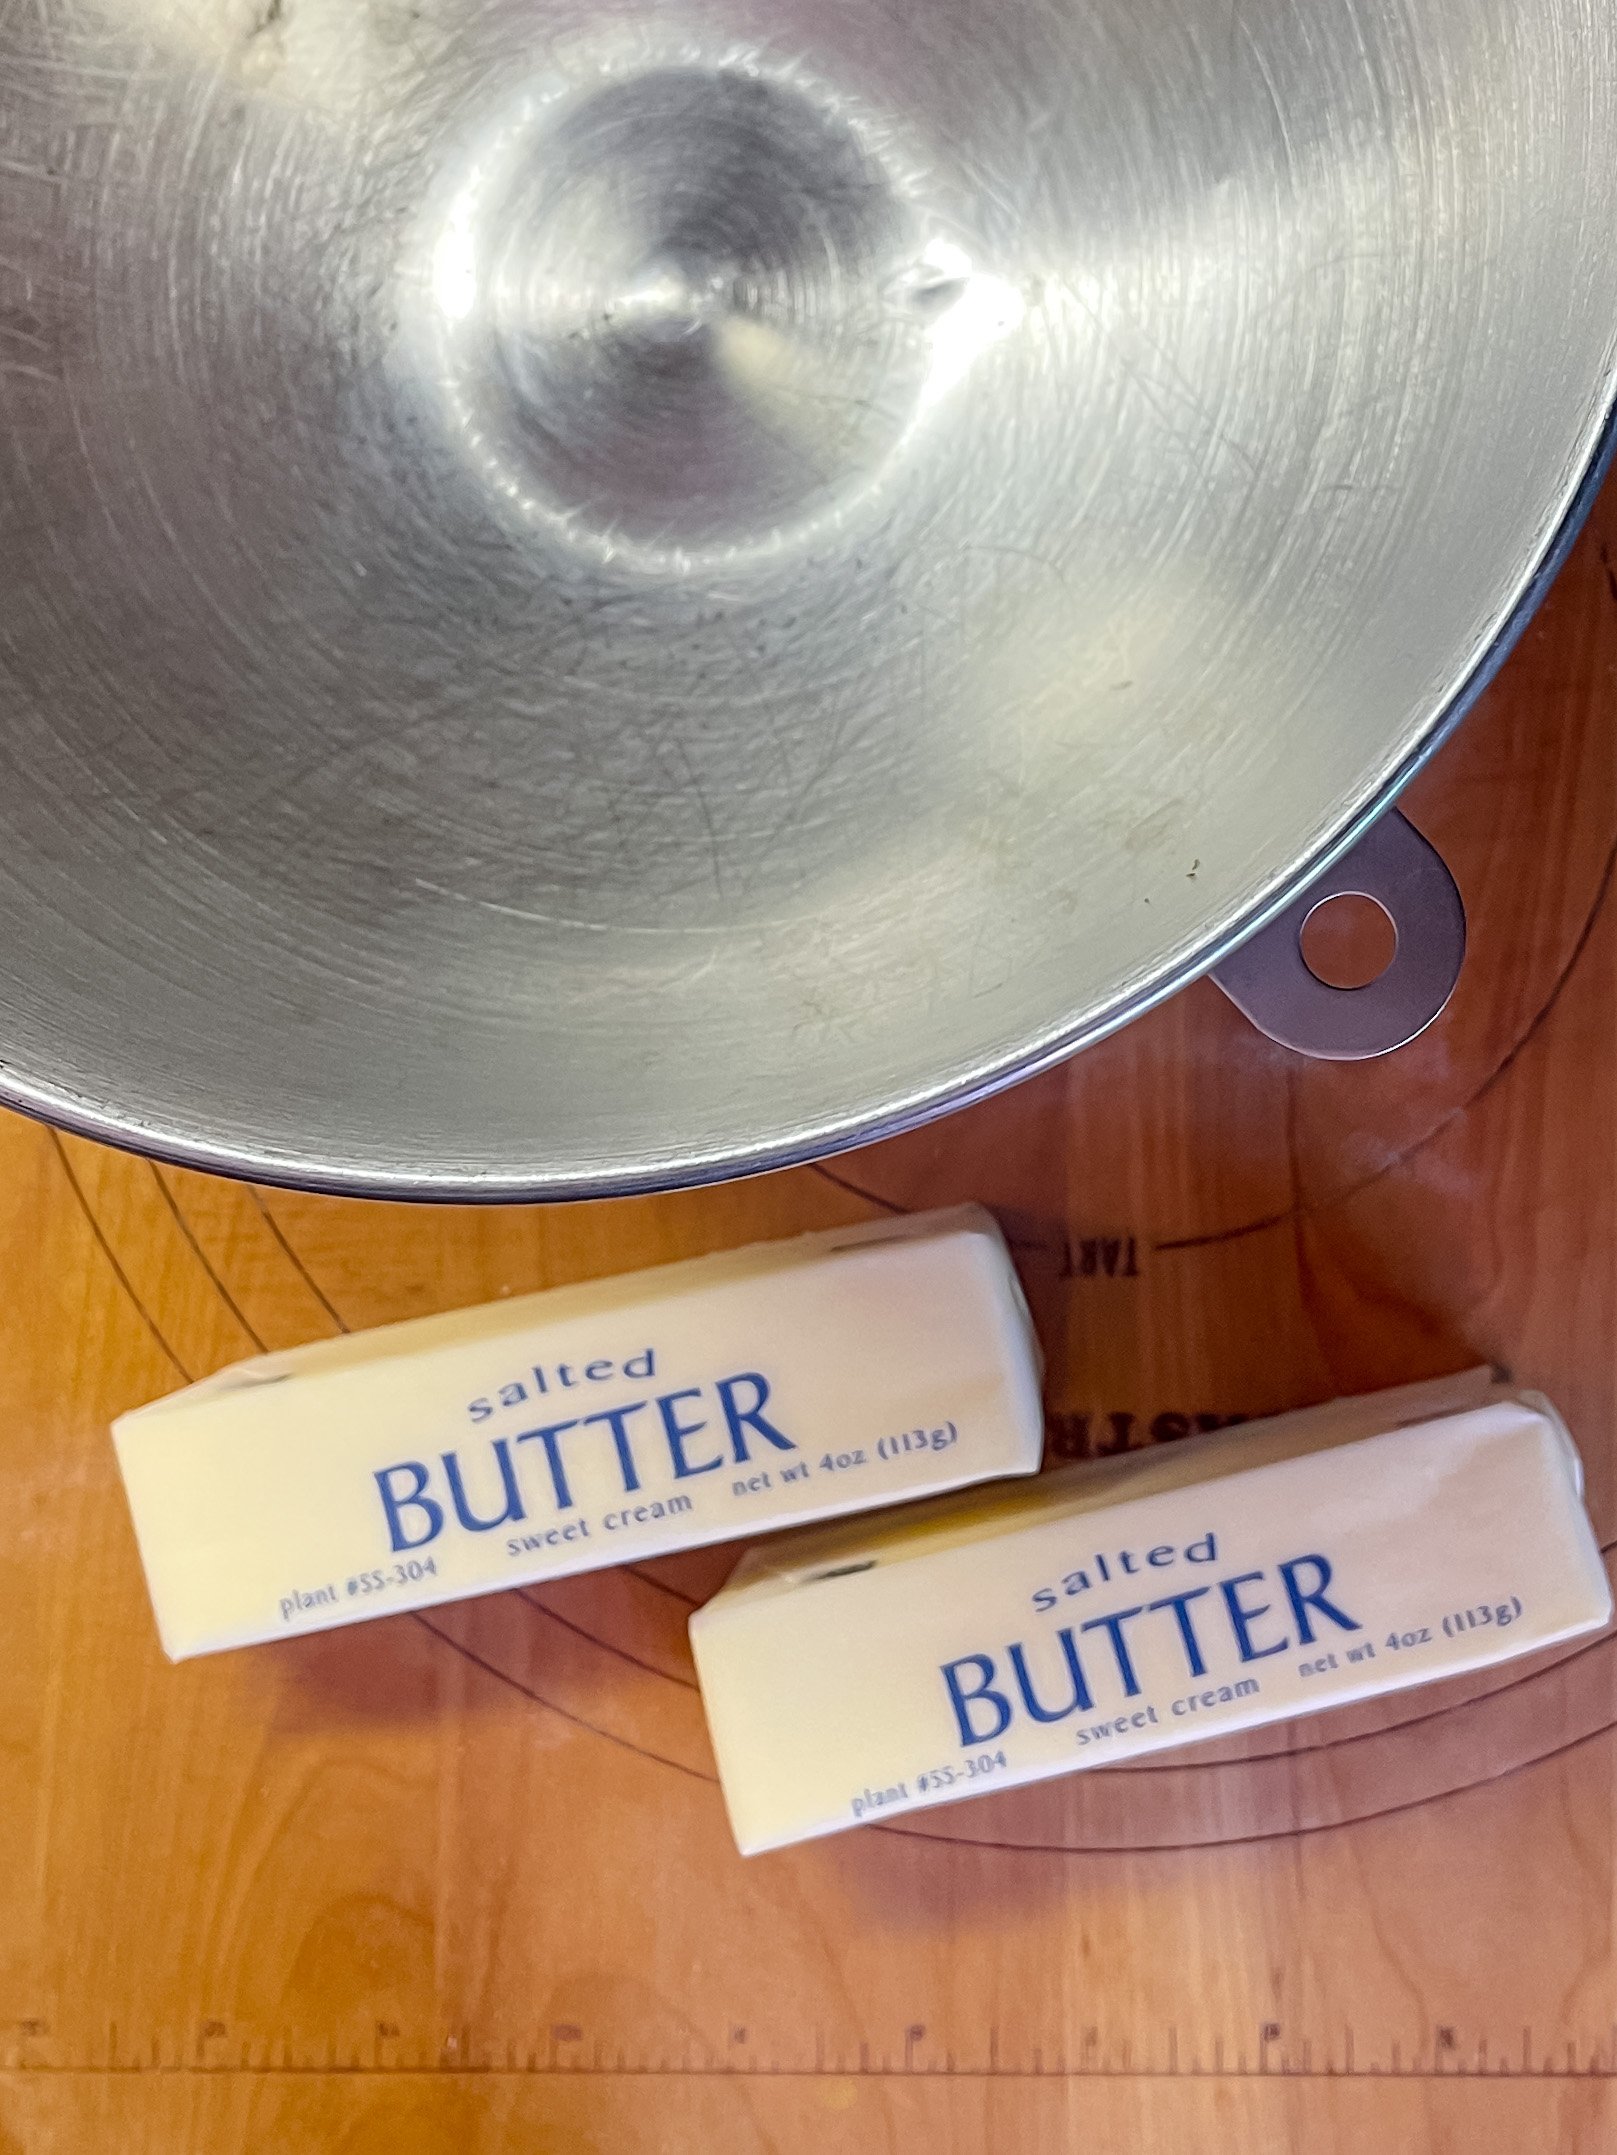
Now we’ll be working in the main bowl. You’ll want your mixer’s bowl if you have a stand mixer or a good, large, sturdy bowl that can with stand an electric mixer for this part. Make sure you have softened your butter by having it come up to room temperature…this will ensure that everything will easily blend together.
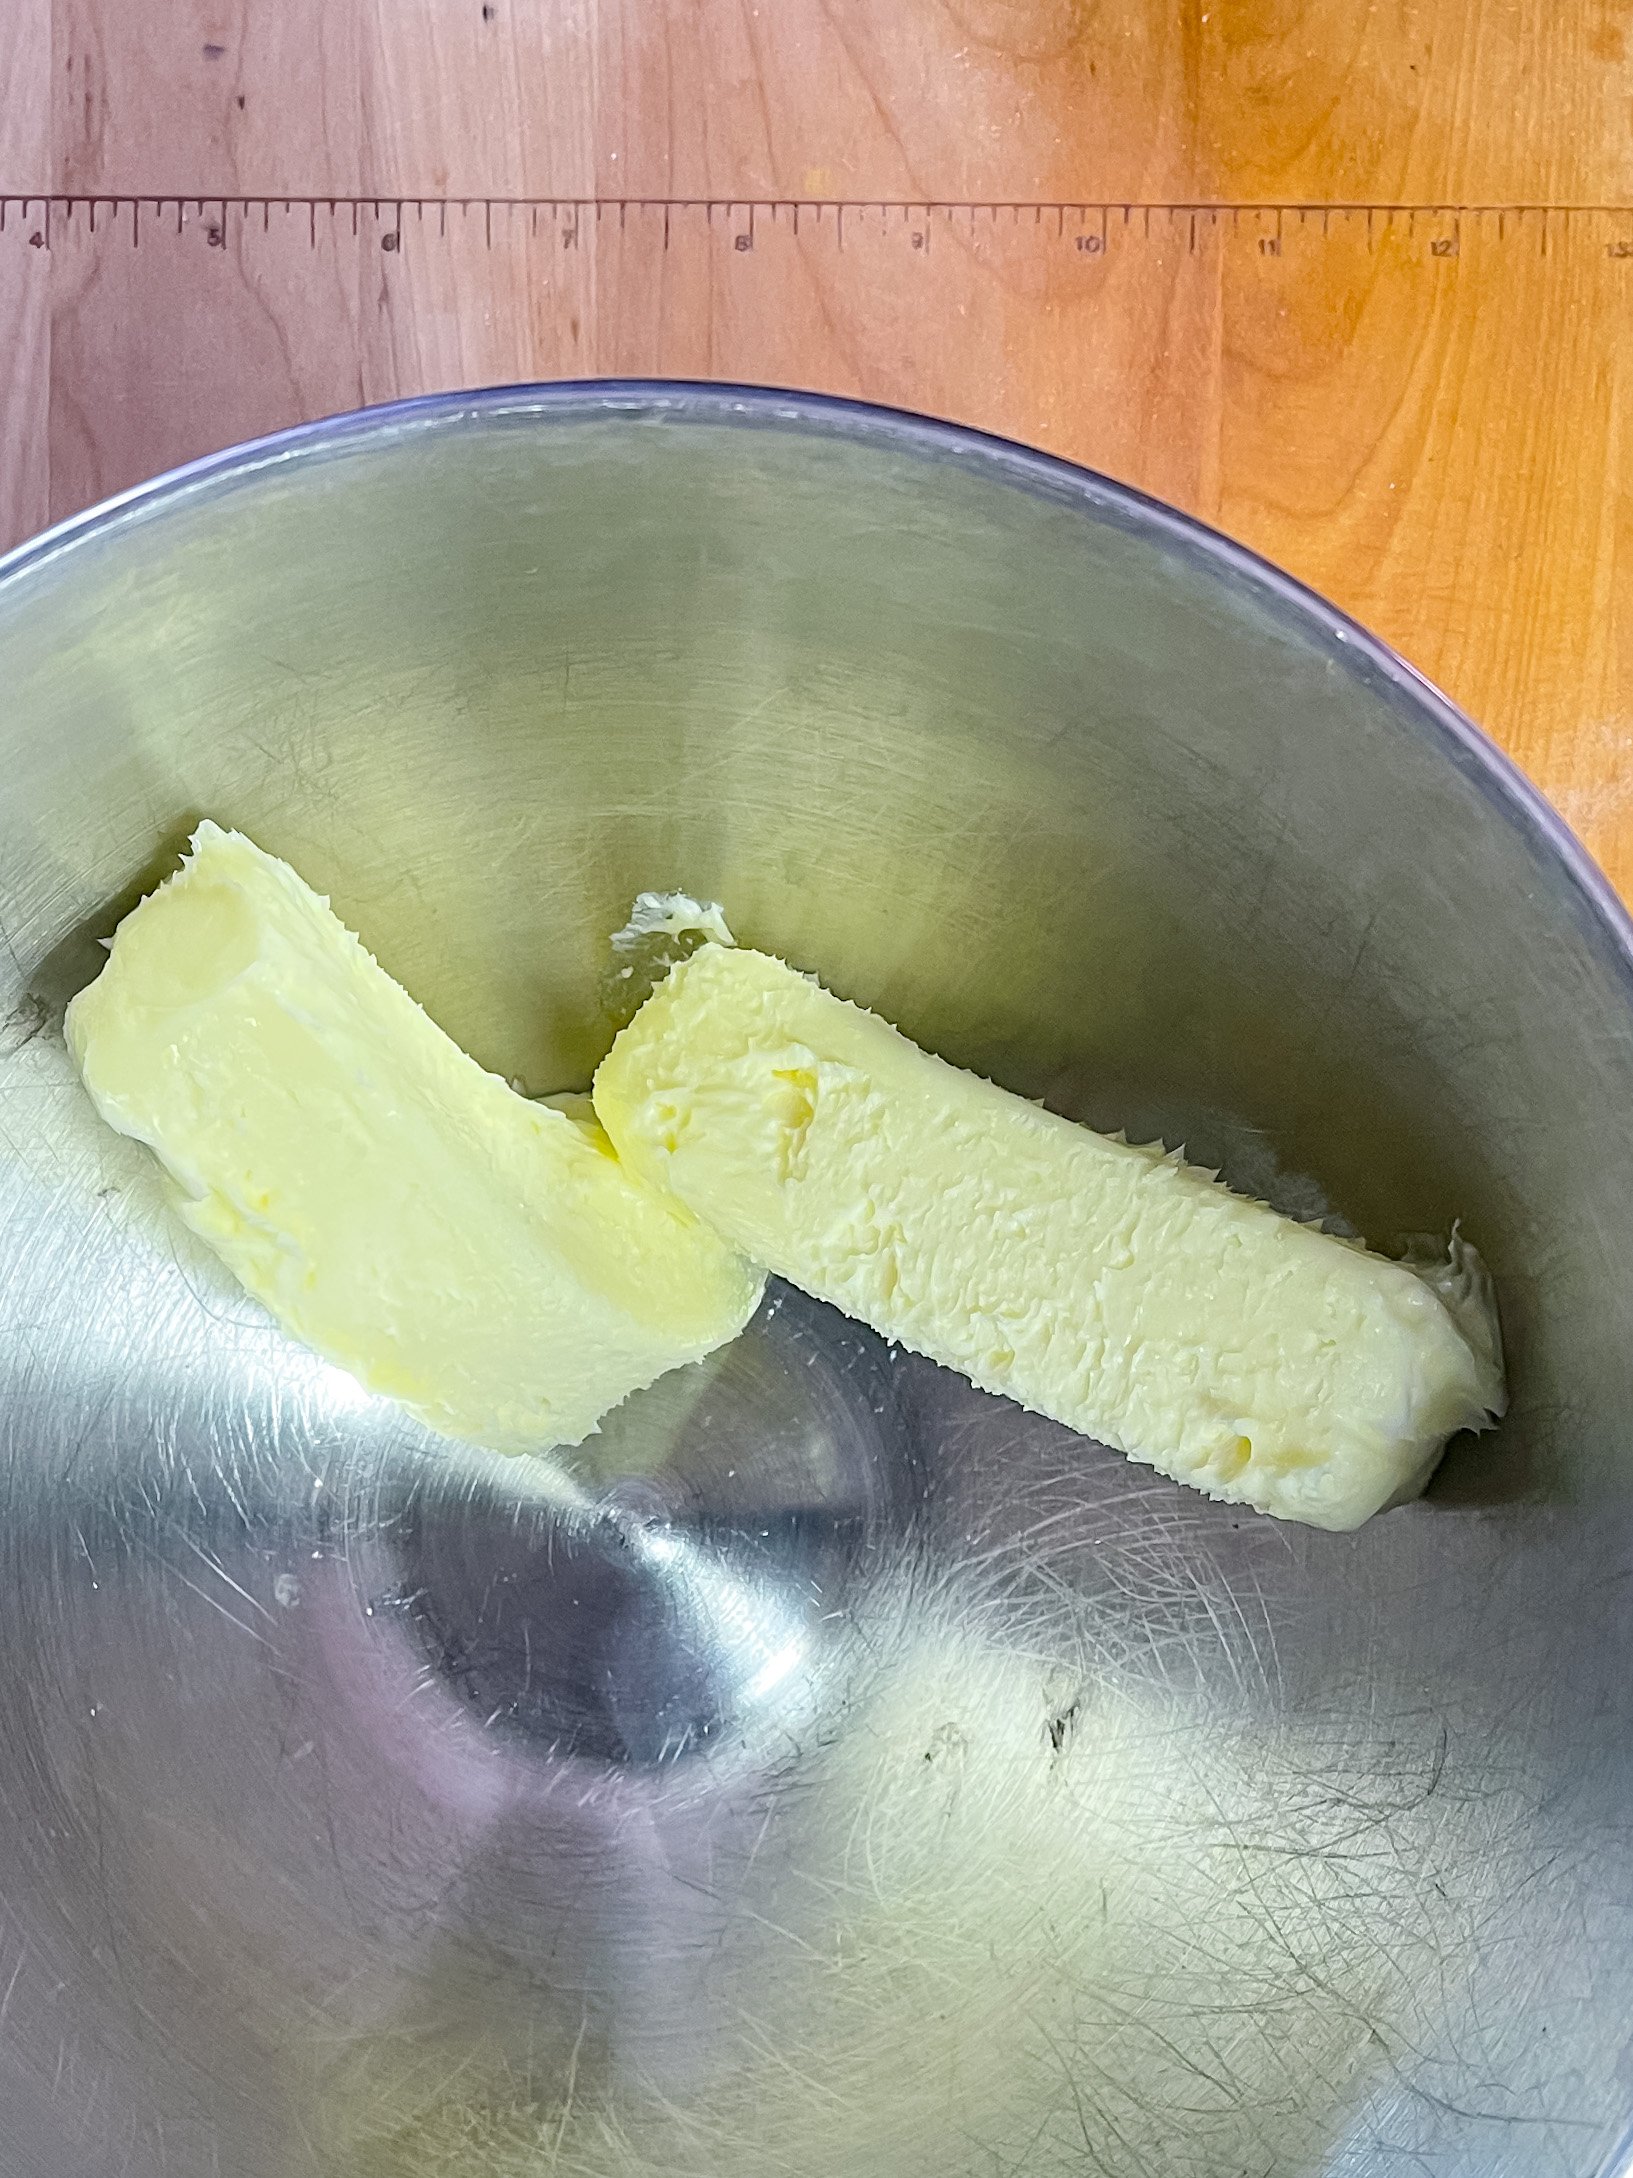
You can see the butter here is soft and at room temperature so it will mix easily.
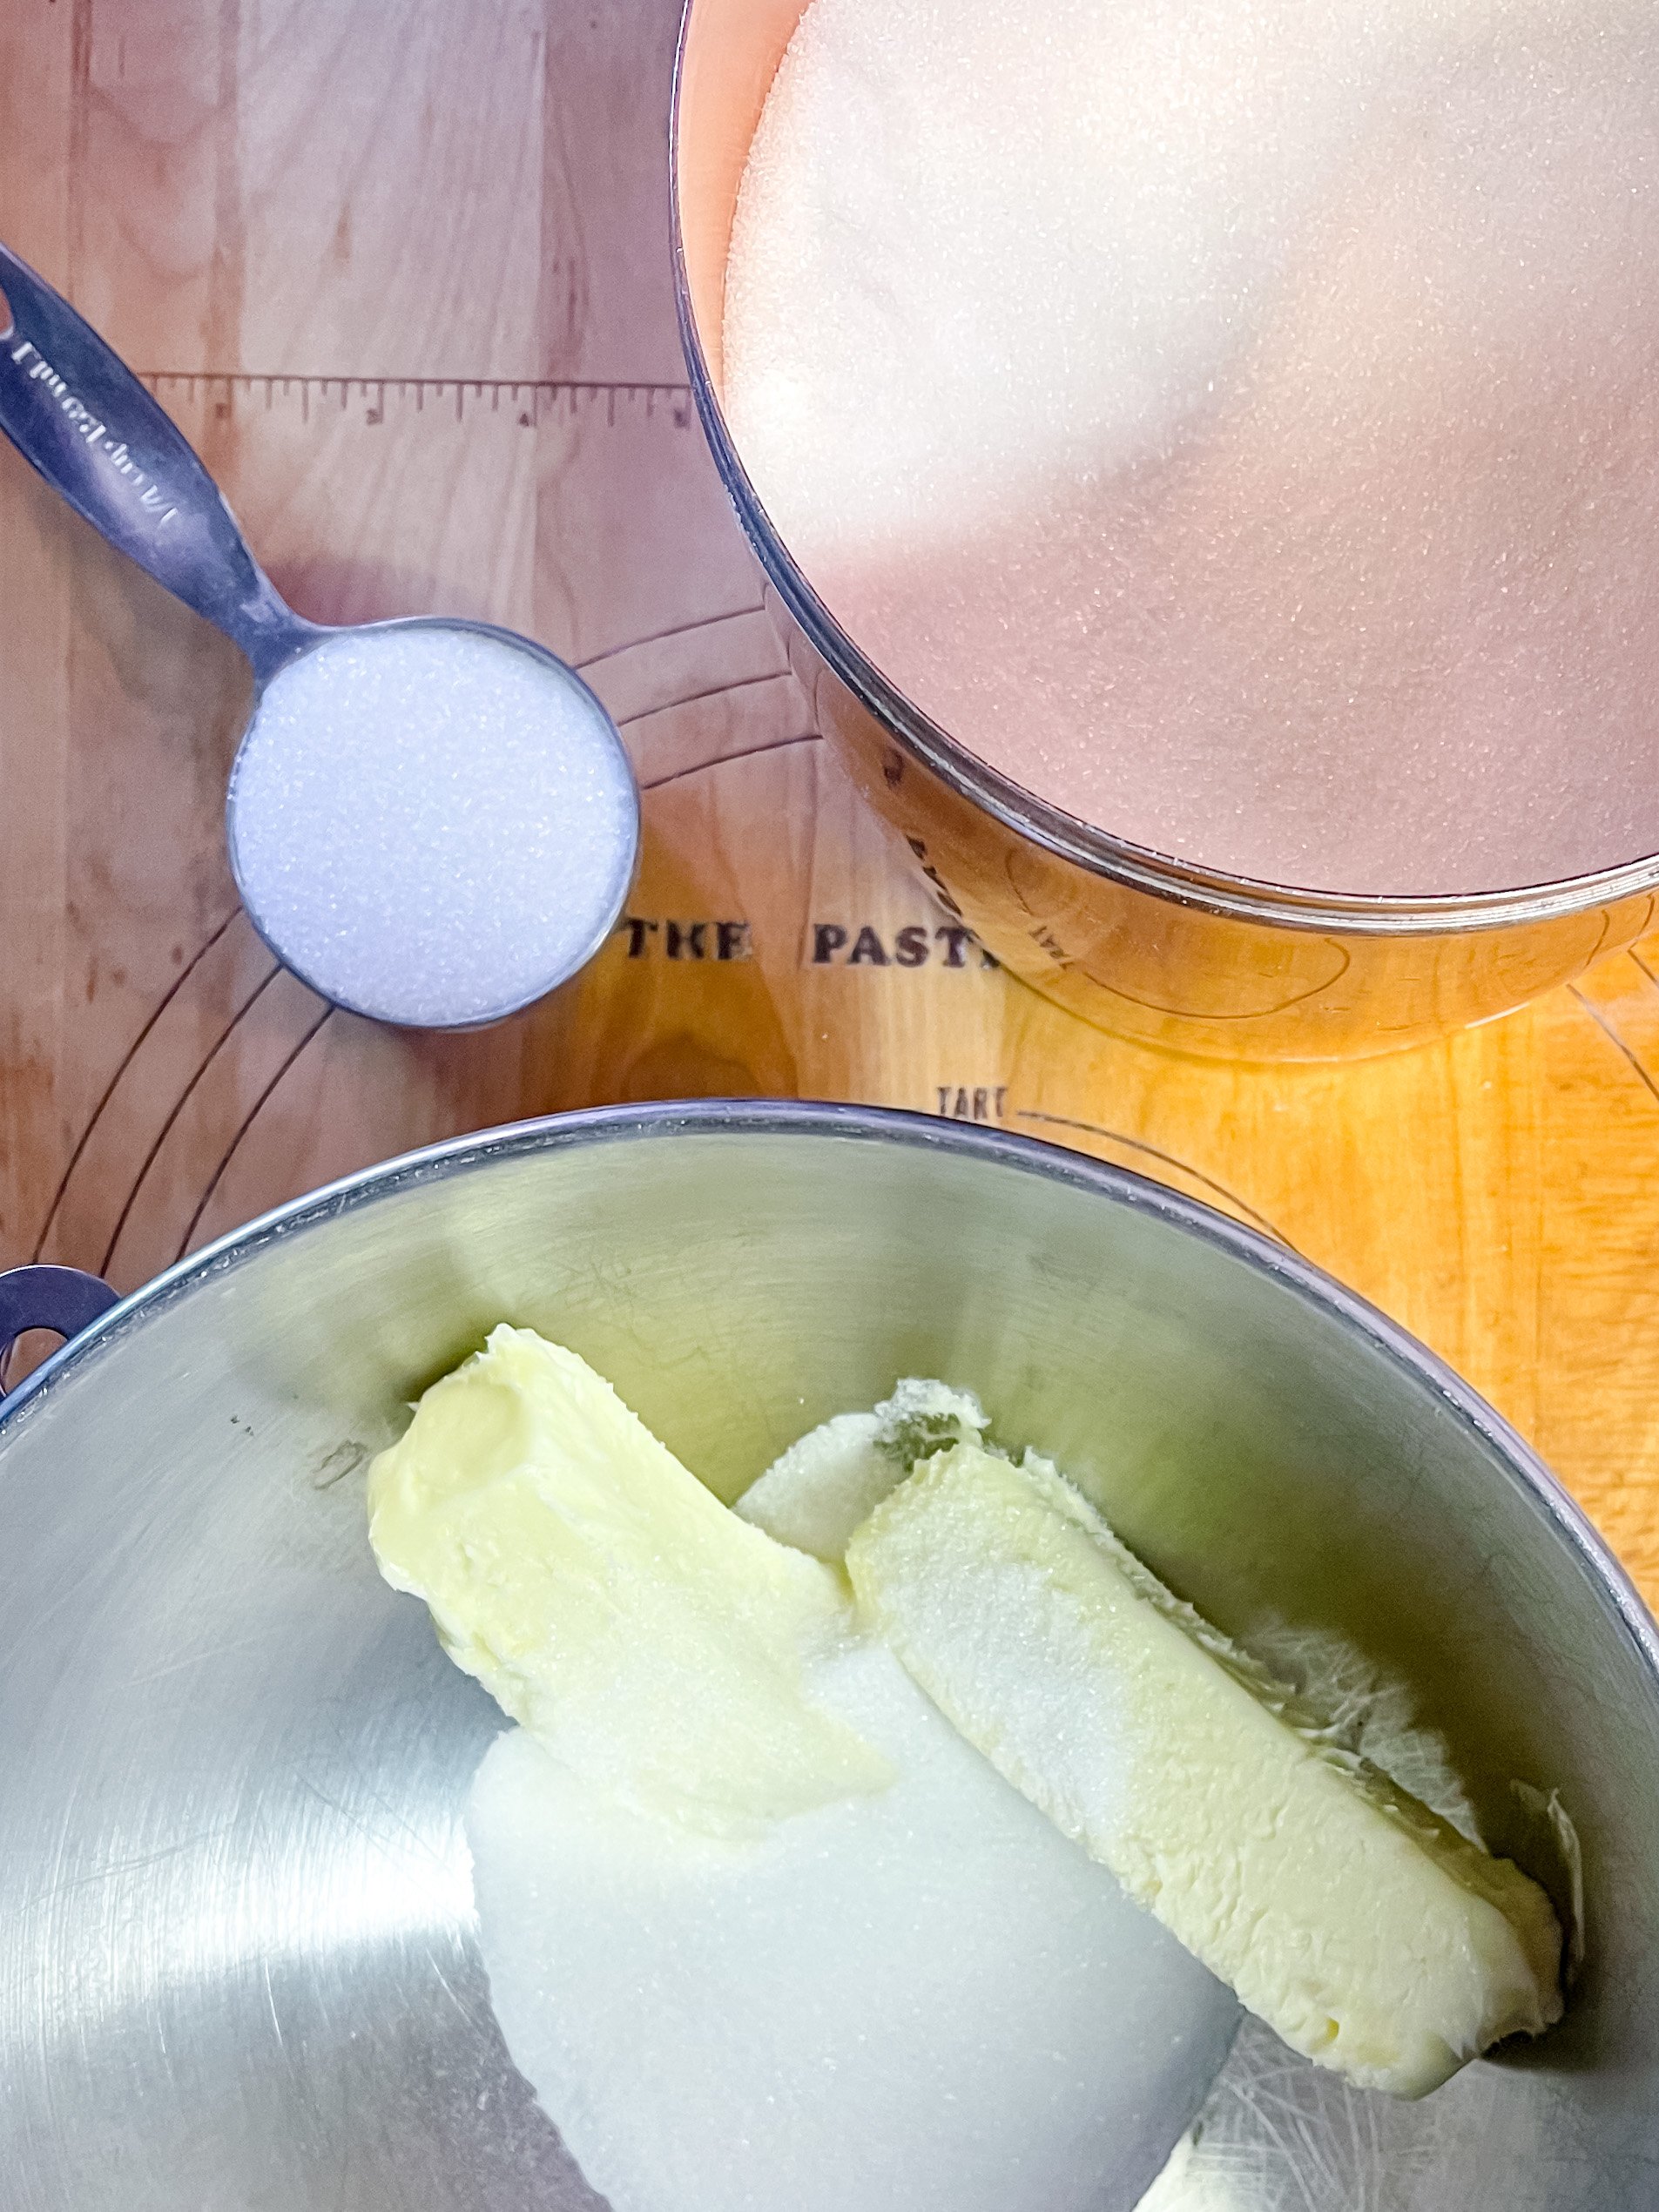
Next comes the sugar! Measure out 3/4 cups of white, granulated sugar.
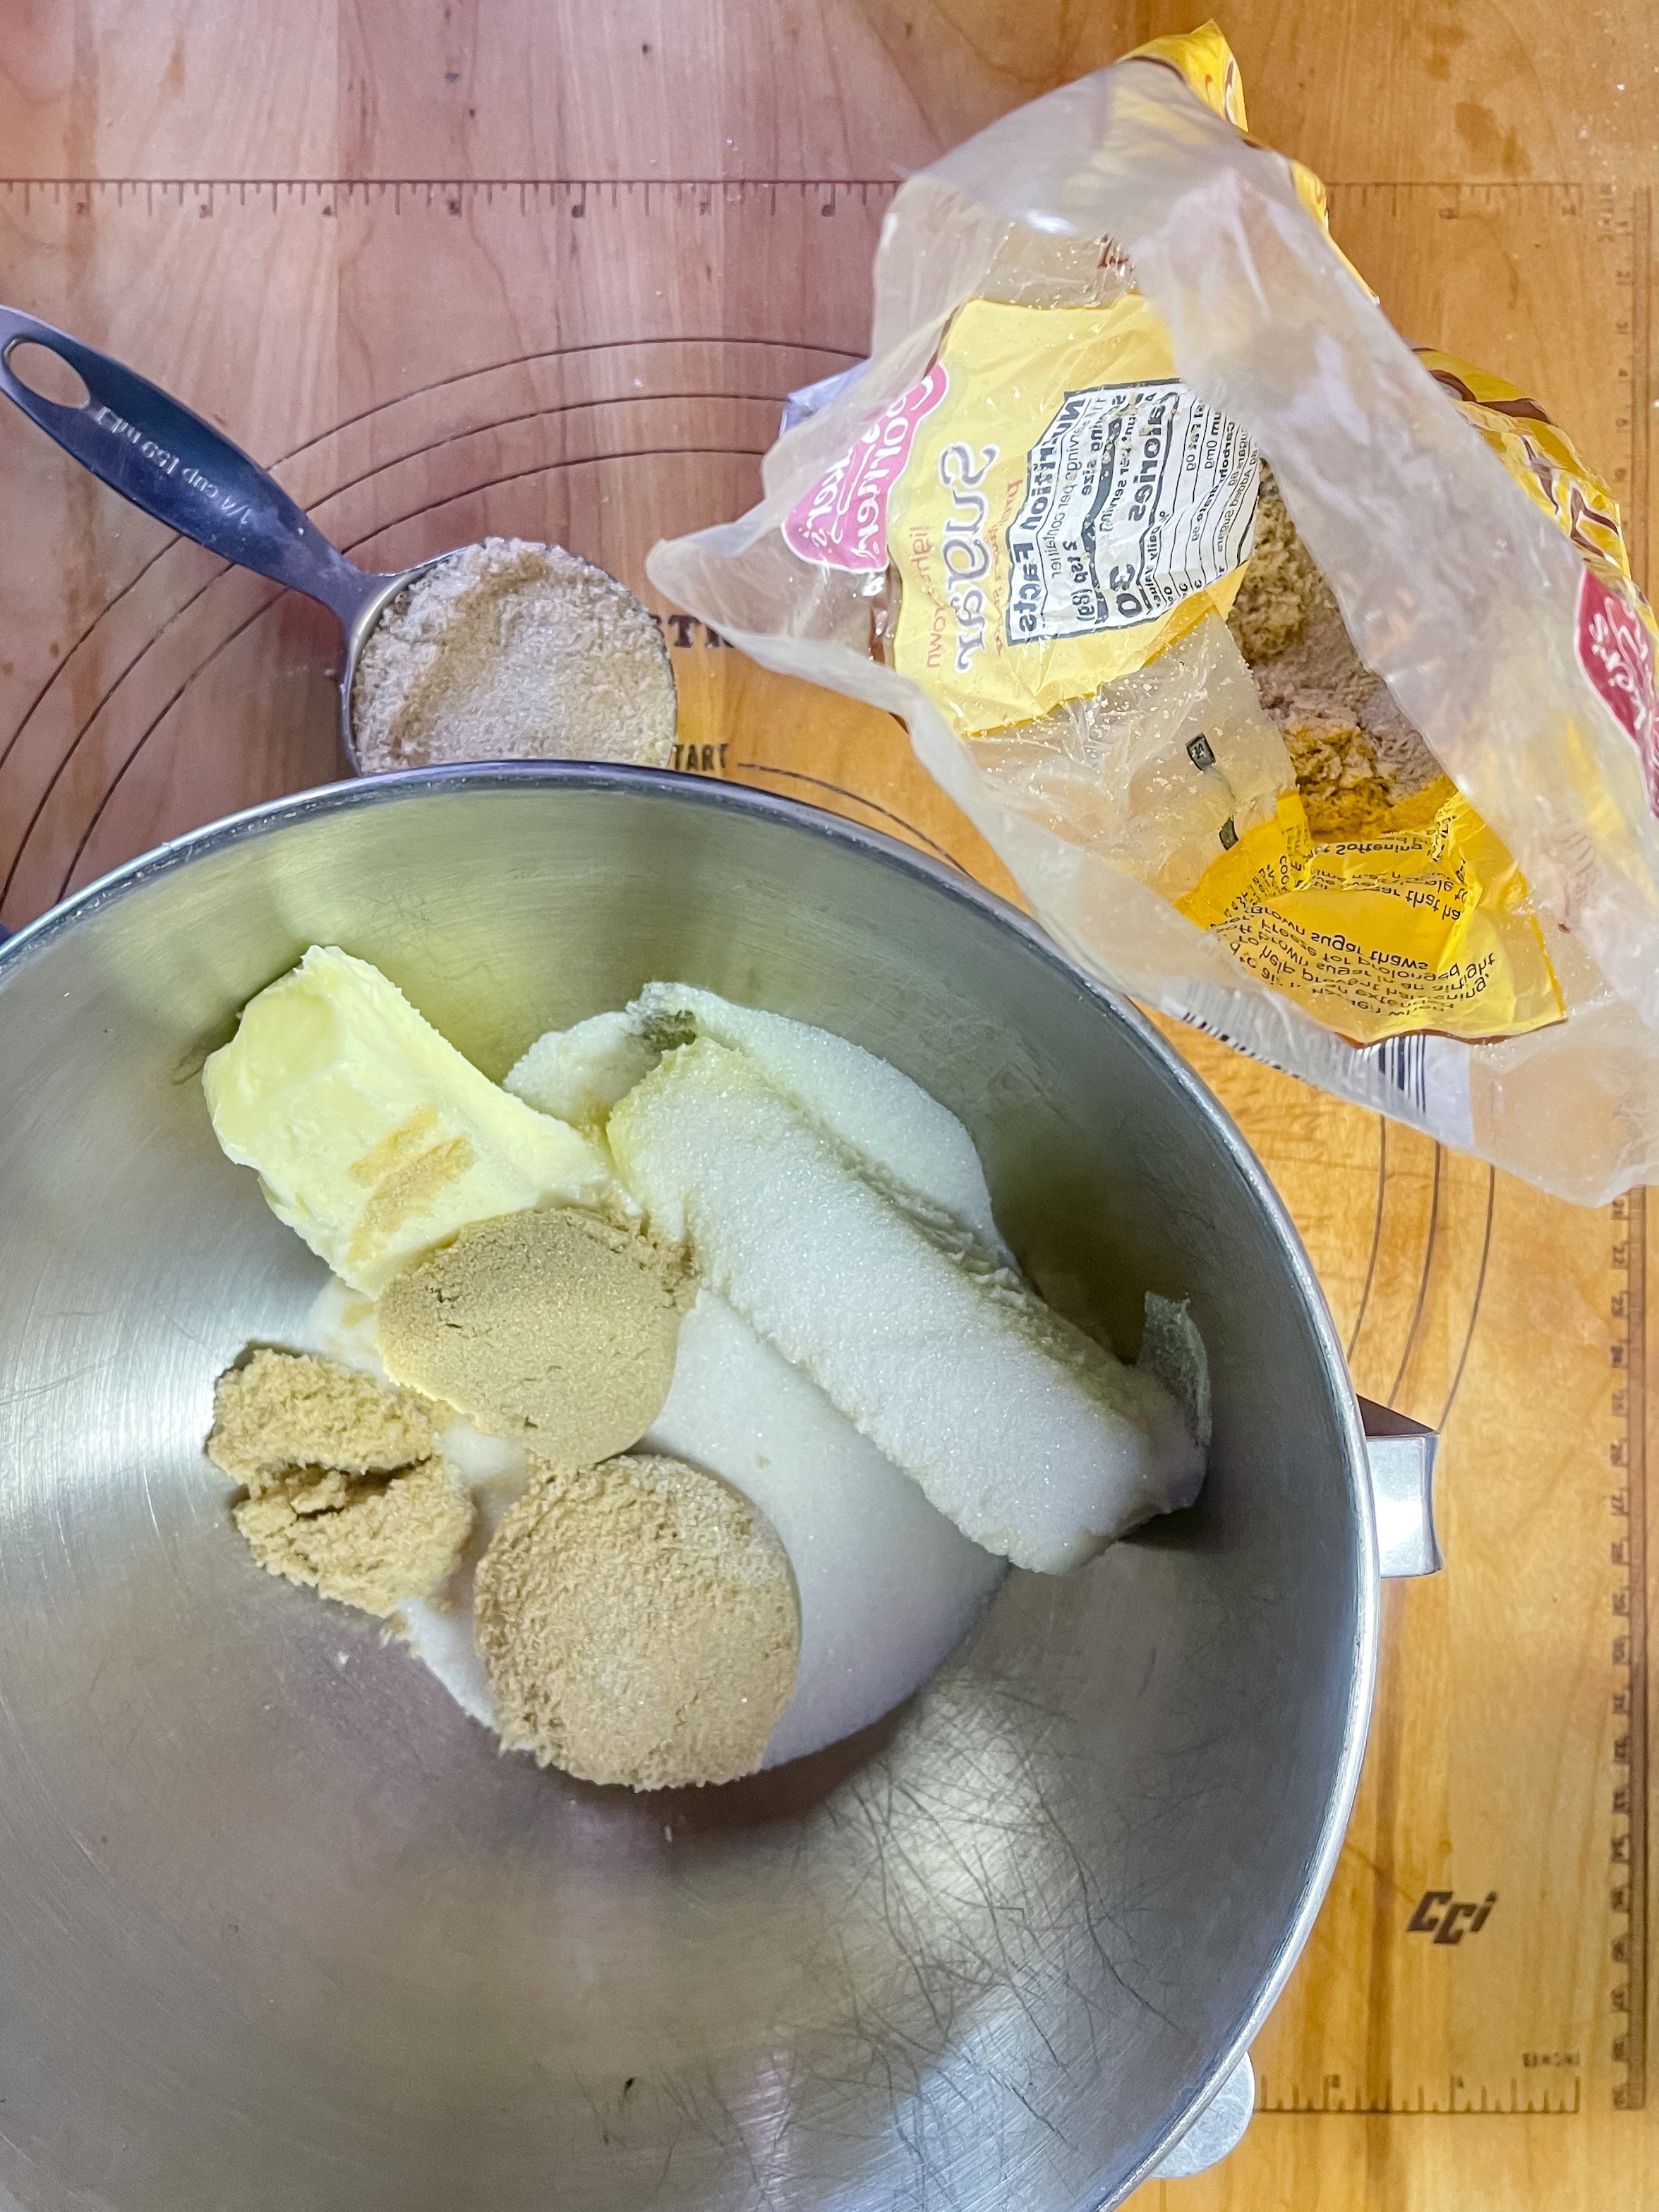
And then the same amount, 3/4 cups of brown sugar. Brown sugar is measured packed so you want to smoosh it into the measuring cup. You don’t have to really pack it in there, just enough pressure so that when you put it in the bowl it keeps its shape.
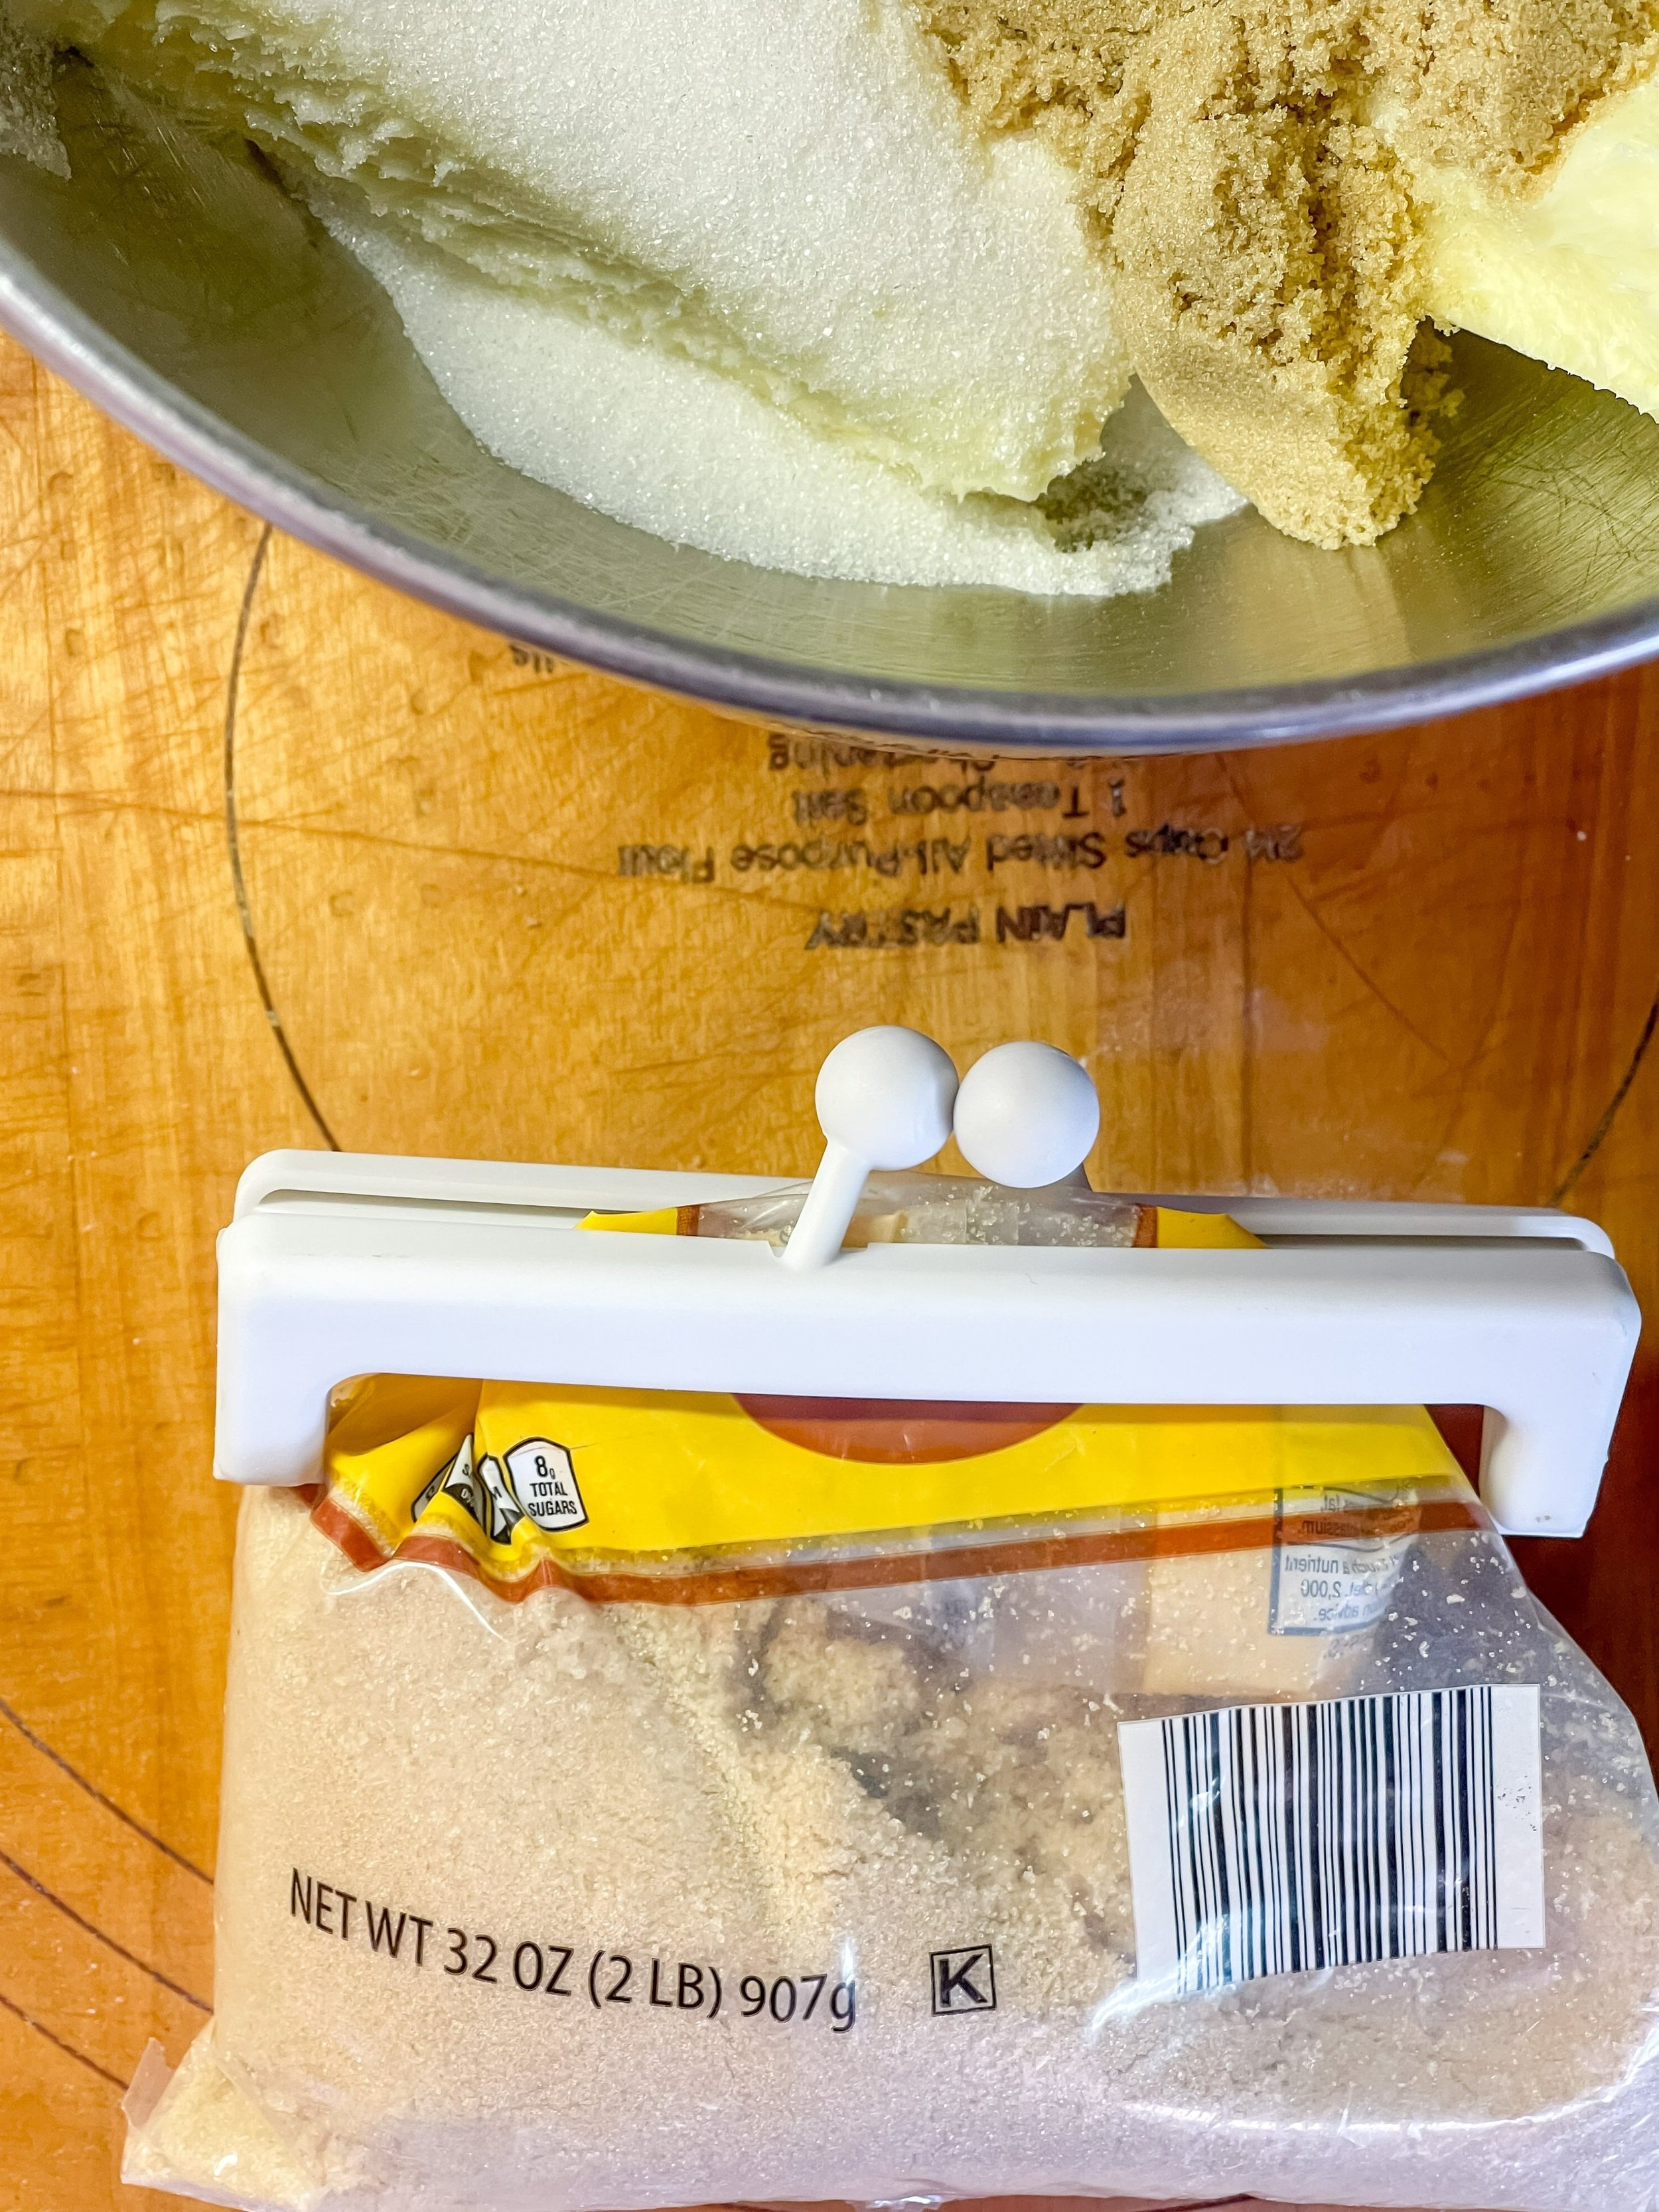
On a side note, I got these cute bag clips from the Target dollar spot one year and I’ve loved them ever since. You put them over the bag and then it looks like a cute little purse!
When the two sugars and the two sticks of butter are added to the bowl, it’s time to beat it up! You can use an electric mixer or even just a spoon and a lot of elbow grease. I’m using my stand mixer with this paddle attachment.
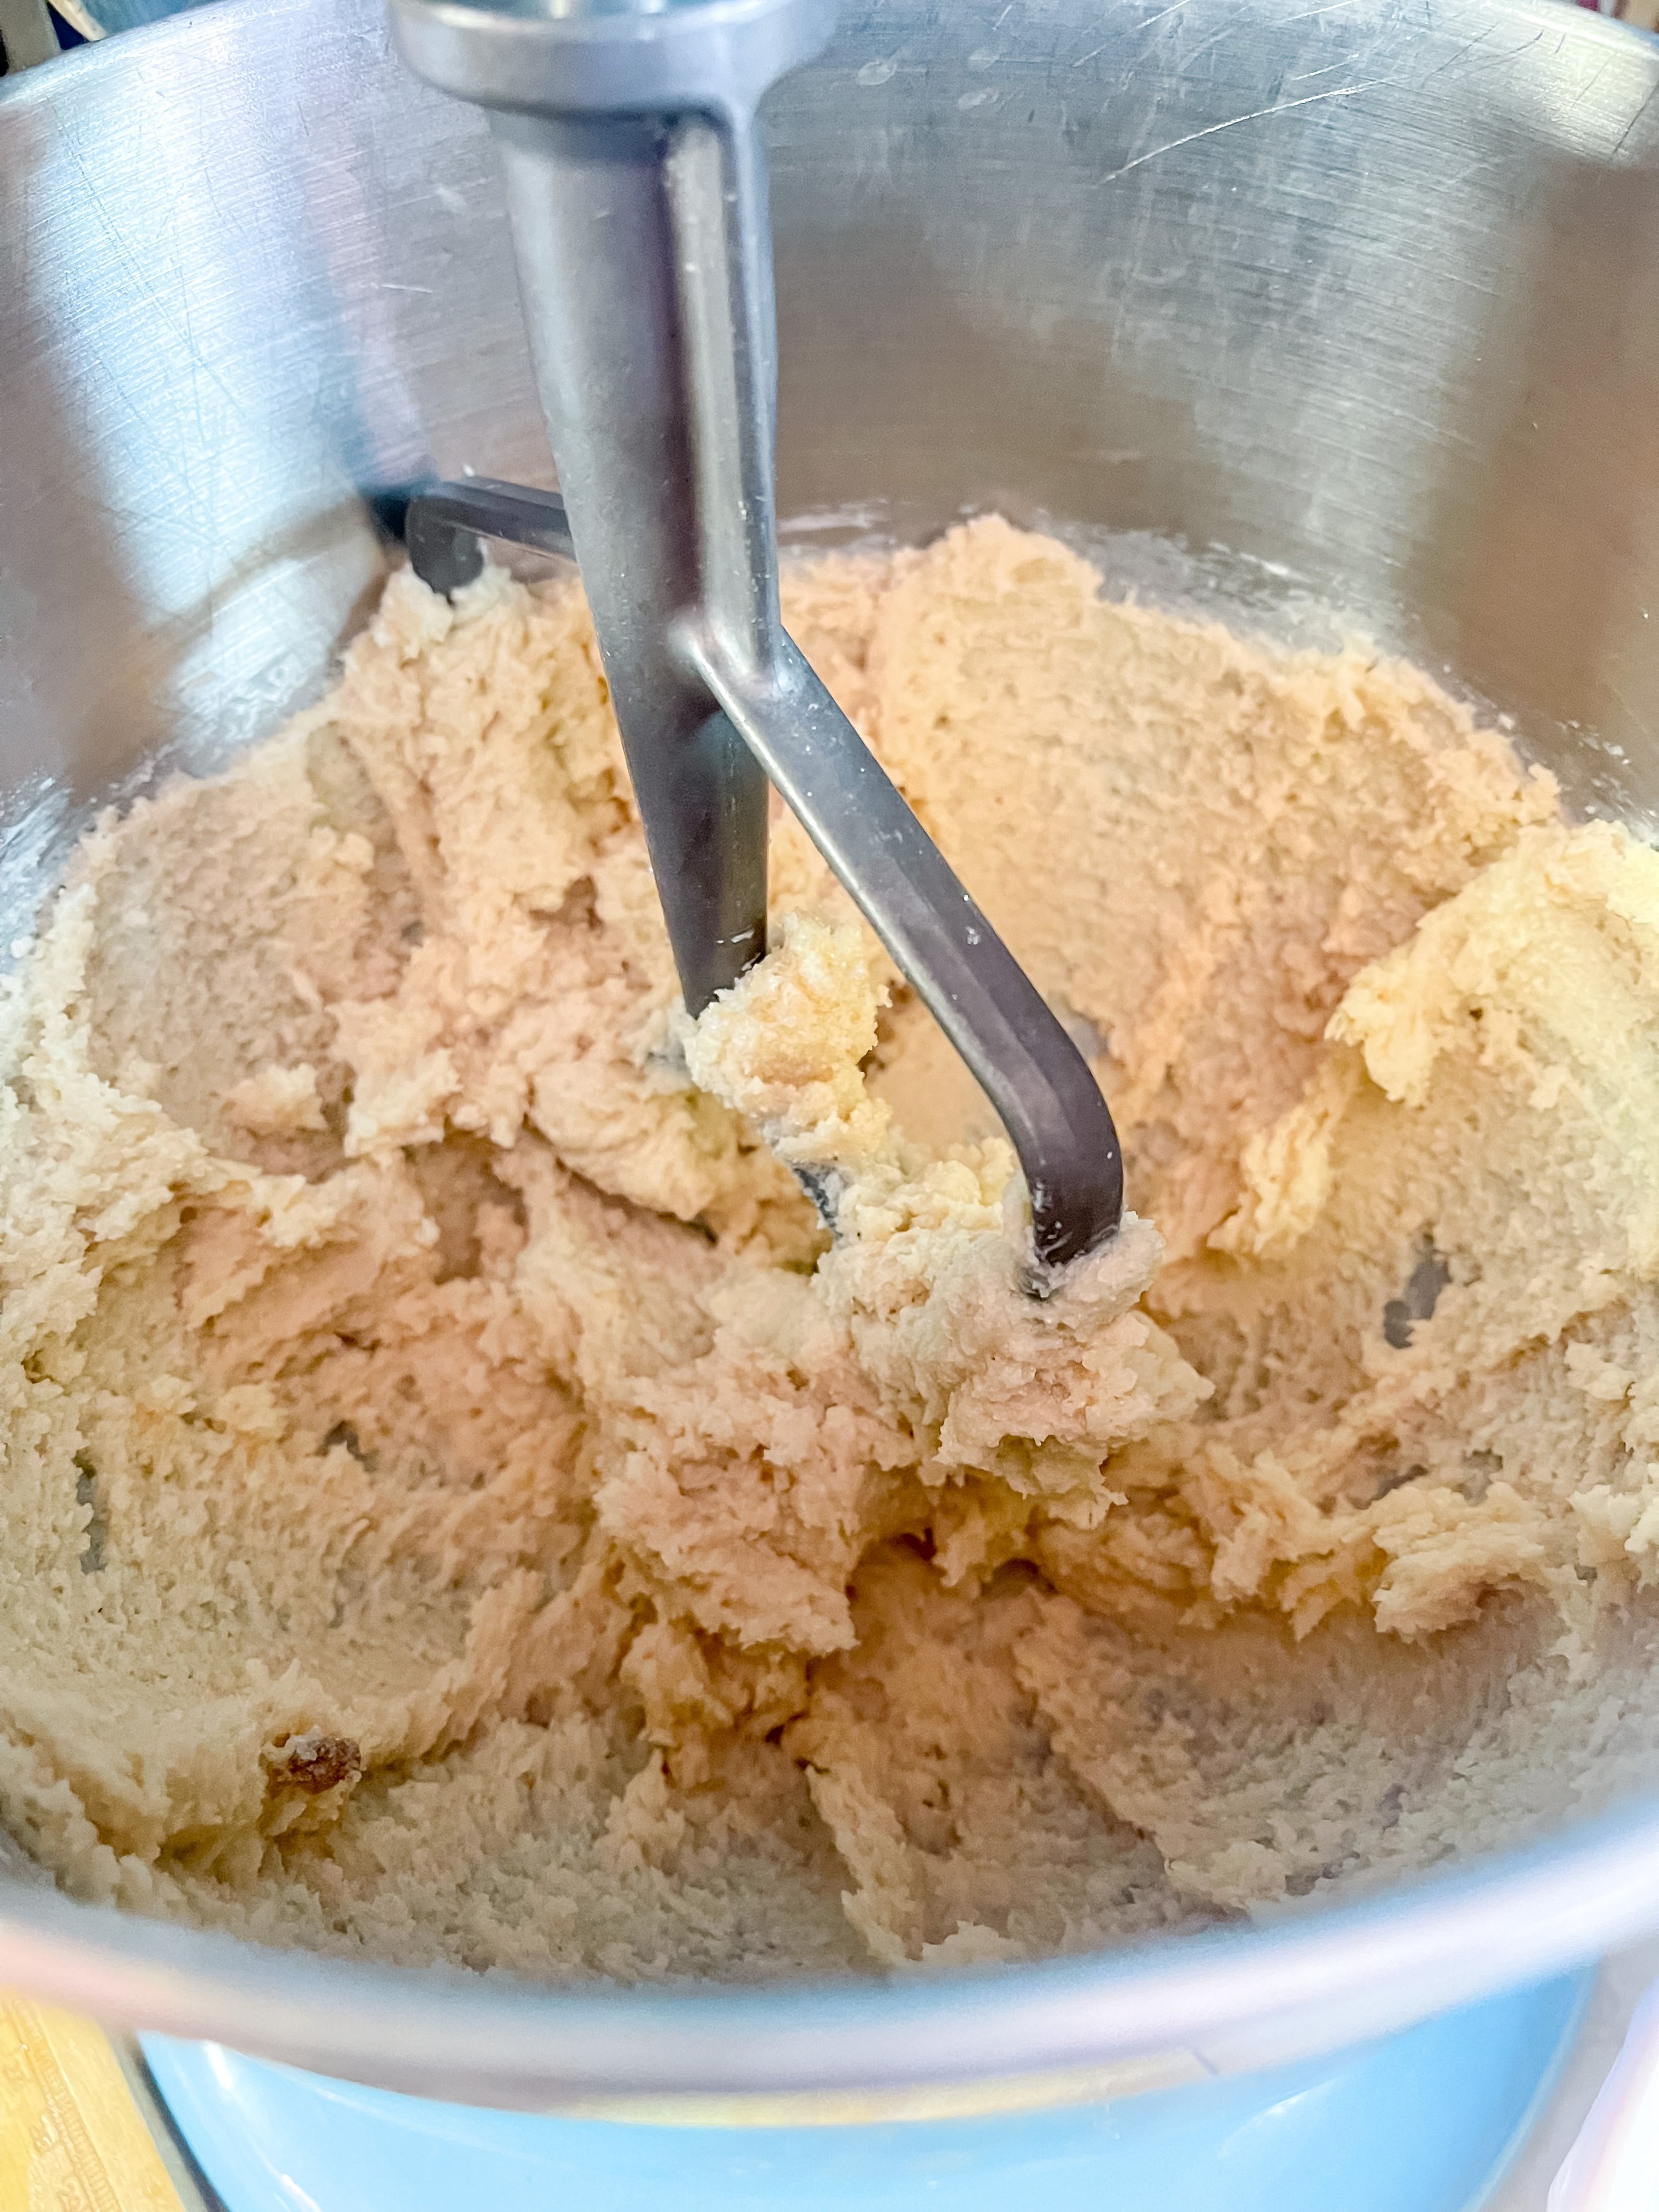
The package tells you to “cream” your butter and sugar which simply means to mix your butter and sugar together until they marry into one united mixture…one where you can’t see any butter by itself or any sugar on it’s own. It’s all blended into a creamy mixture. This is why you need softened butter. And this photo shows the consistency you’re looking for.
Make sure to scrape the sides of the bowl before adding anything else to make sure the butter mixture is ready to mix well with friends.
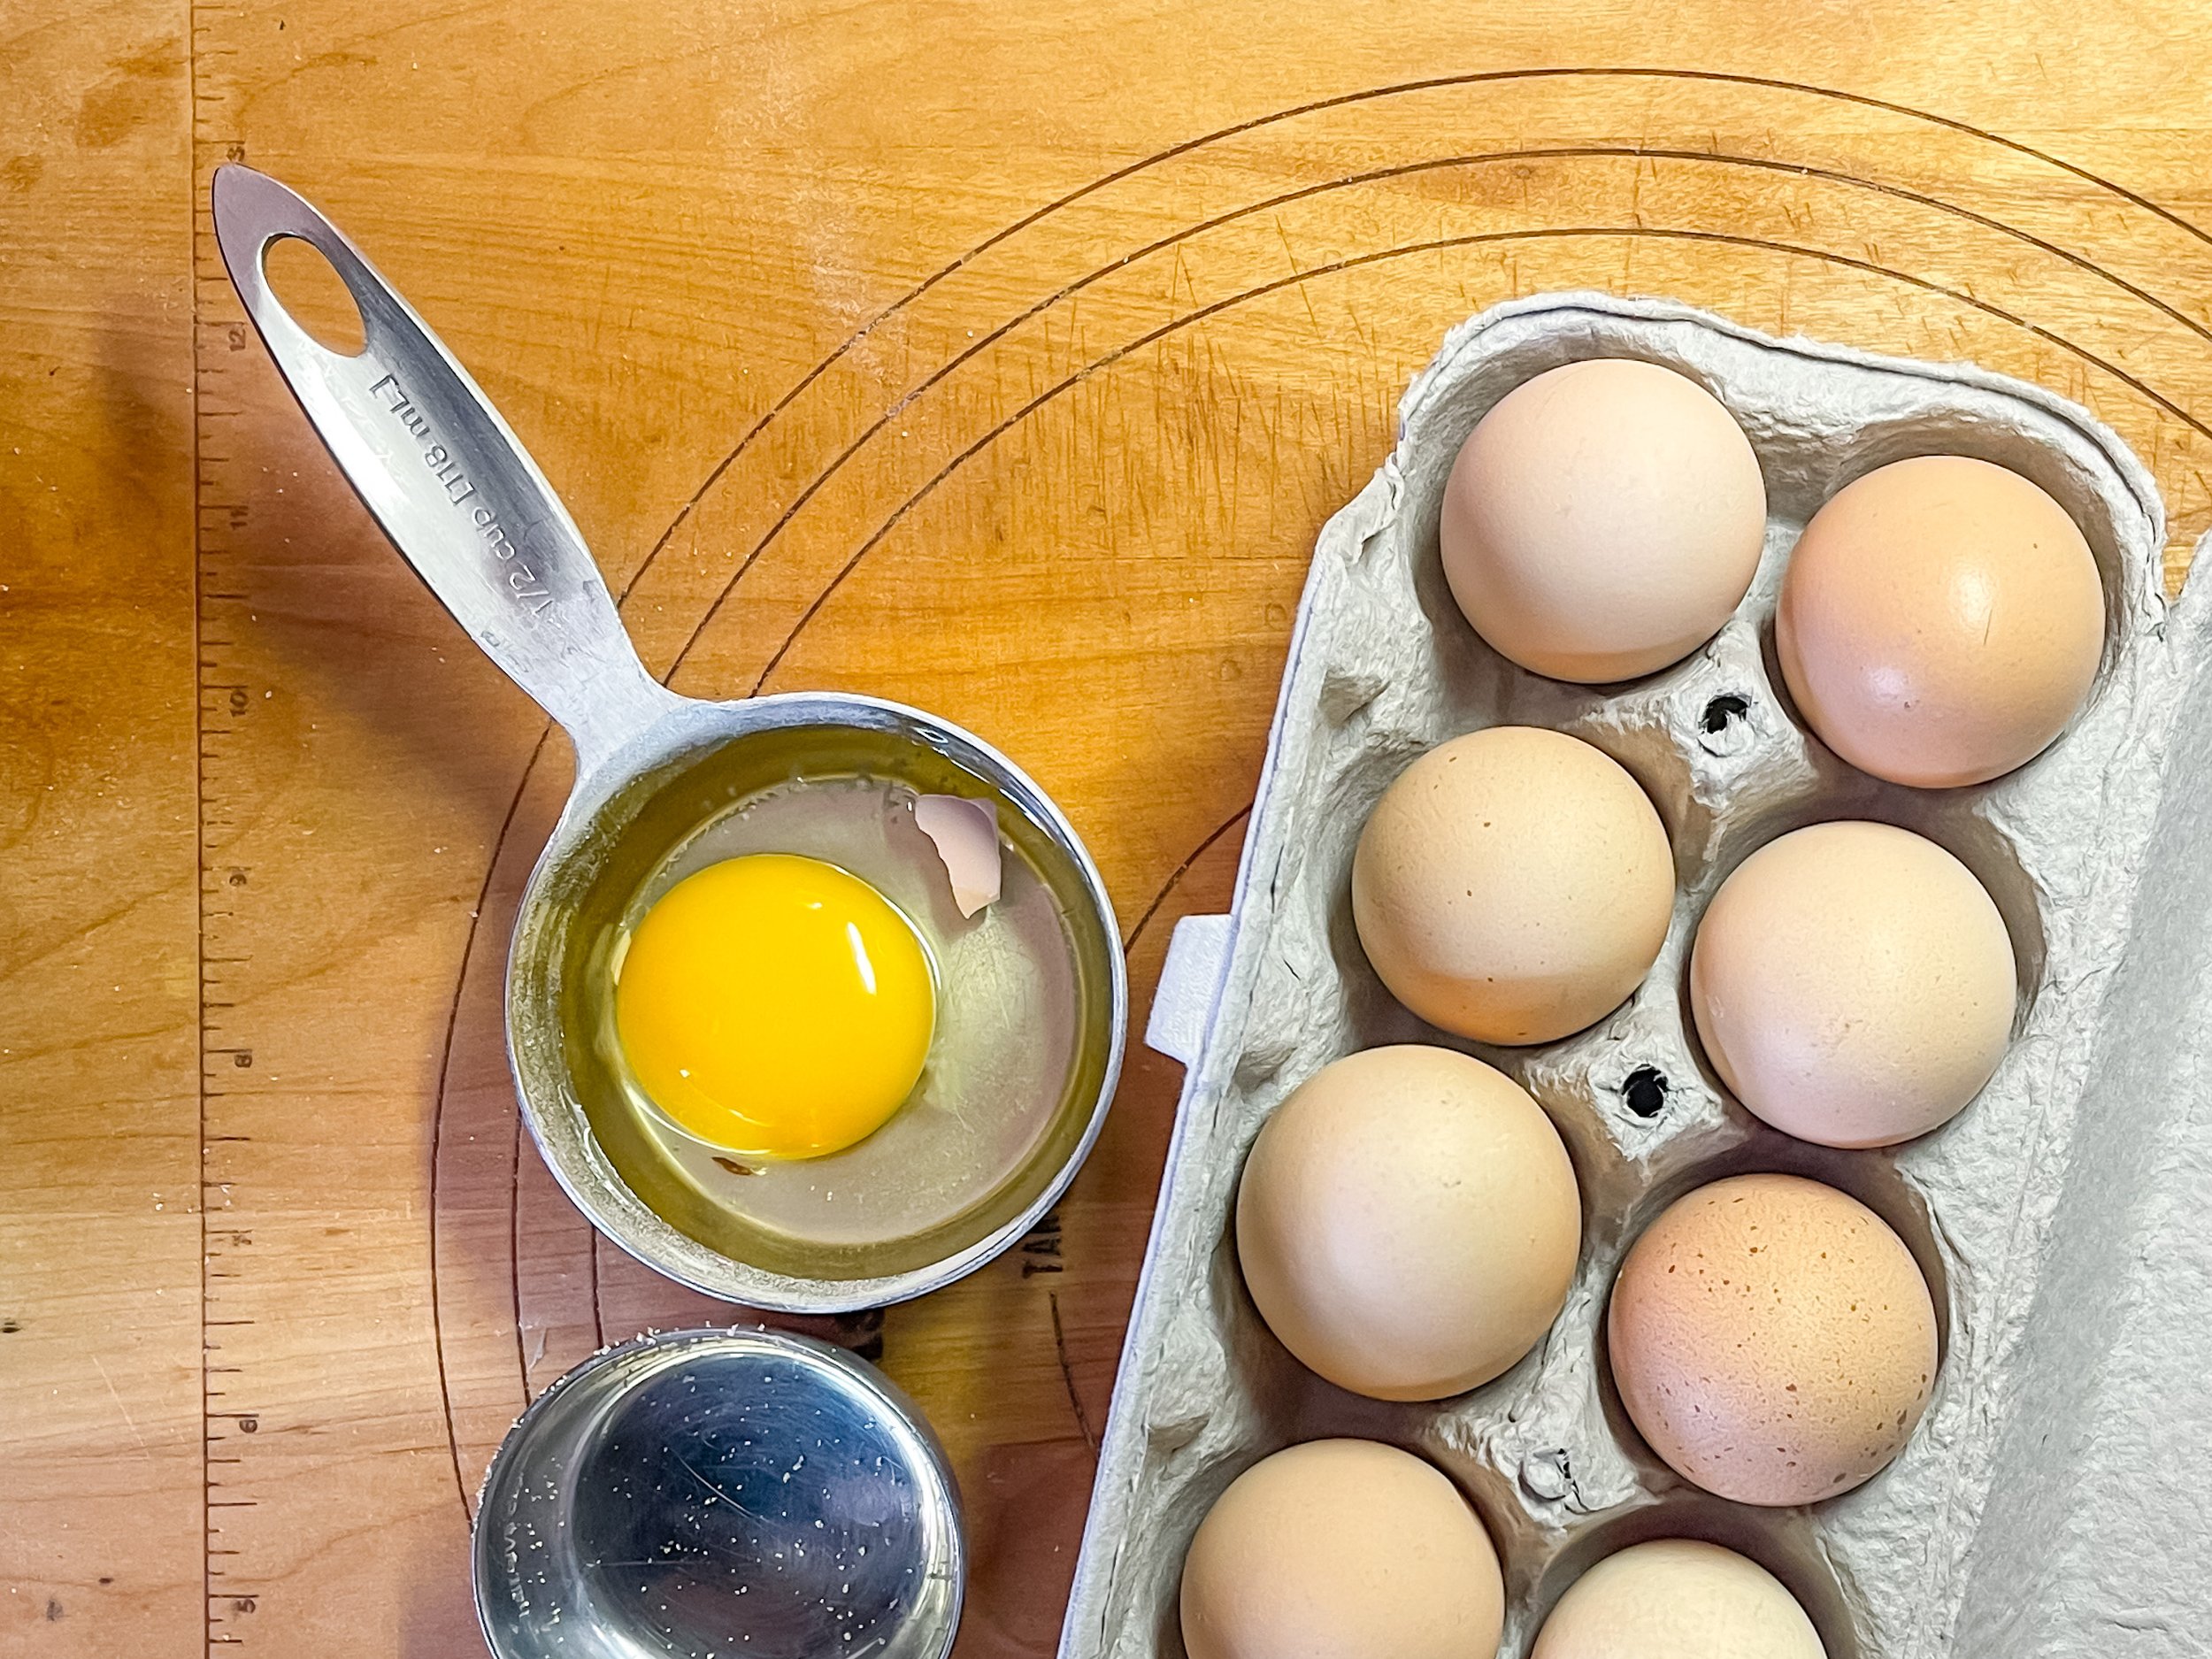
Next come the eggs! Eggs that are room temperature blend into batters easily. That’s just a little tip. I crack each egg into a separate container for this exact reason! See the shell in the measuring cup.
Btw…I used a measuring cup because it was already dirty…less mess when we can reuse the dirties!
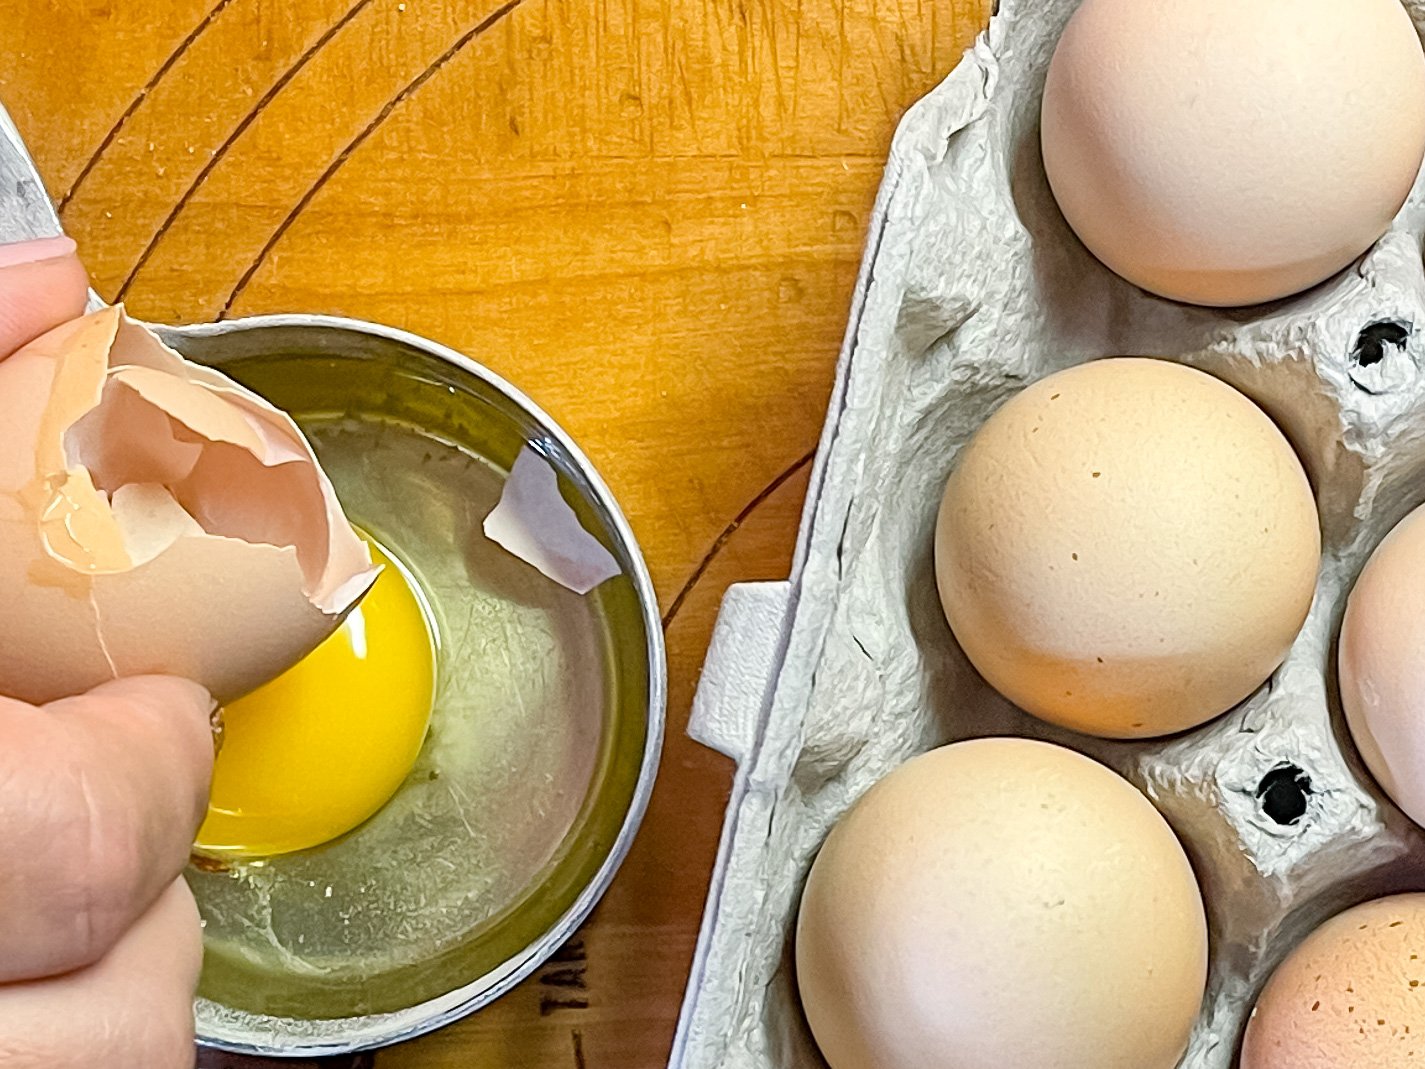
To remove the shell you could use your fingers but sometimes those little guys get slippery and dodgy. A trick is to use an empty egg shell to scoop out pieces of shell. They attract to one another like magnets.
And voila! Egg time!
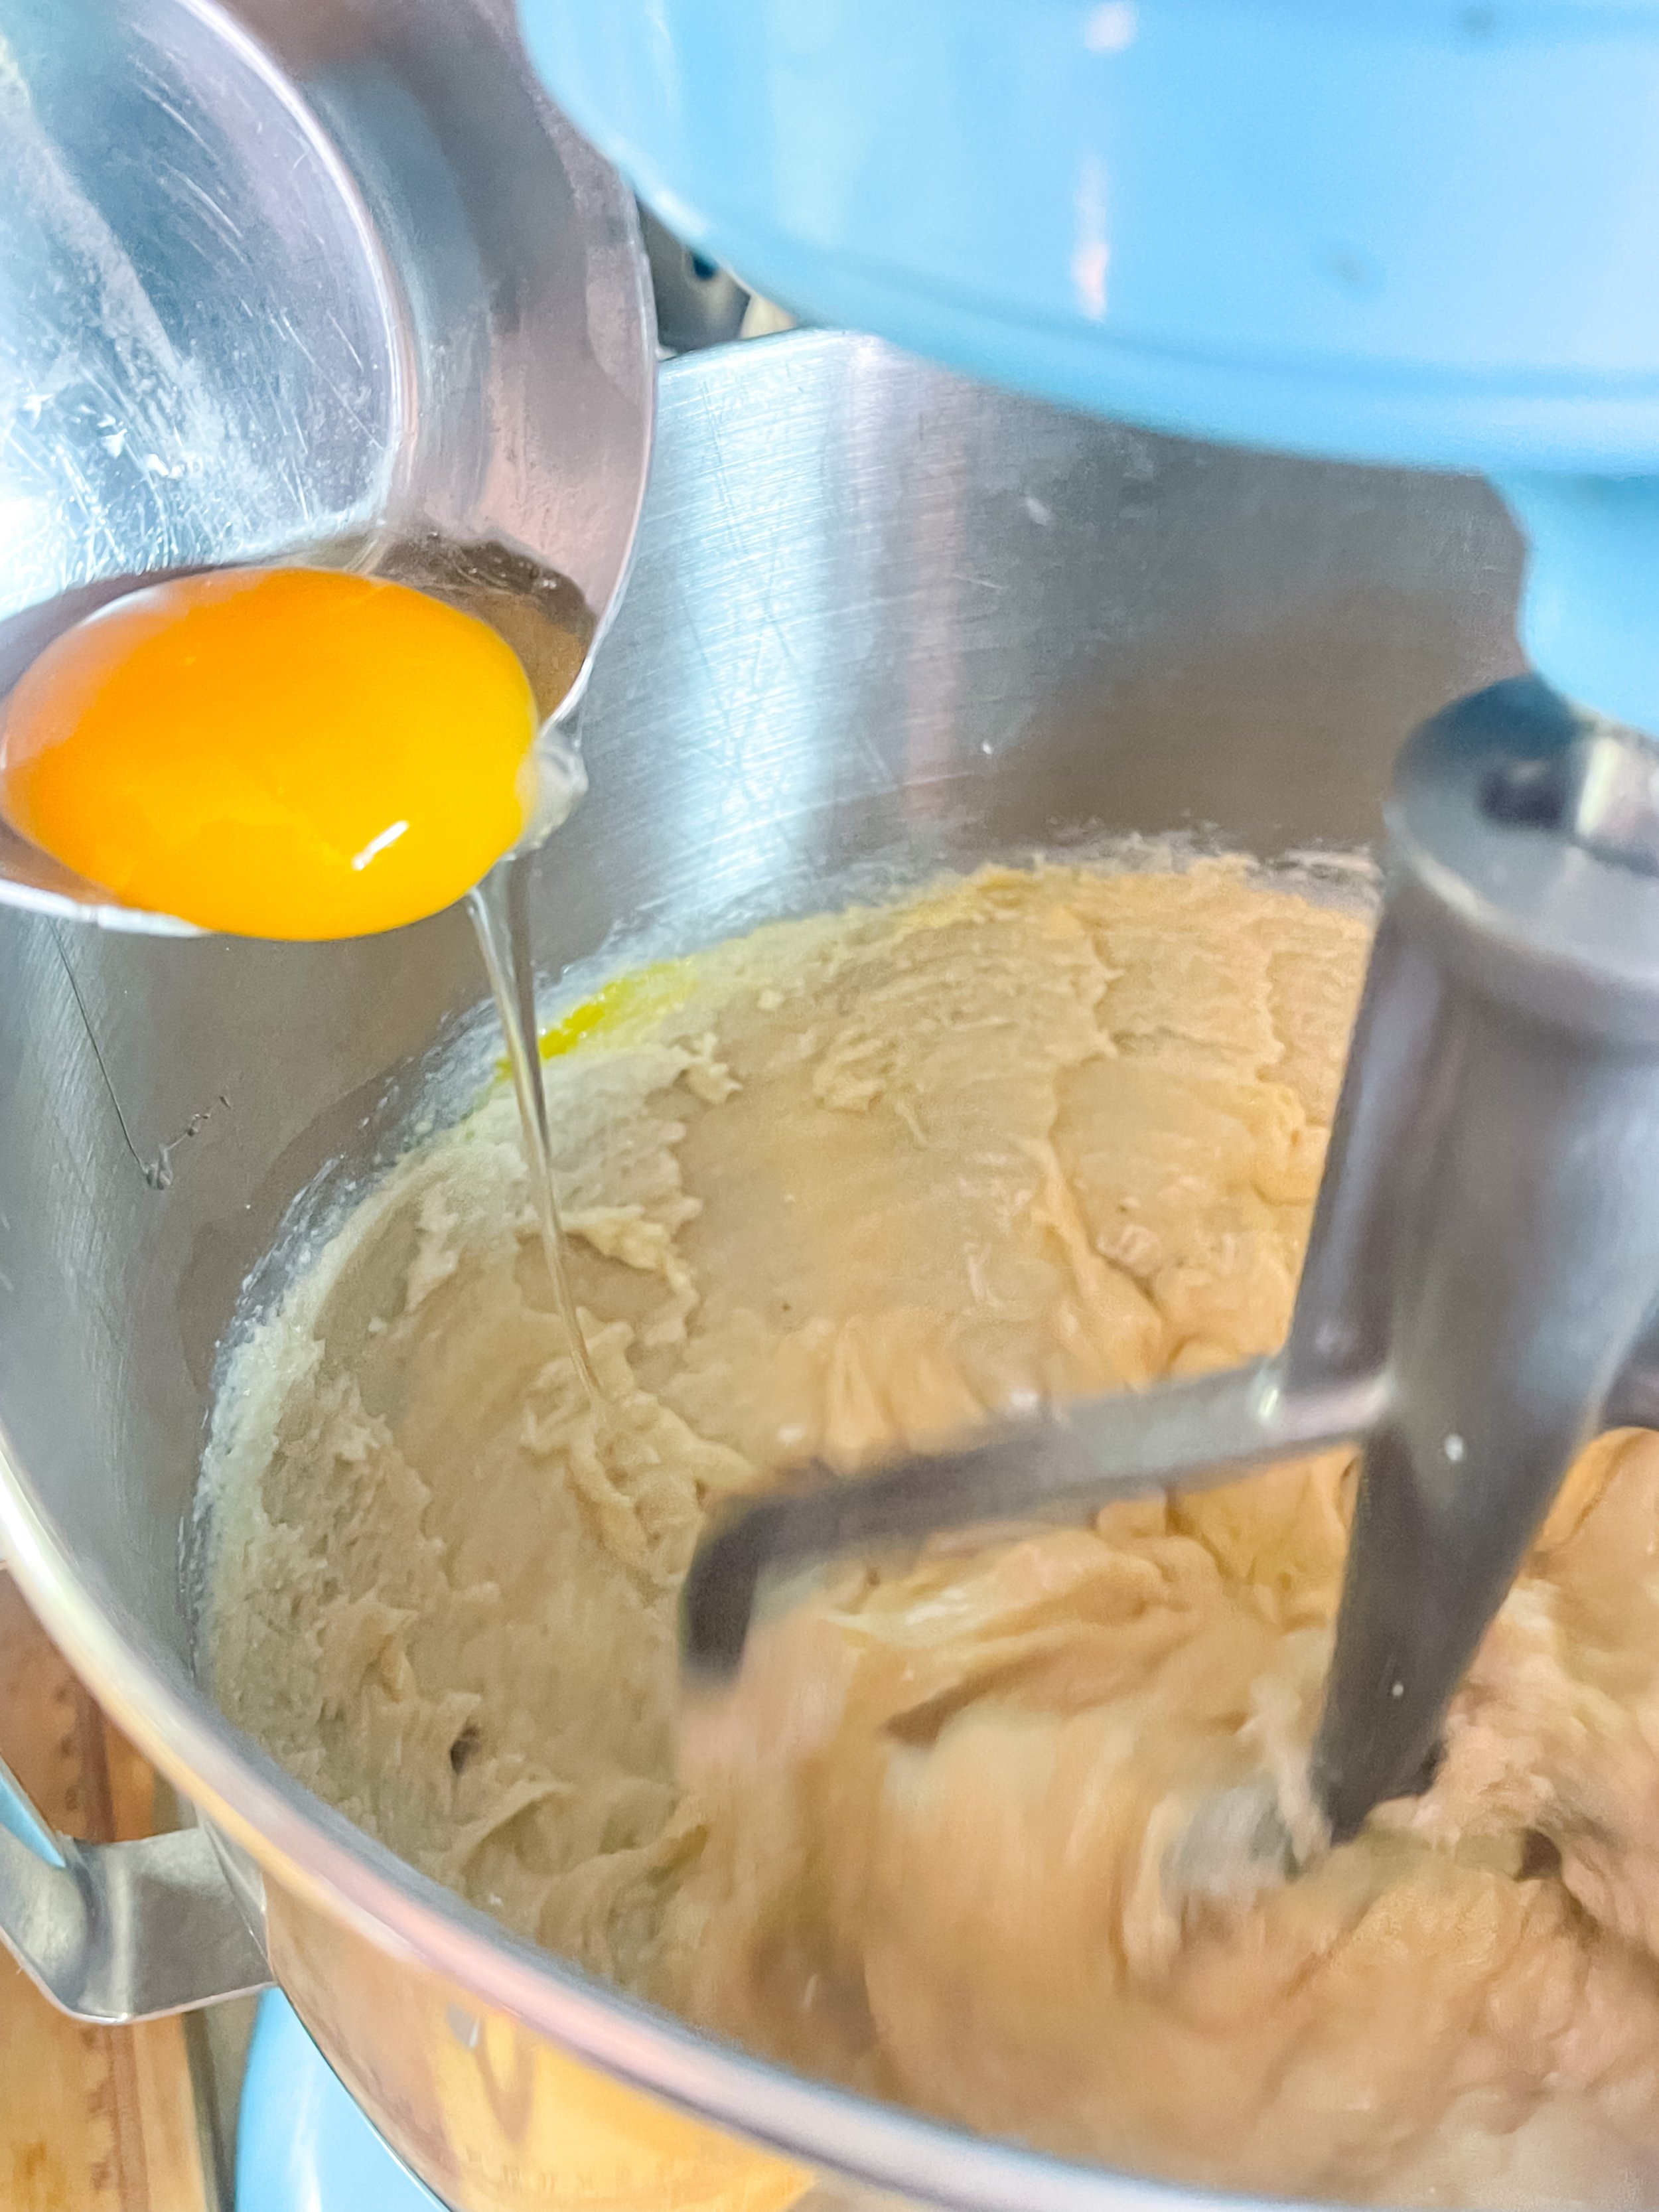
Mix well after each egg addition and make sure everything is well incorporated after adding each egg.

The final liquid to be added is the vanilla. You can use any kind of vanilla if you can’t afford pure. I remember feeling really stressed when I started baking because pure vanilla was so expensive. My grandma made cookies with the vanilla extract and I loved them so much. It will be okay, don’t sweat the small stuff. If you want to invest in good vanilla I recommend Trader Joe’s or Costco for cheaper-ish varieties.
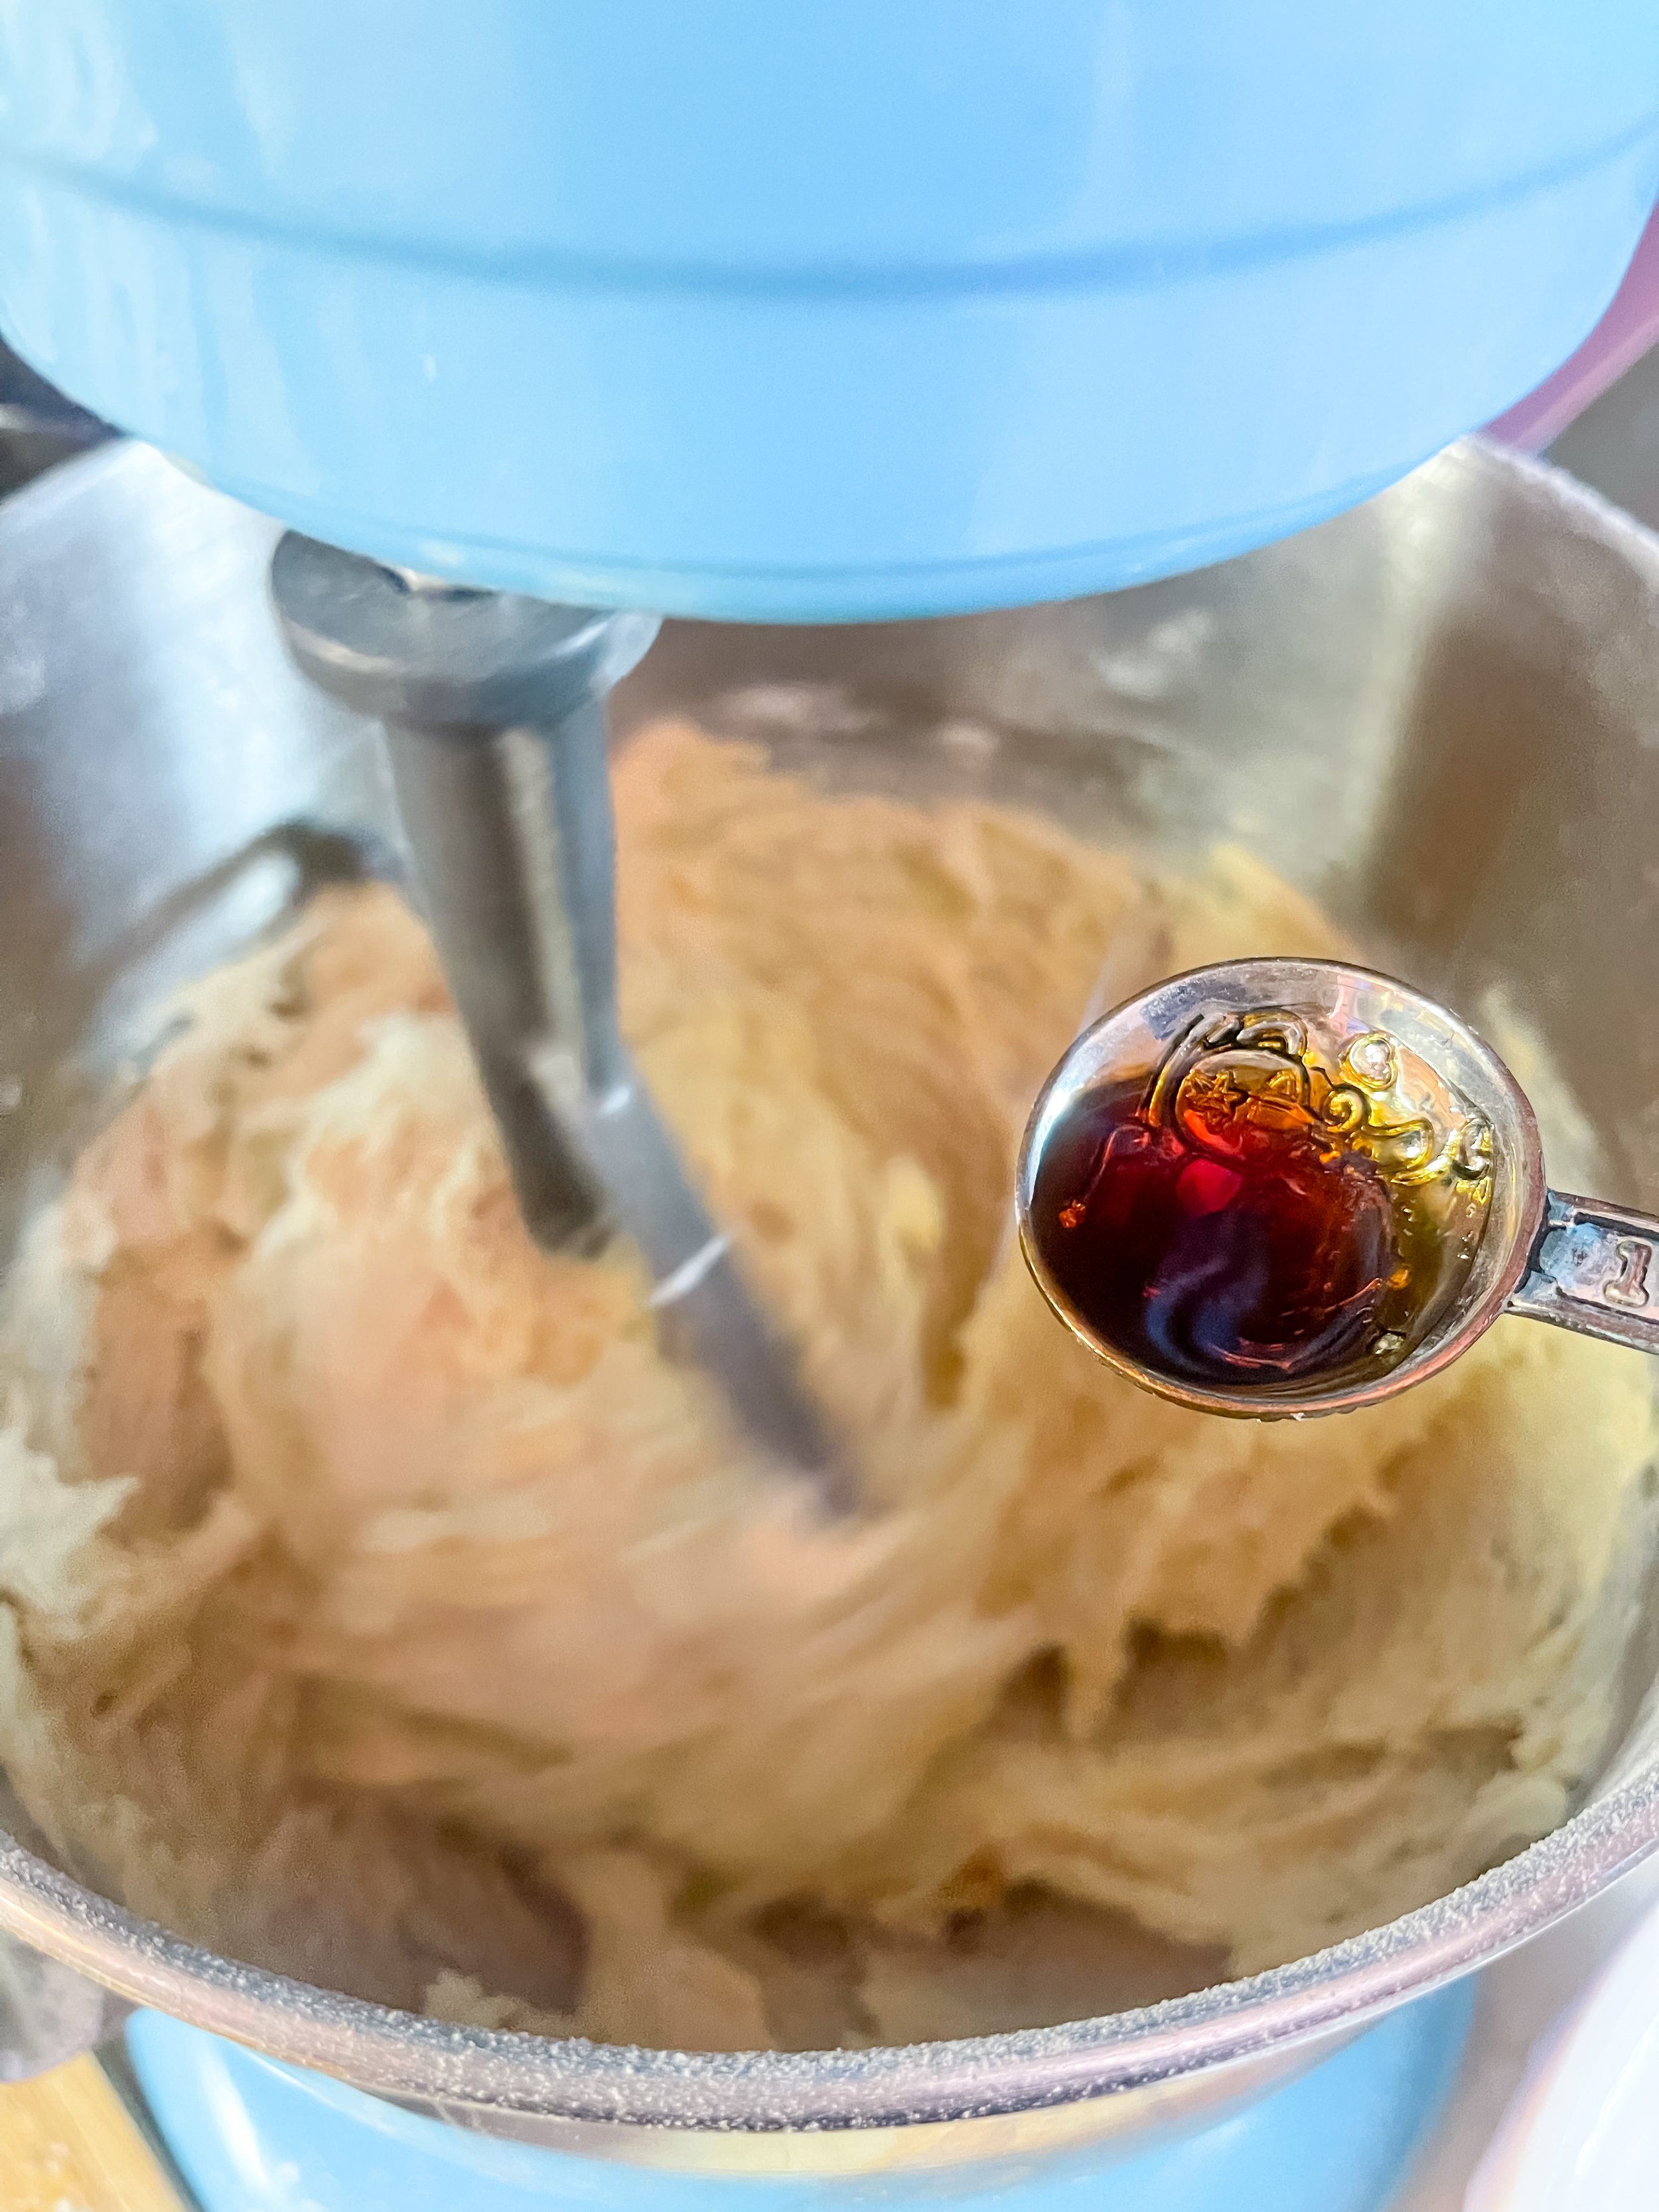
Pour one teaspoon of vanilla into the batter.
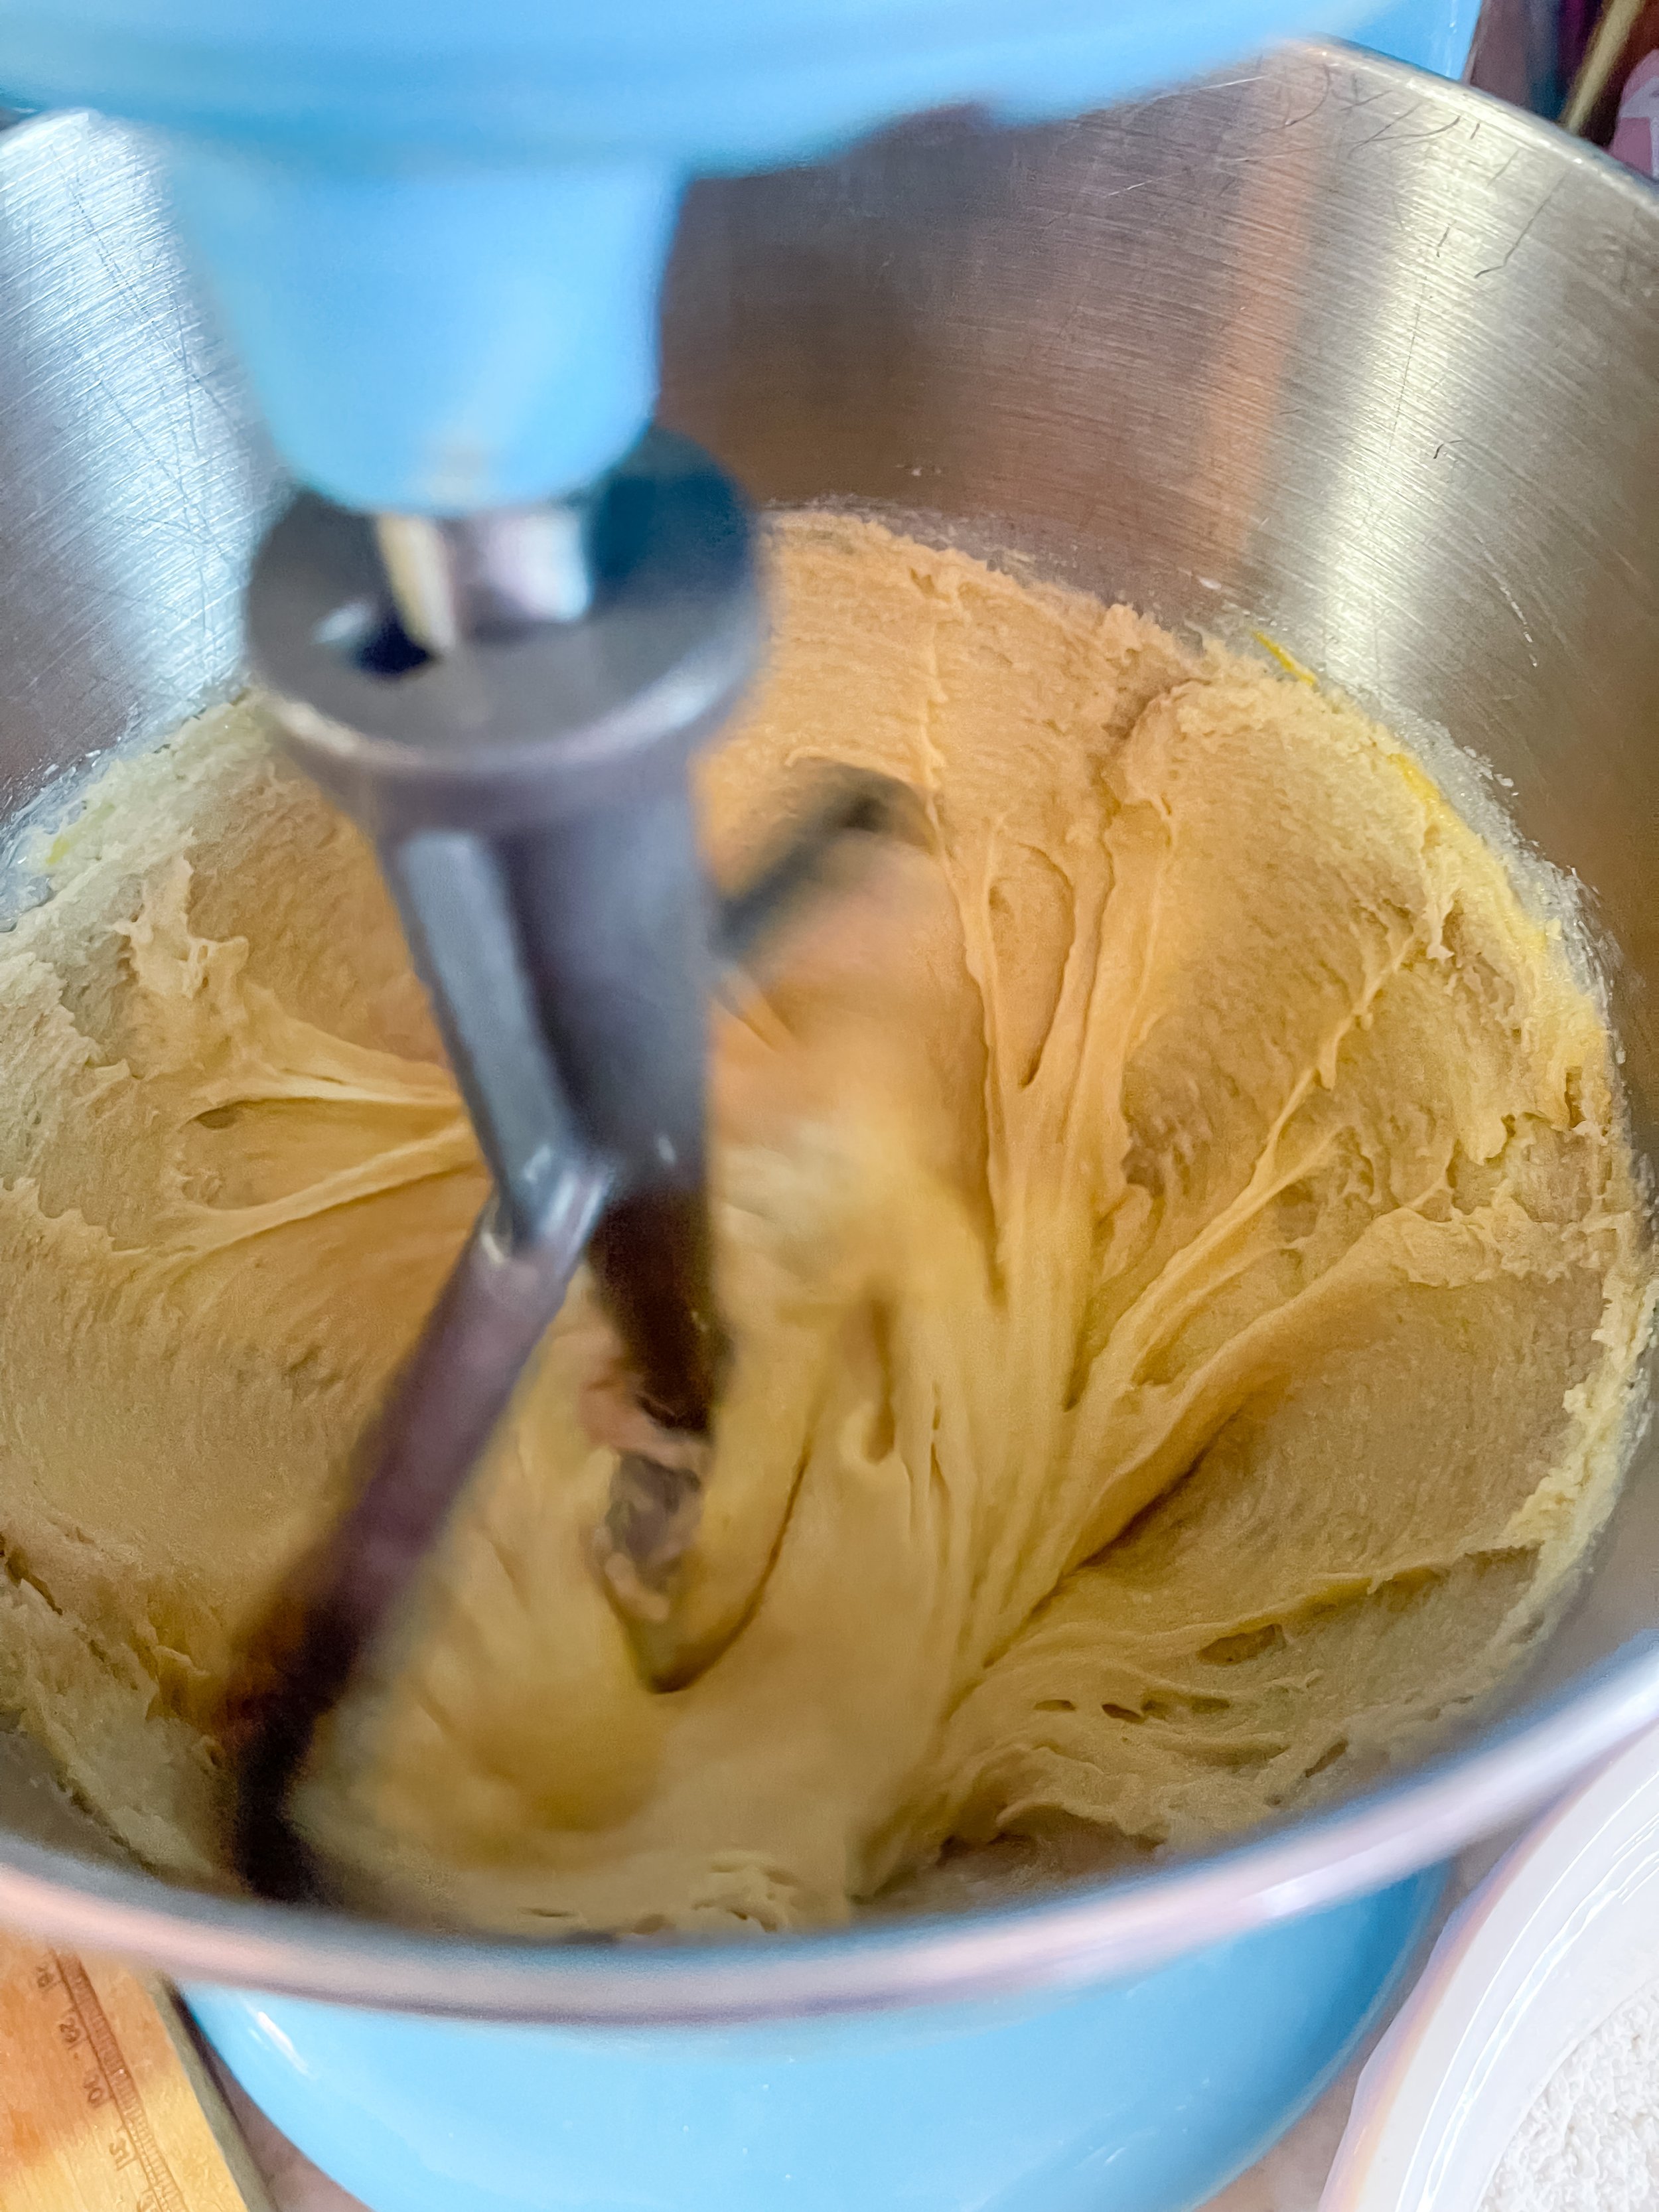
And this is the consistency it should look like.
Next up…our forgotten friend, first bowl. We’re going to add in the flour mixture a little at a time and a lower speed…hand mixer I’d use a one speed. With my stand mixer I use a 2.
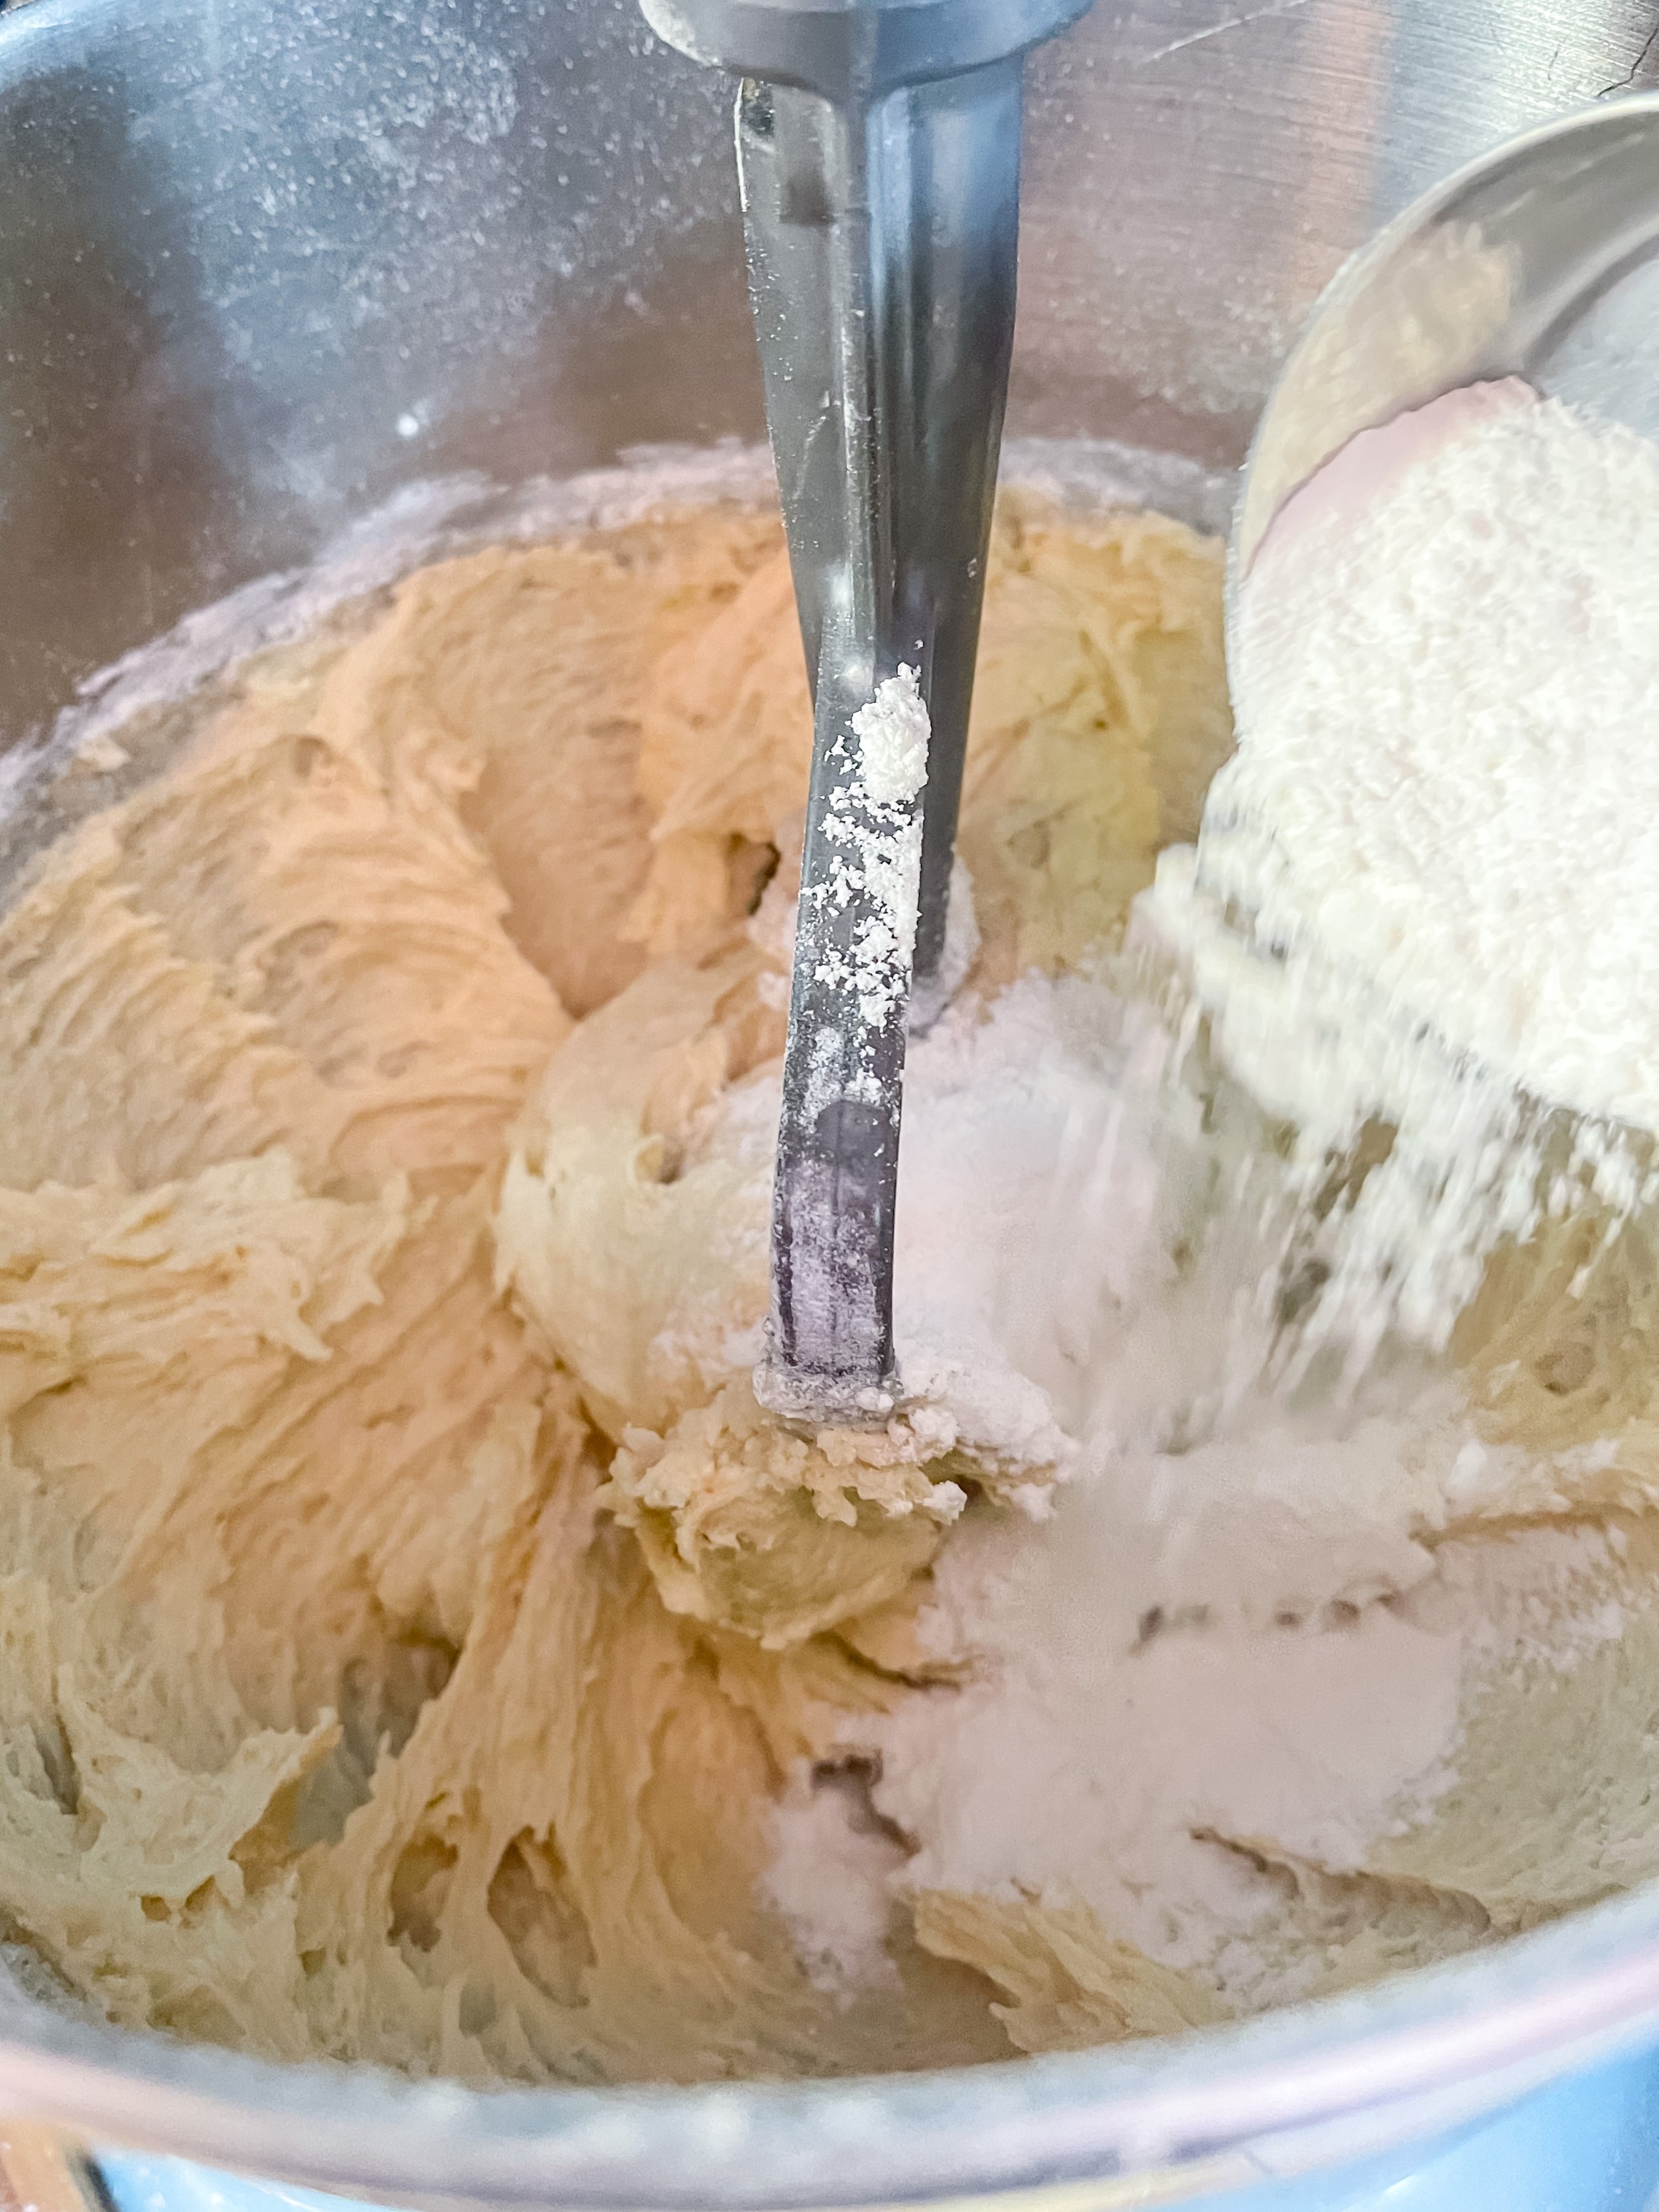
With each addition, make sure to incorporate all the flour before adding more. That will ensure you don’t get clumps of flour anywhere.

You can use a measuring cup to add the flour or you can just tip the bowl into the mixing bowl to add some. I use a hybrid mixture because after a while it’s more trouble than it’s worth to try to get enough flour into the scoop.
Btw…this pink bowl is from a set my dear sister in law, Natalie, gave me and I love them so much! Aren’t they the prettiest things you’ve ever seen?
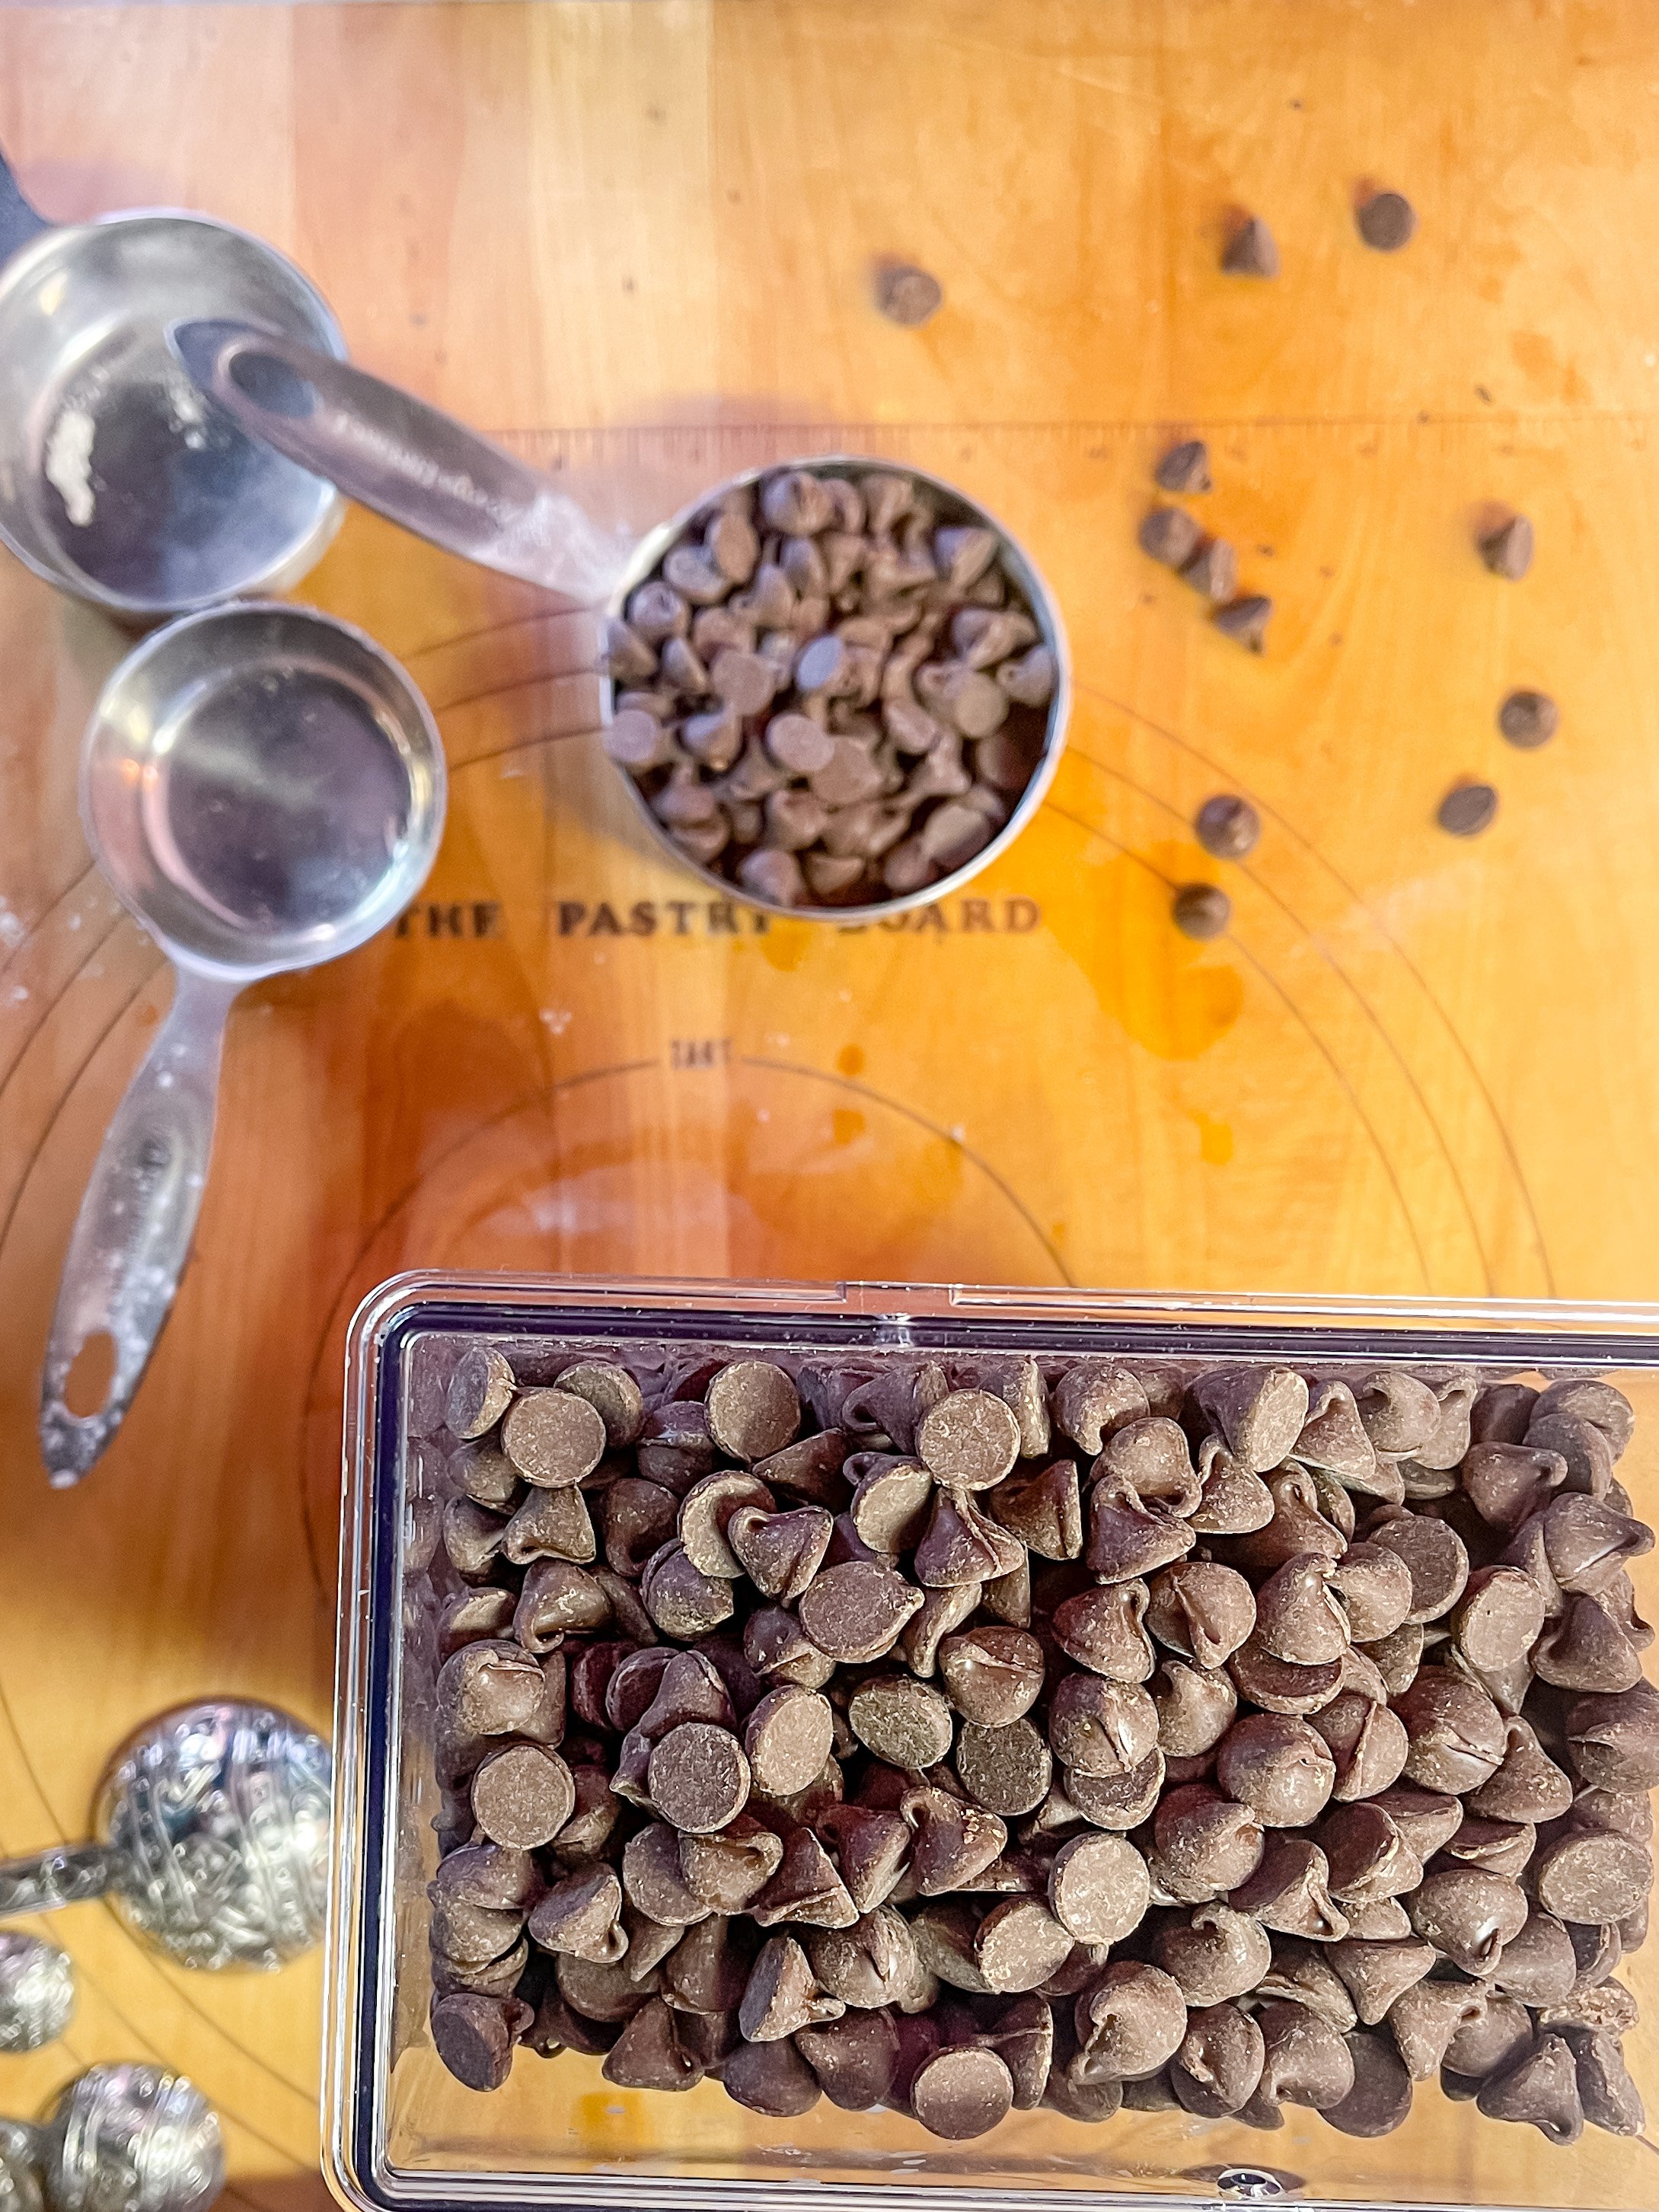
Lastly, chocolate! Because we can’t have chocolate chip cookies without the chips! If you have a regular bag of chocolate chips, you’ll use the entire bag. I buy the big honkin’ bag from Costco and store them in an air-tight container. If you’re doing it like me, you’ll need to measure out two cups of chips.
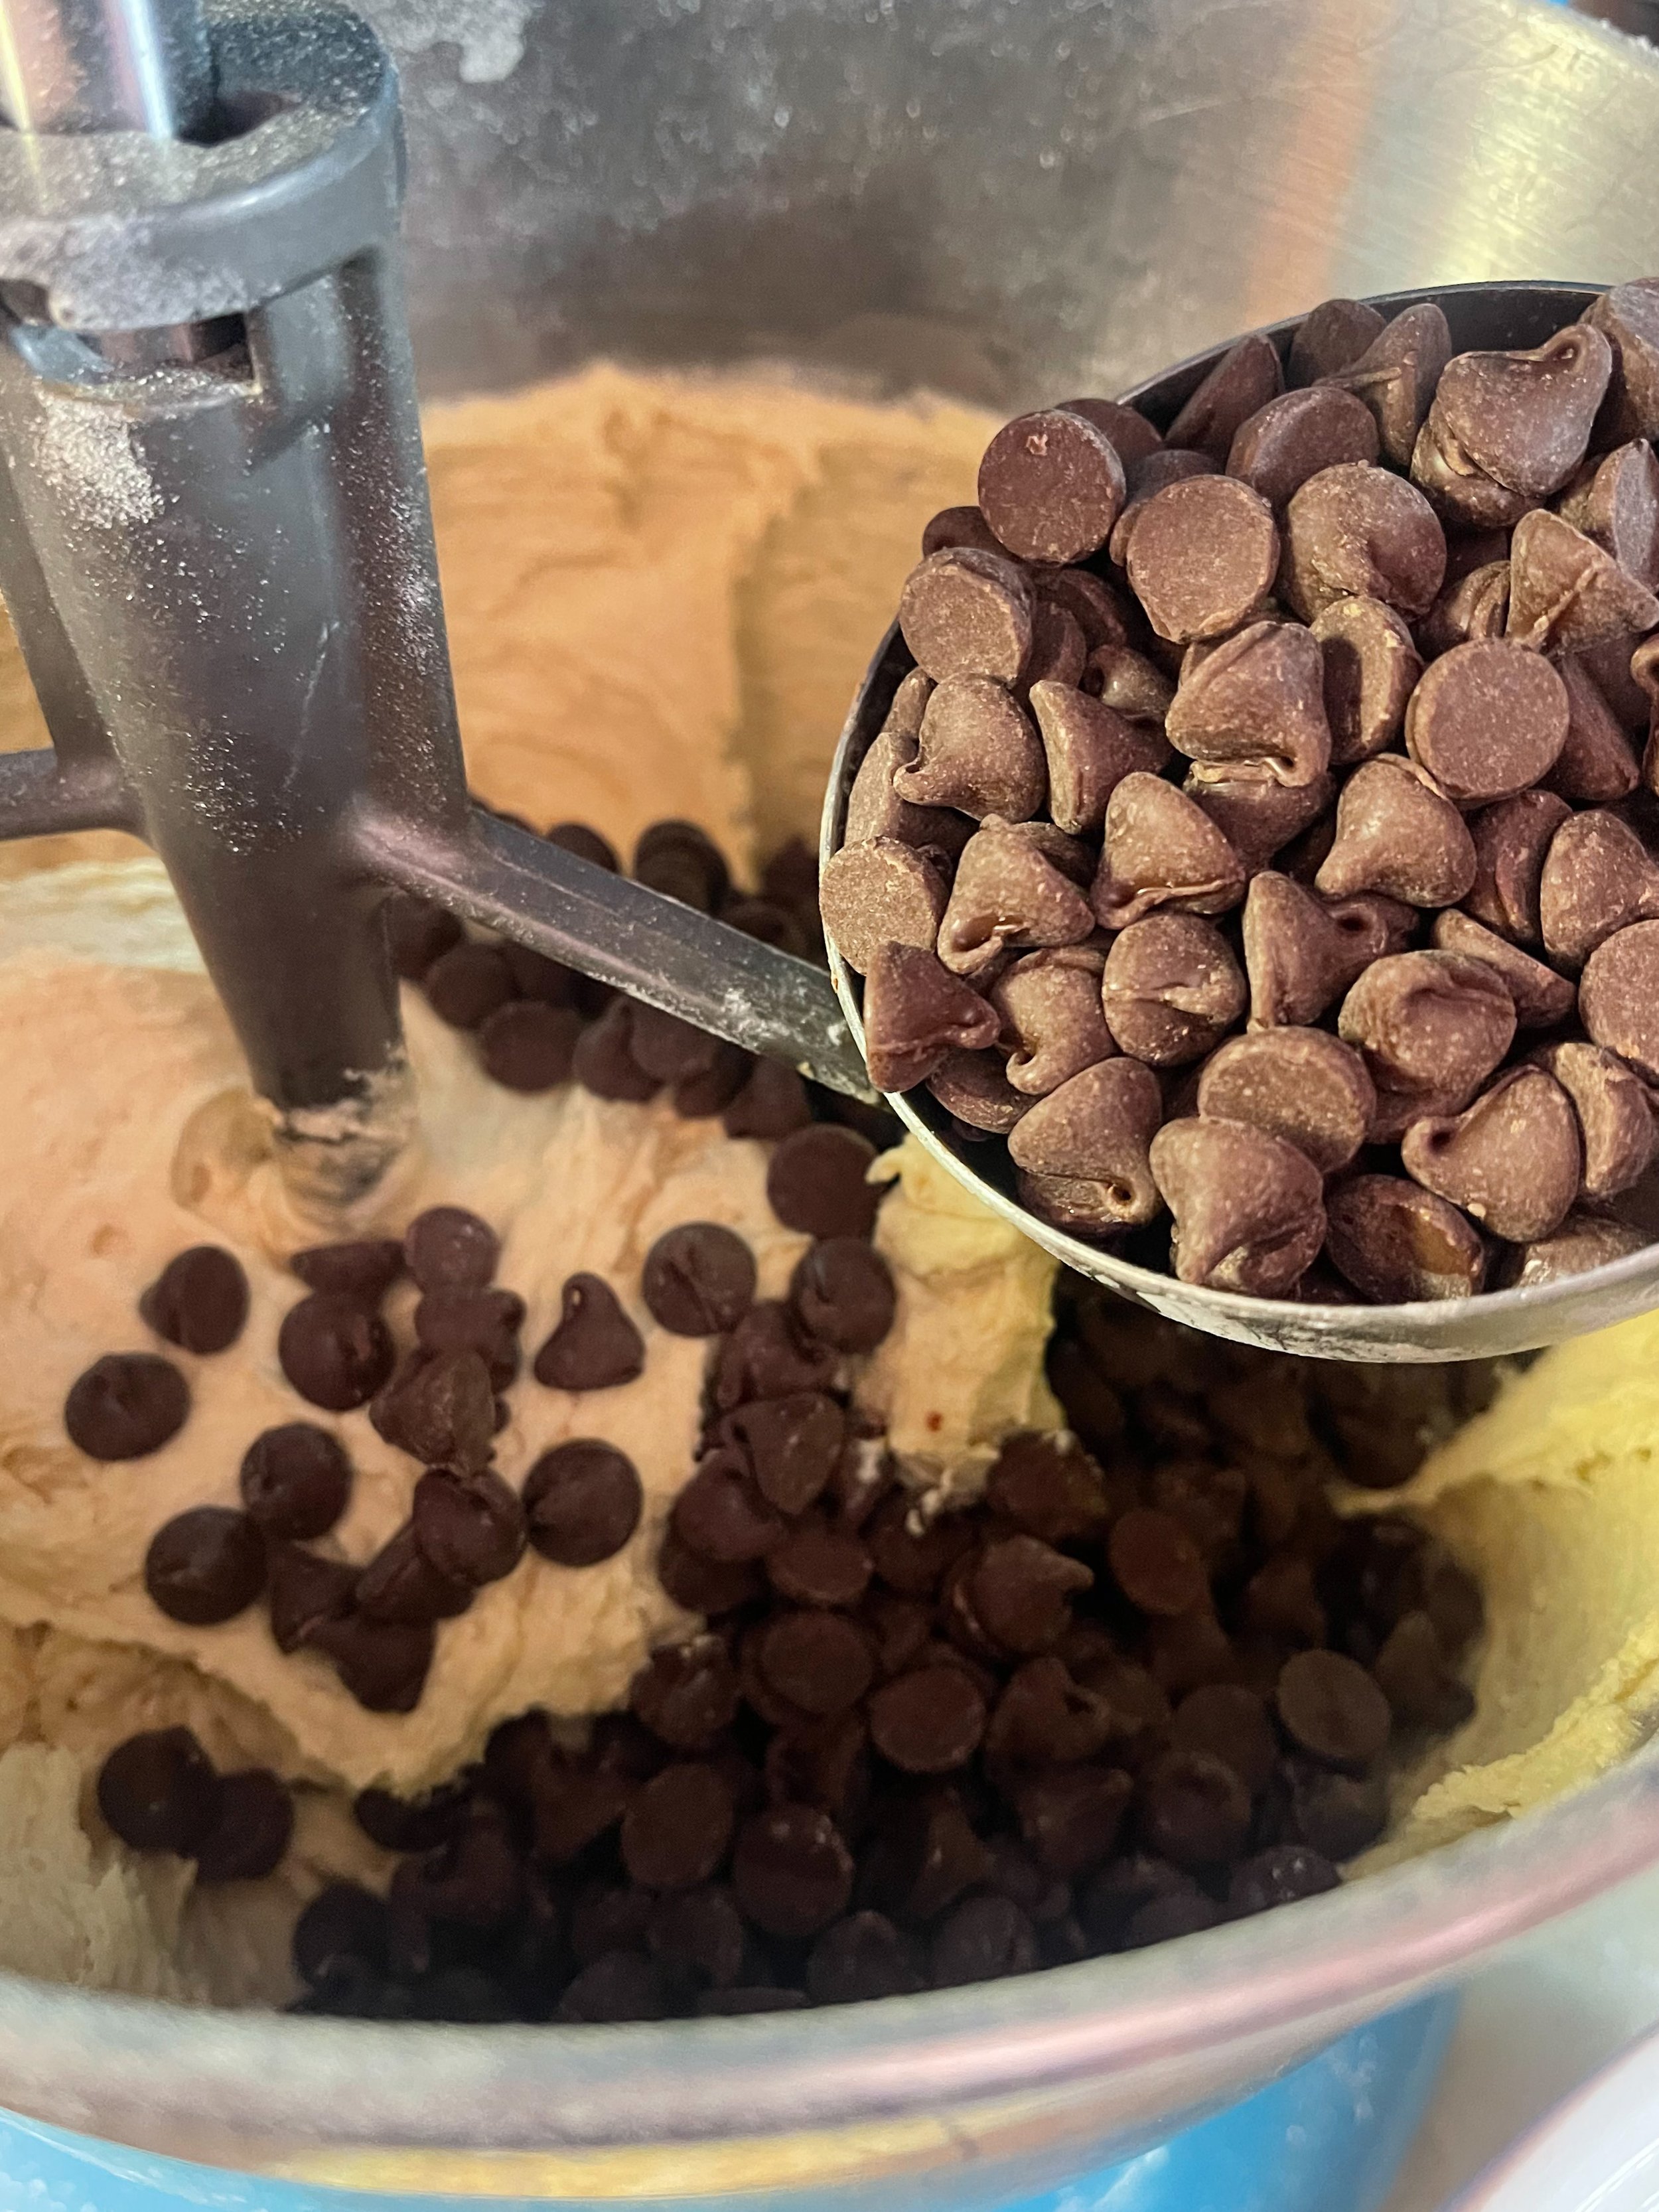
Pour those into the dough. The package tells you to mix them in hand. I’ve never had trouble setting my stand mixer on the “stir” setting. The point is they don’t want you to obliterate the chocolate chips into teeny pieces. Any method you can do and successfully mix the chips in, you’ll be good.
Make sure that all of the chips are equally dispersed throughout the batter. I’ve had times I haven’t checked and the bottom of the bowl had sad, lifeless, chocolate chipless batter. Which is not fun as the fun, full of chips batter.

This beautiful girl is what you are looking for when you are done. This batter is ready to bake!
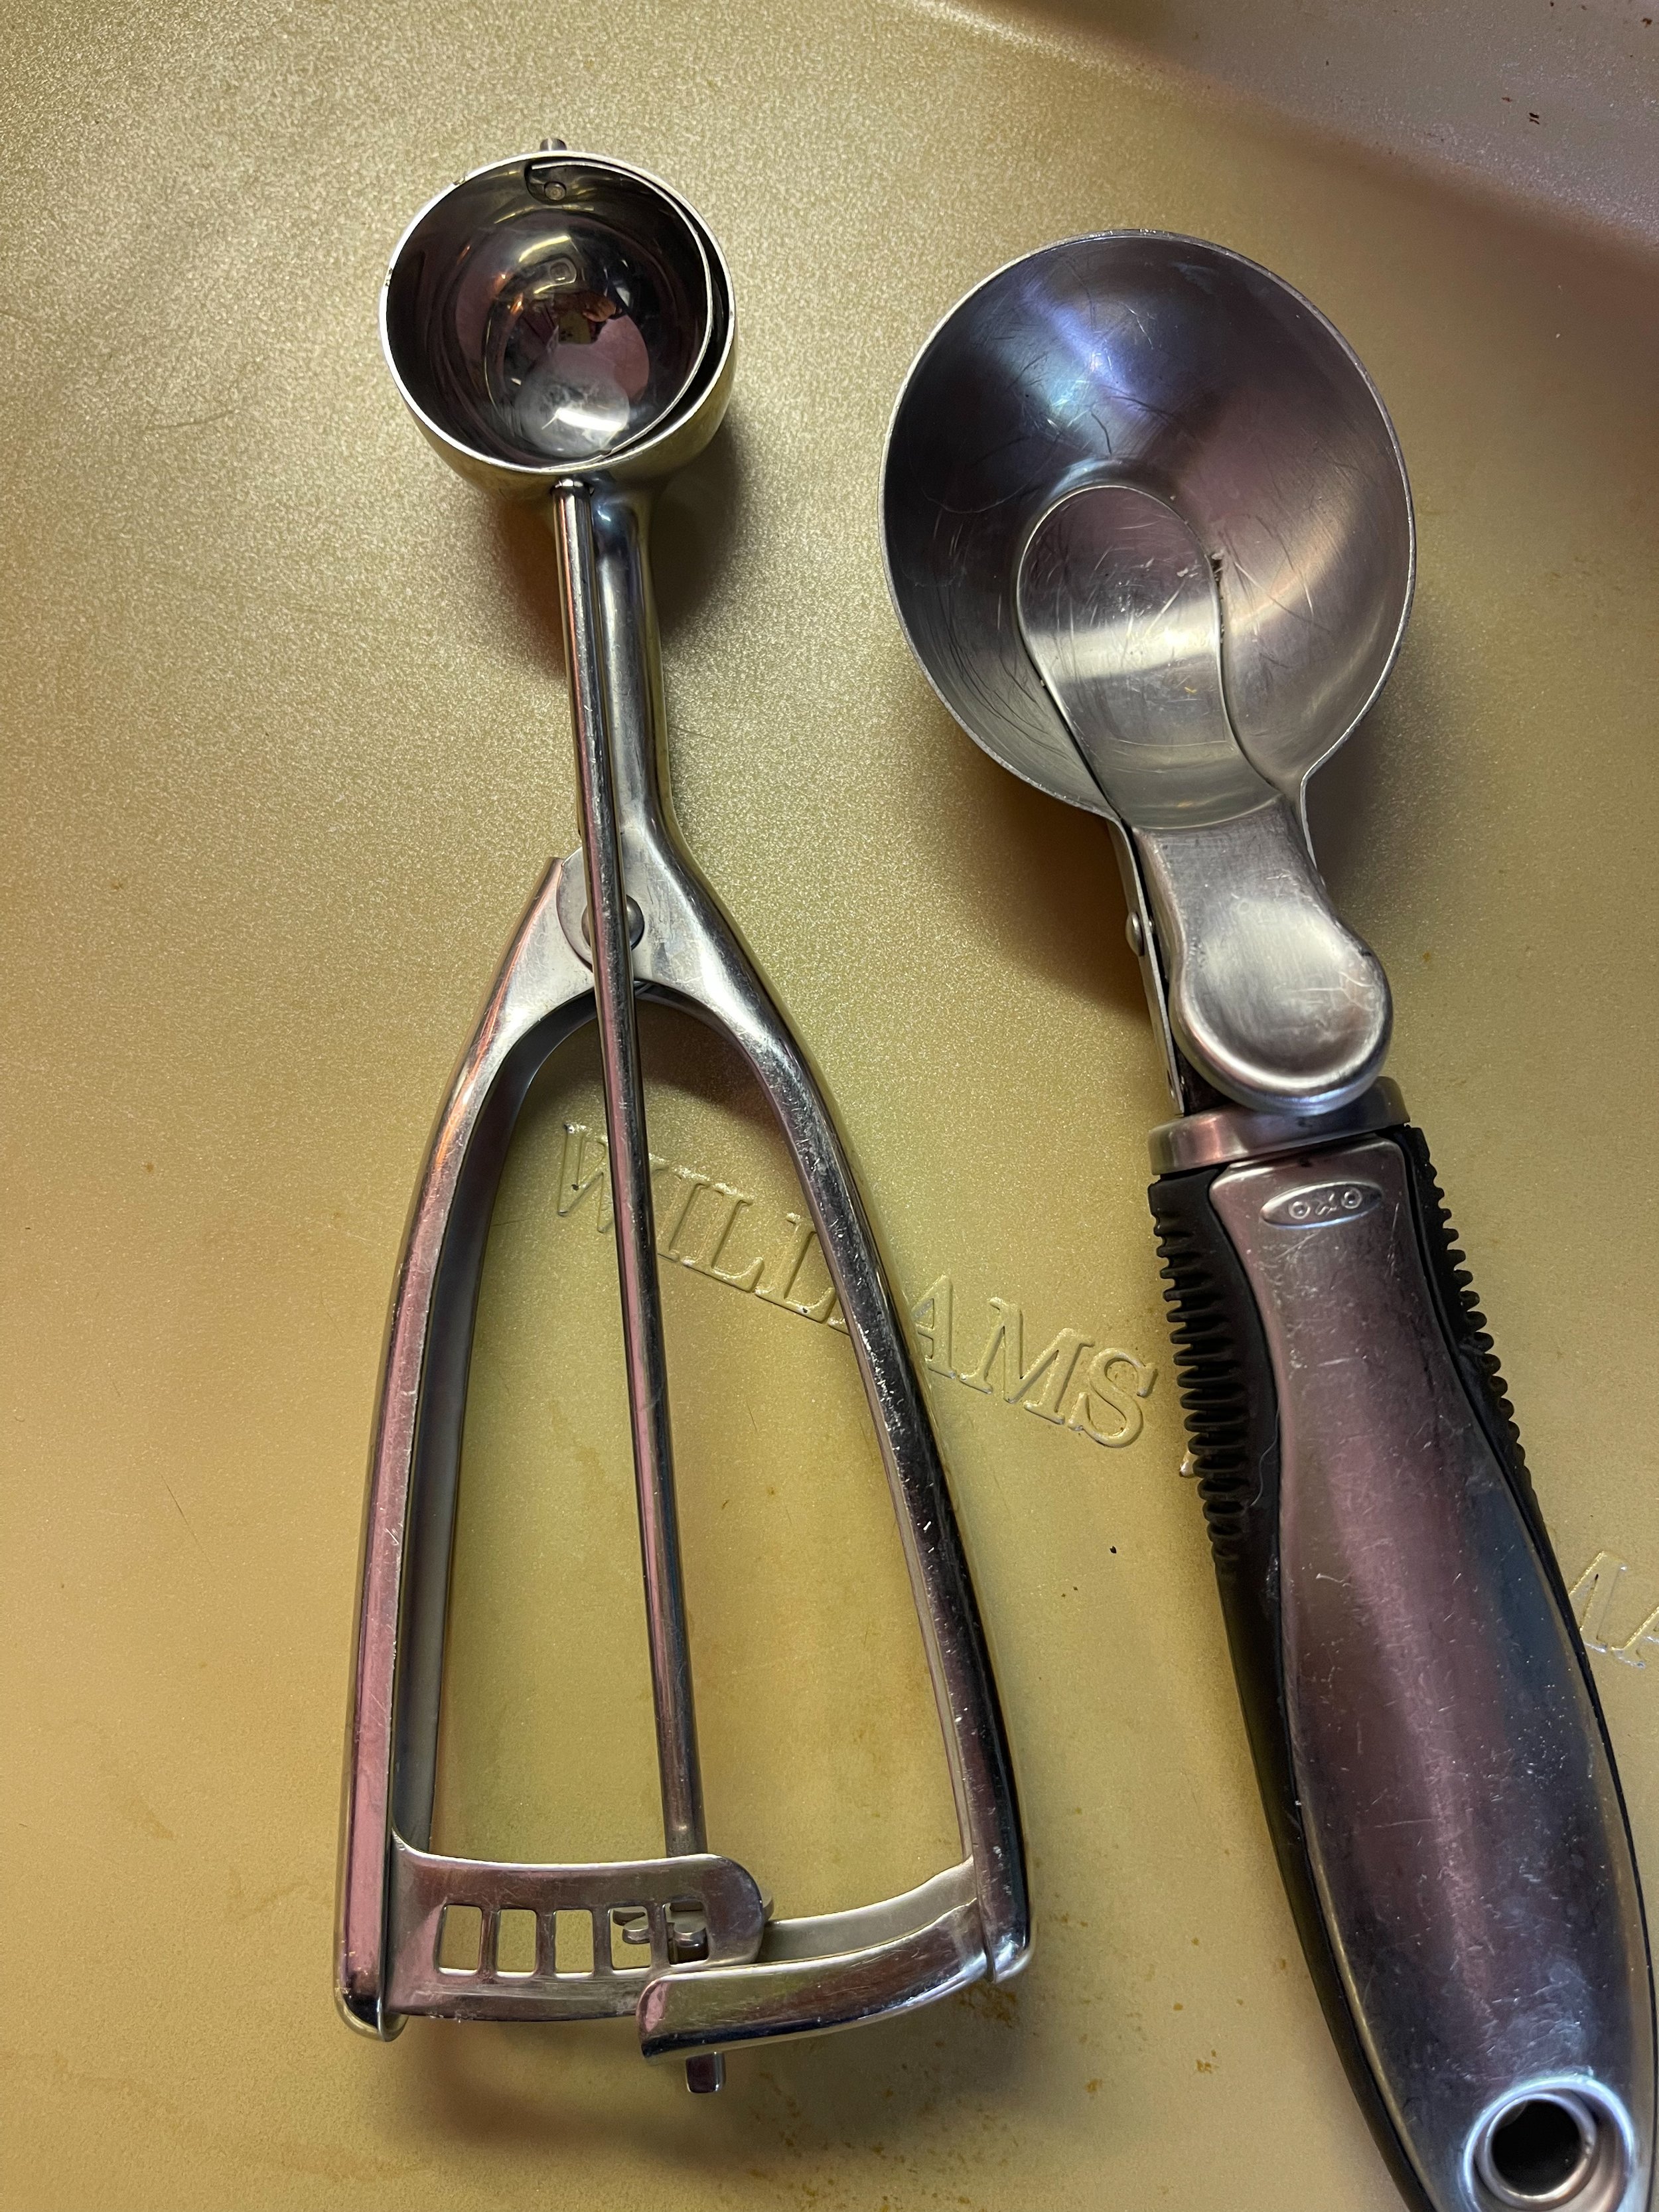
Forgive my wonky angled scoops. It’s driving me crazy. The scoop on the left is a traditional cookie scoop. They make them in varying sizes. Mine holds a tablespoon of dough.
For this one I am going to be using my ice cream scoop on the right to make big mama-jamma cookies. The scoop holds 1/4 cup of dough.
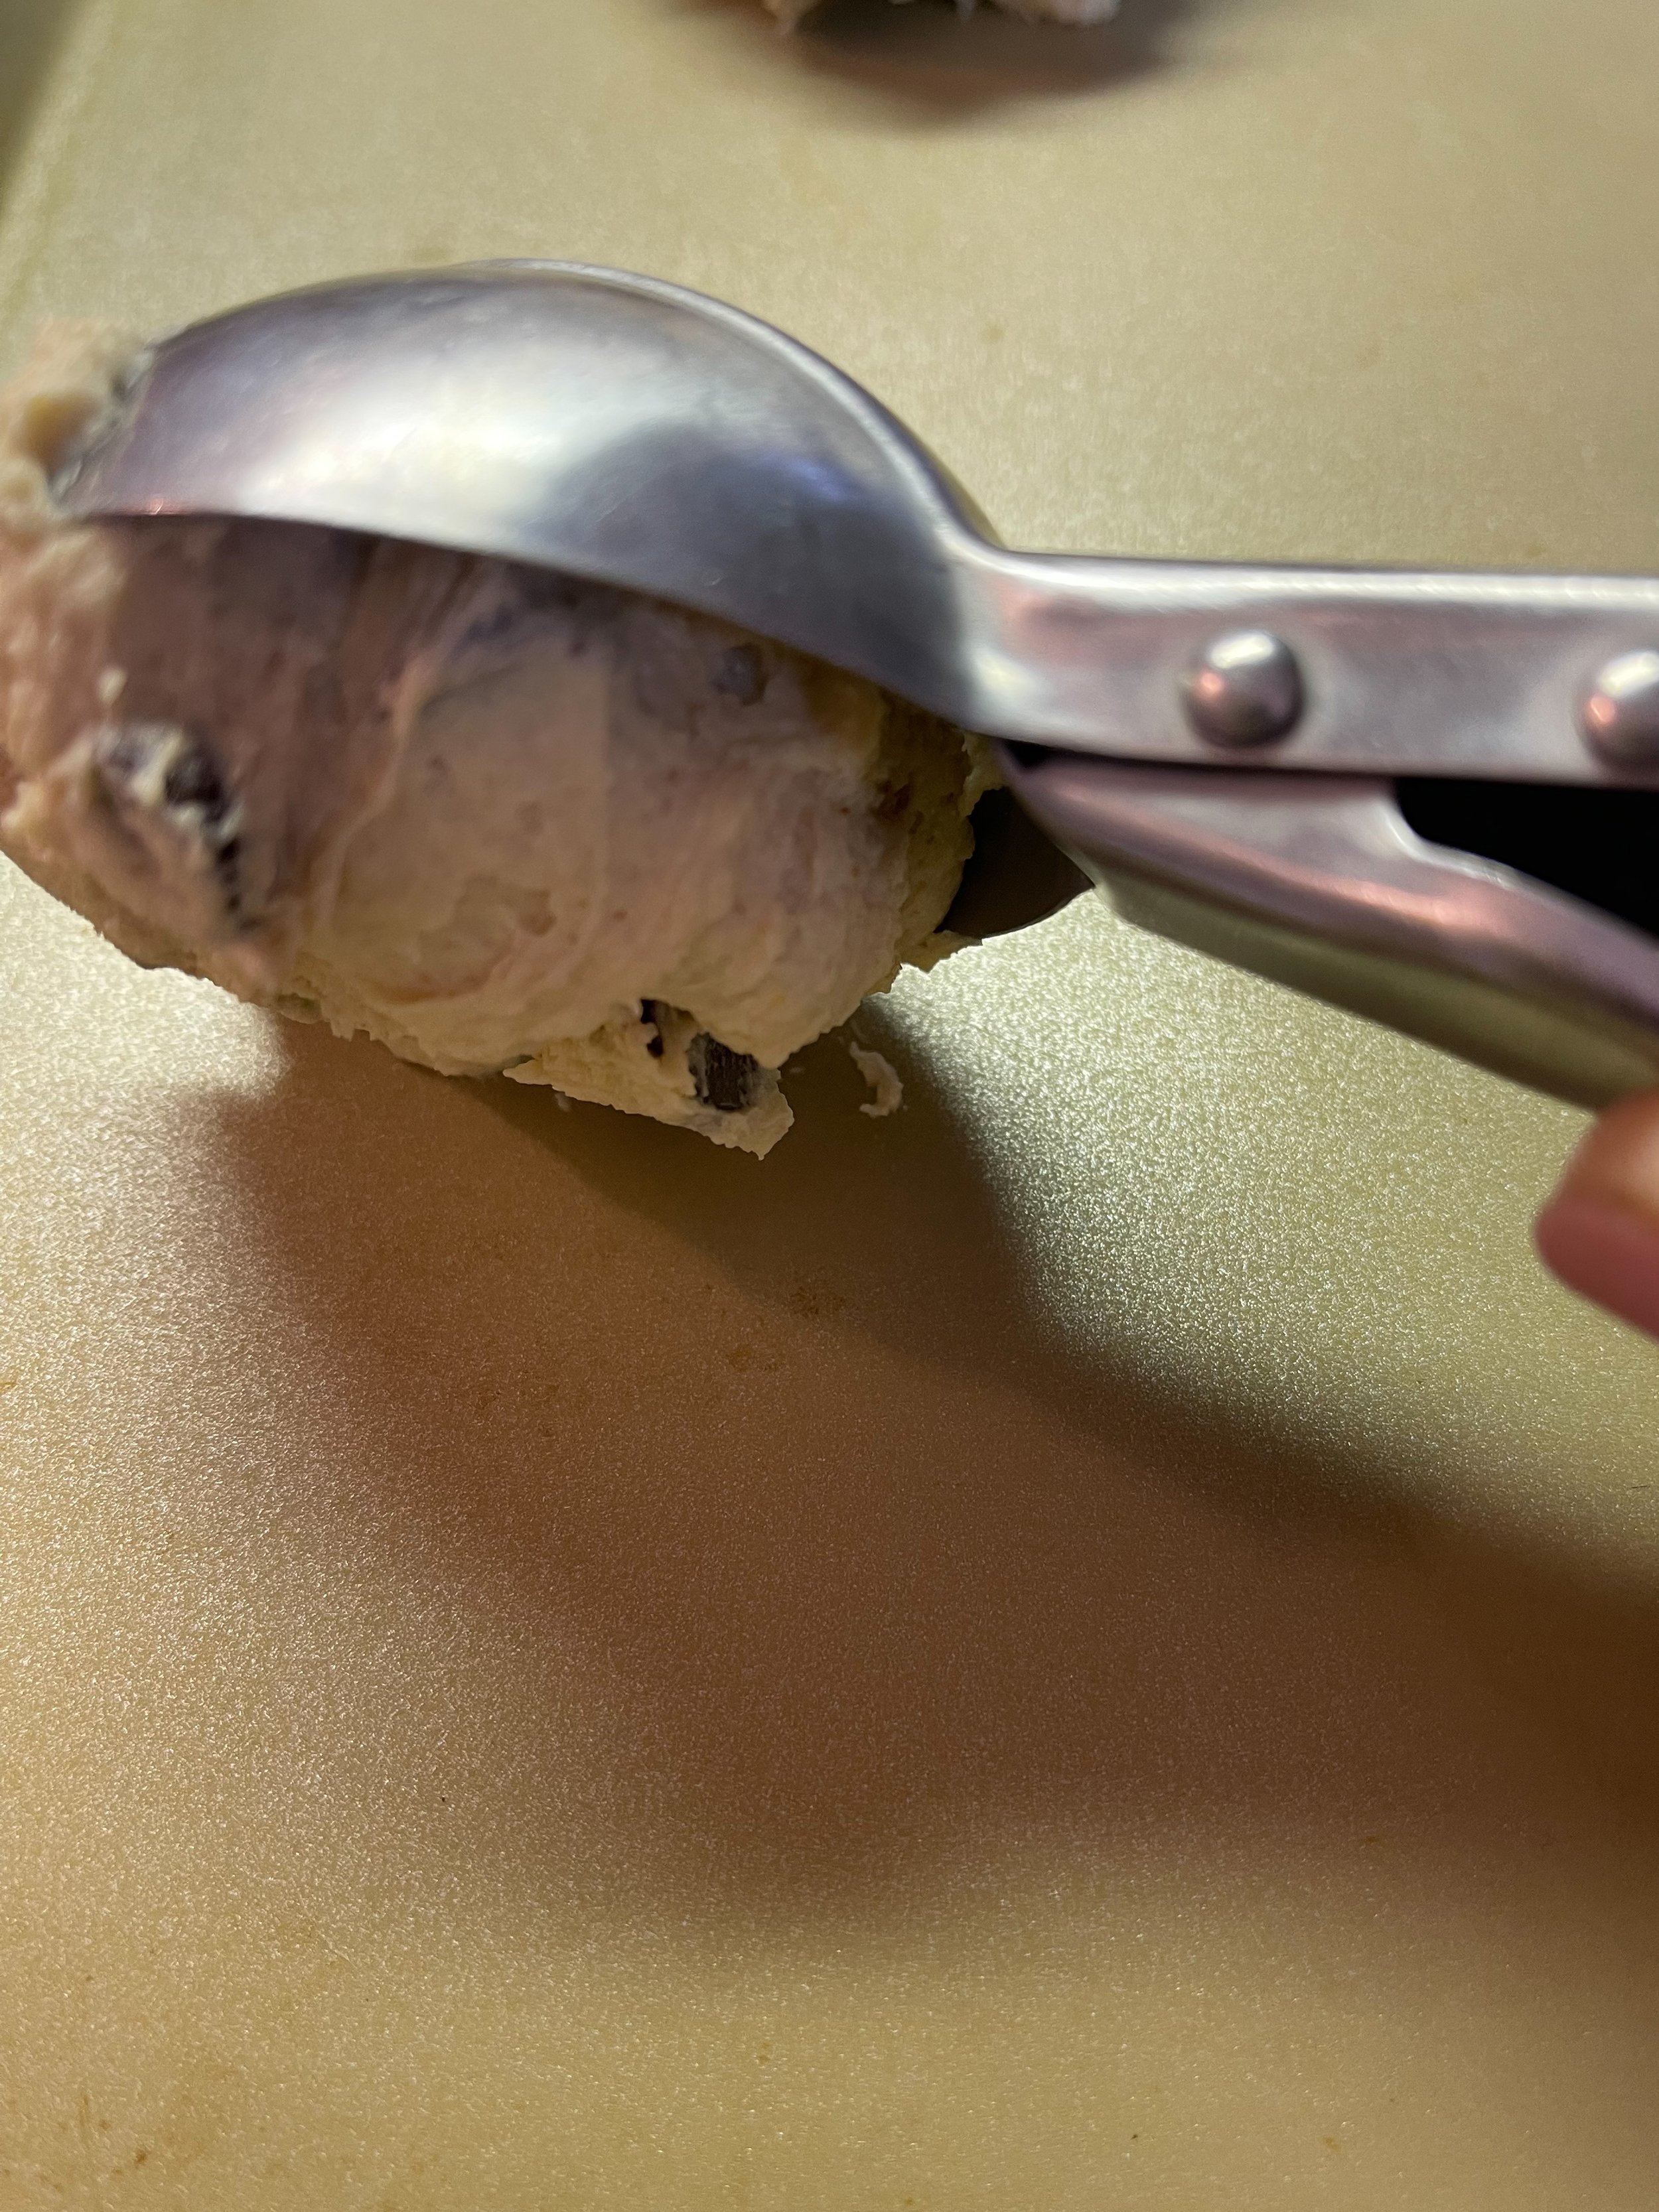
And then we scoop! You might have to use a spoon to coax it out of the scoop.
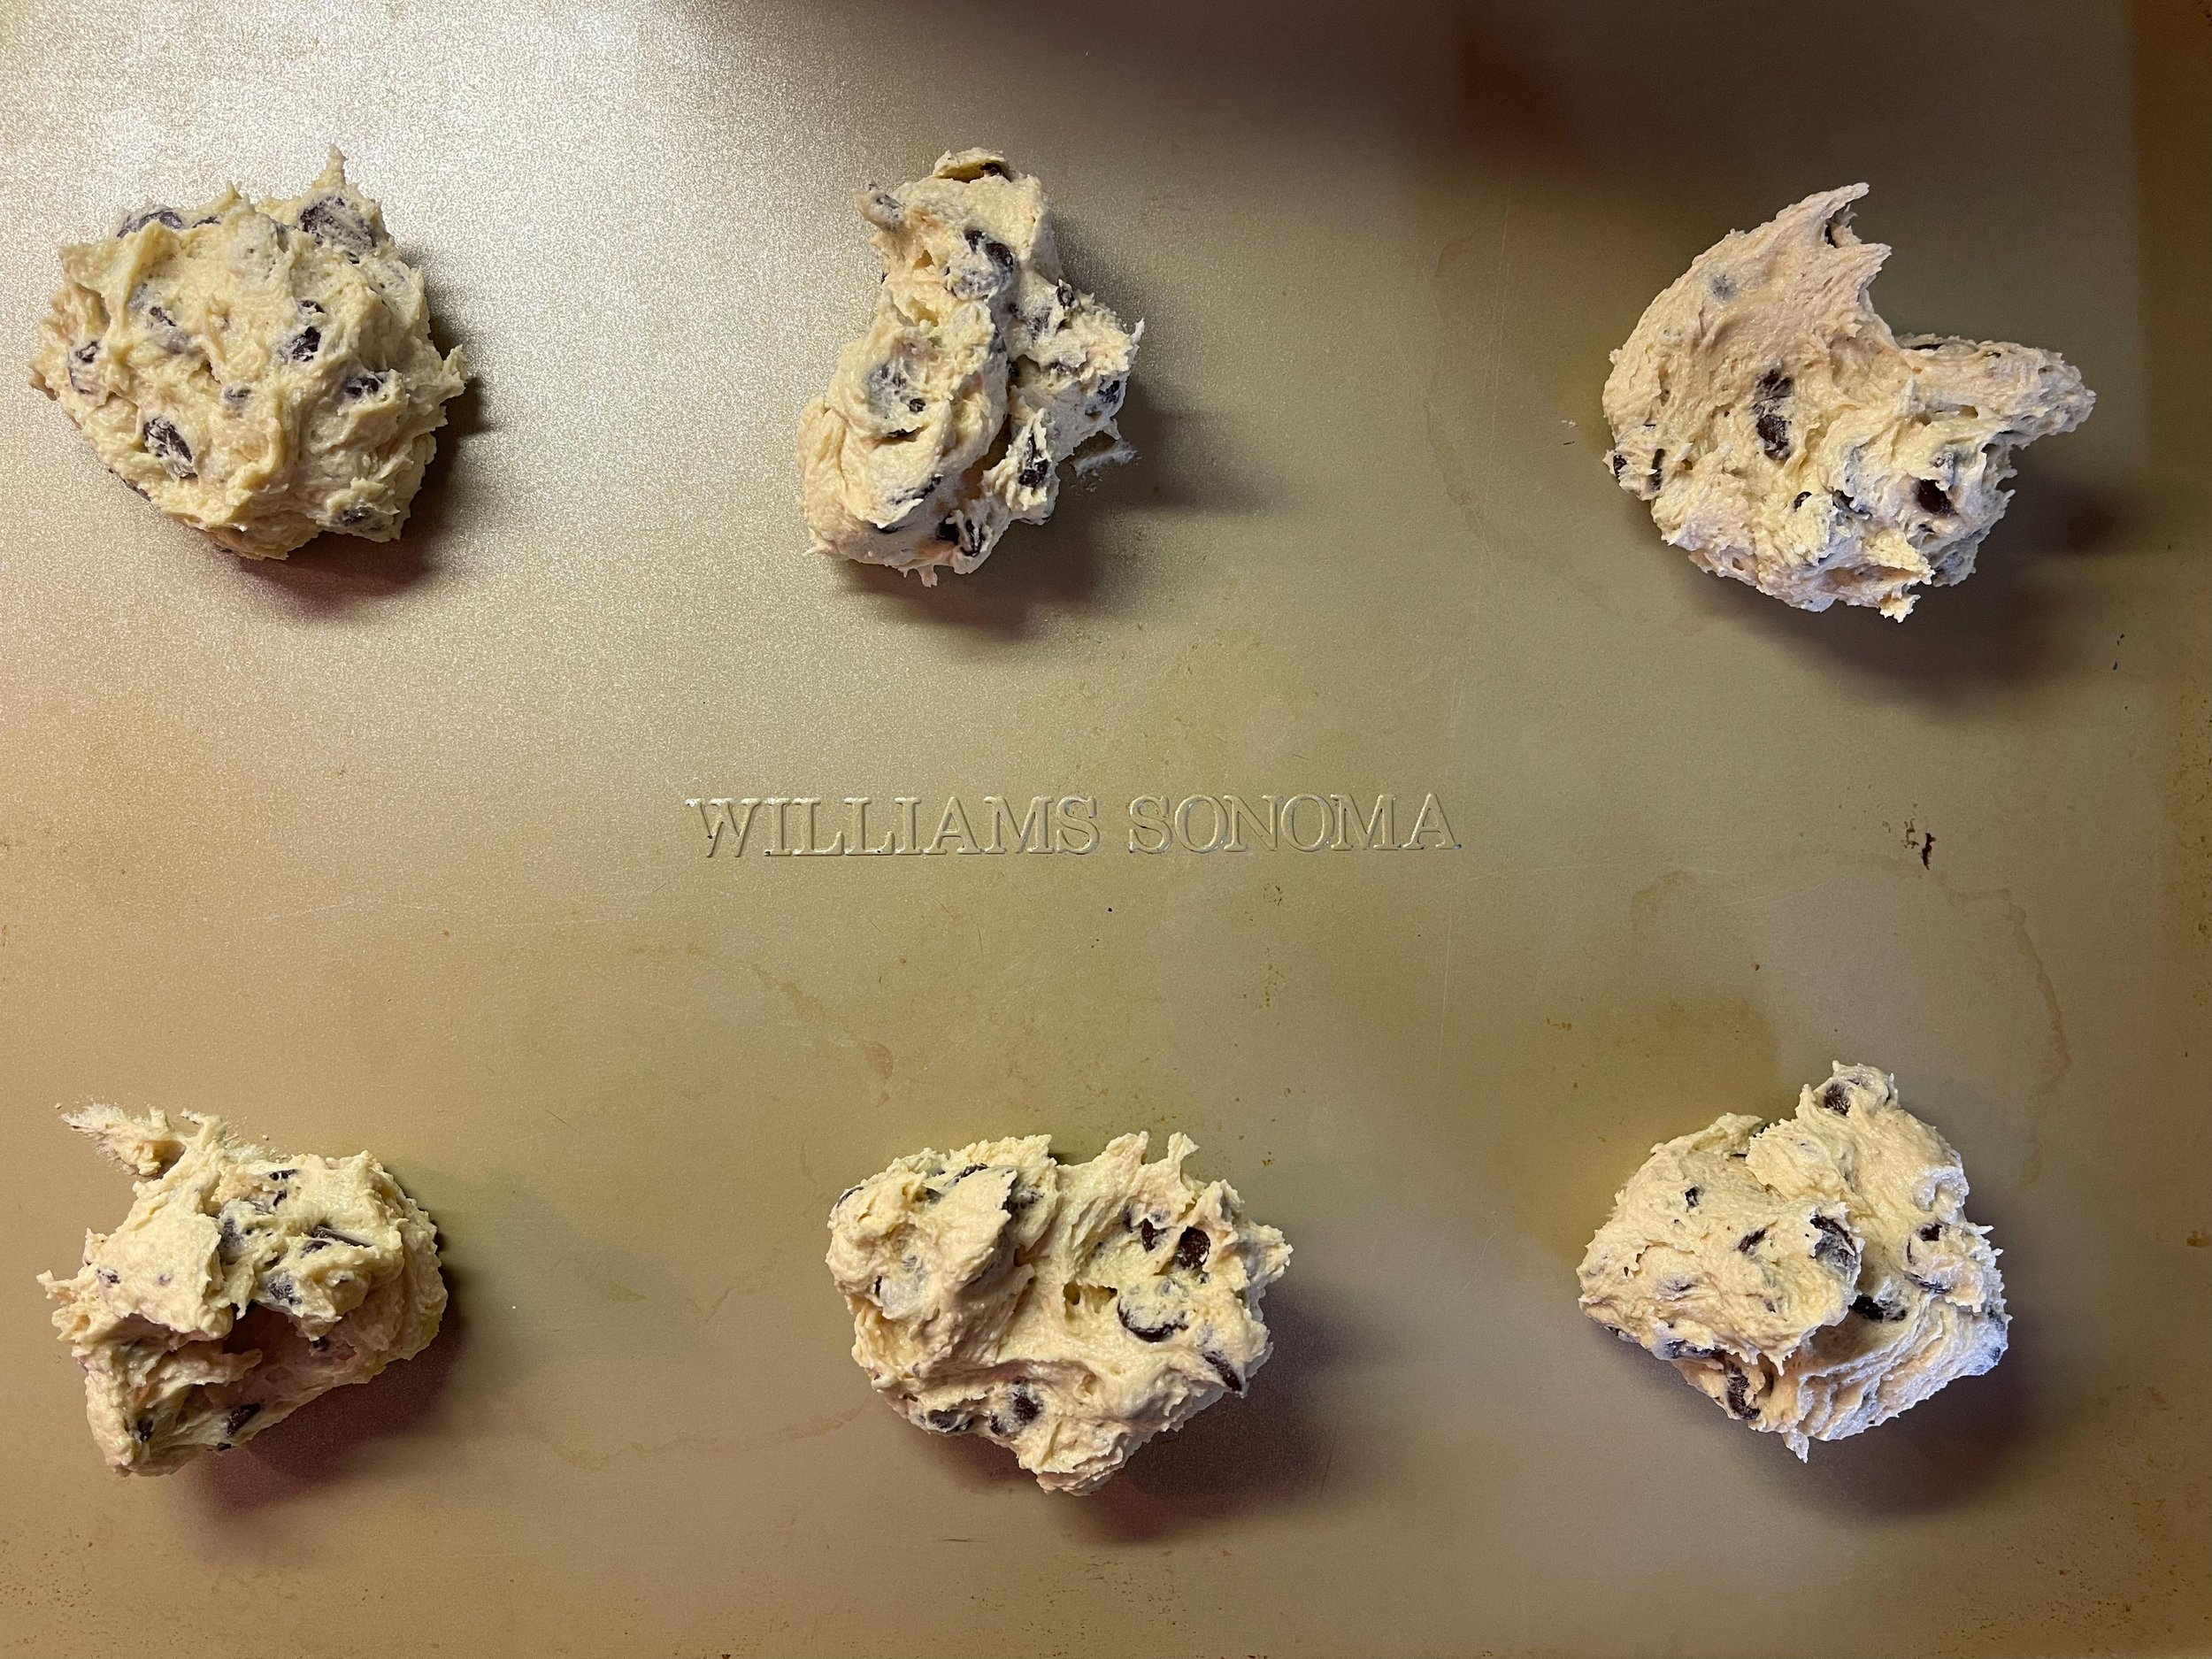
On a large sheet pan with 1/4 cup scoops, I put 6 cookies on a sheet. If you have a tablespoon sheet you can get 8, and with teaspoons (the measurement the OG recipe describes) you can fit 12 on a sheet.
Just make sure they are 2-ish inches apart because they do spread.
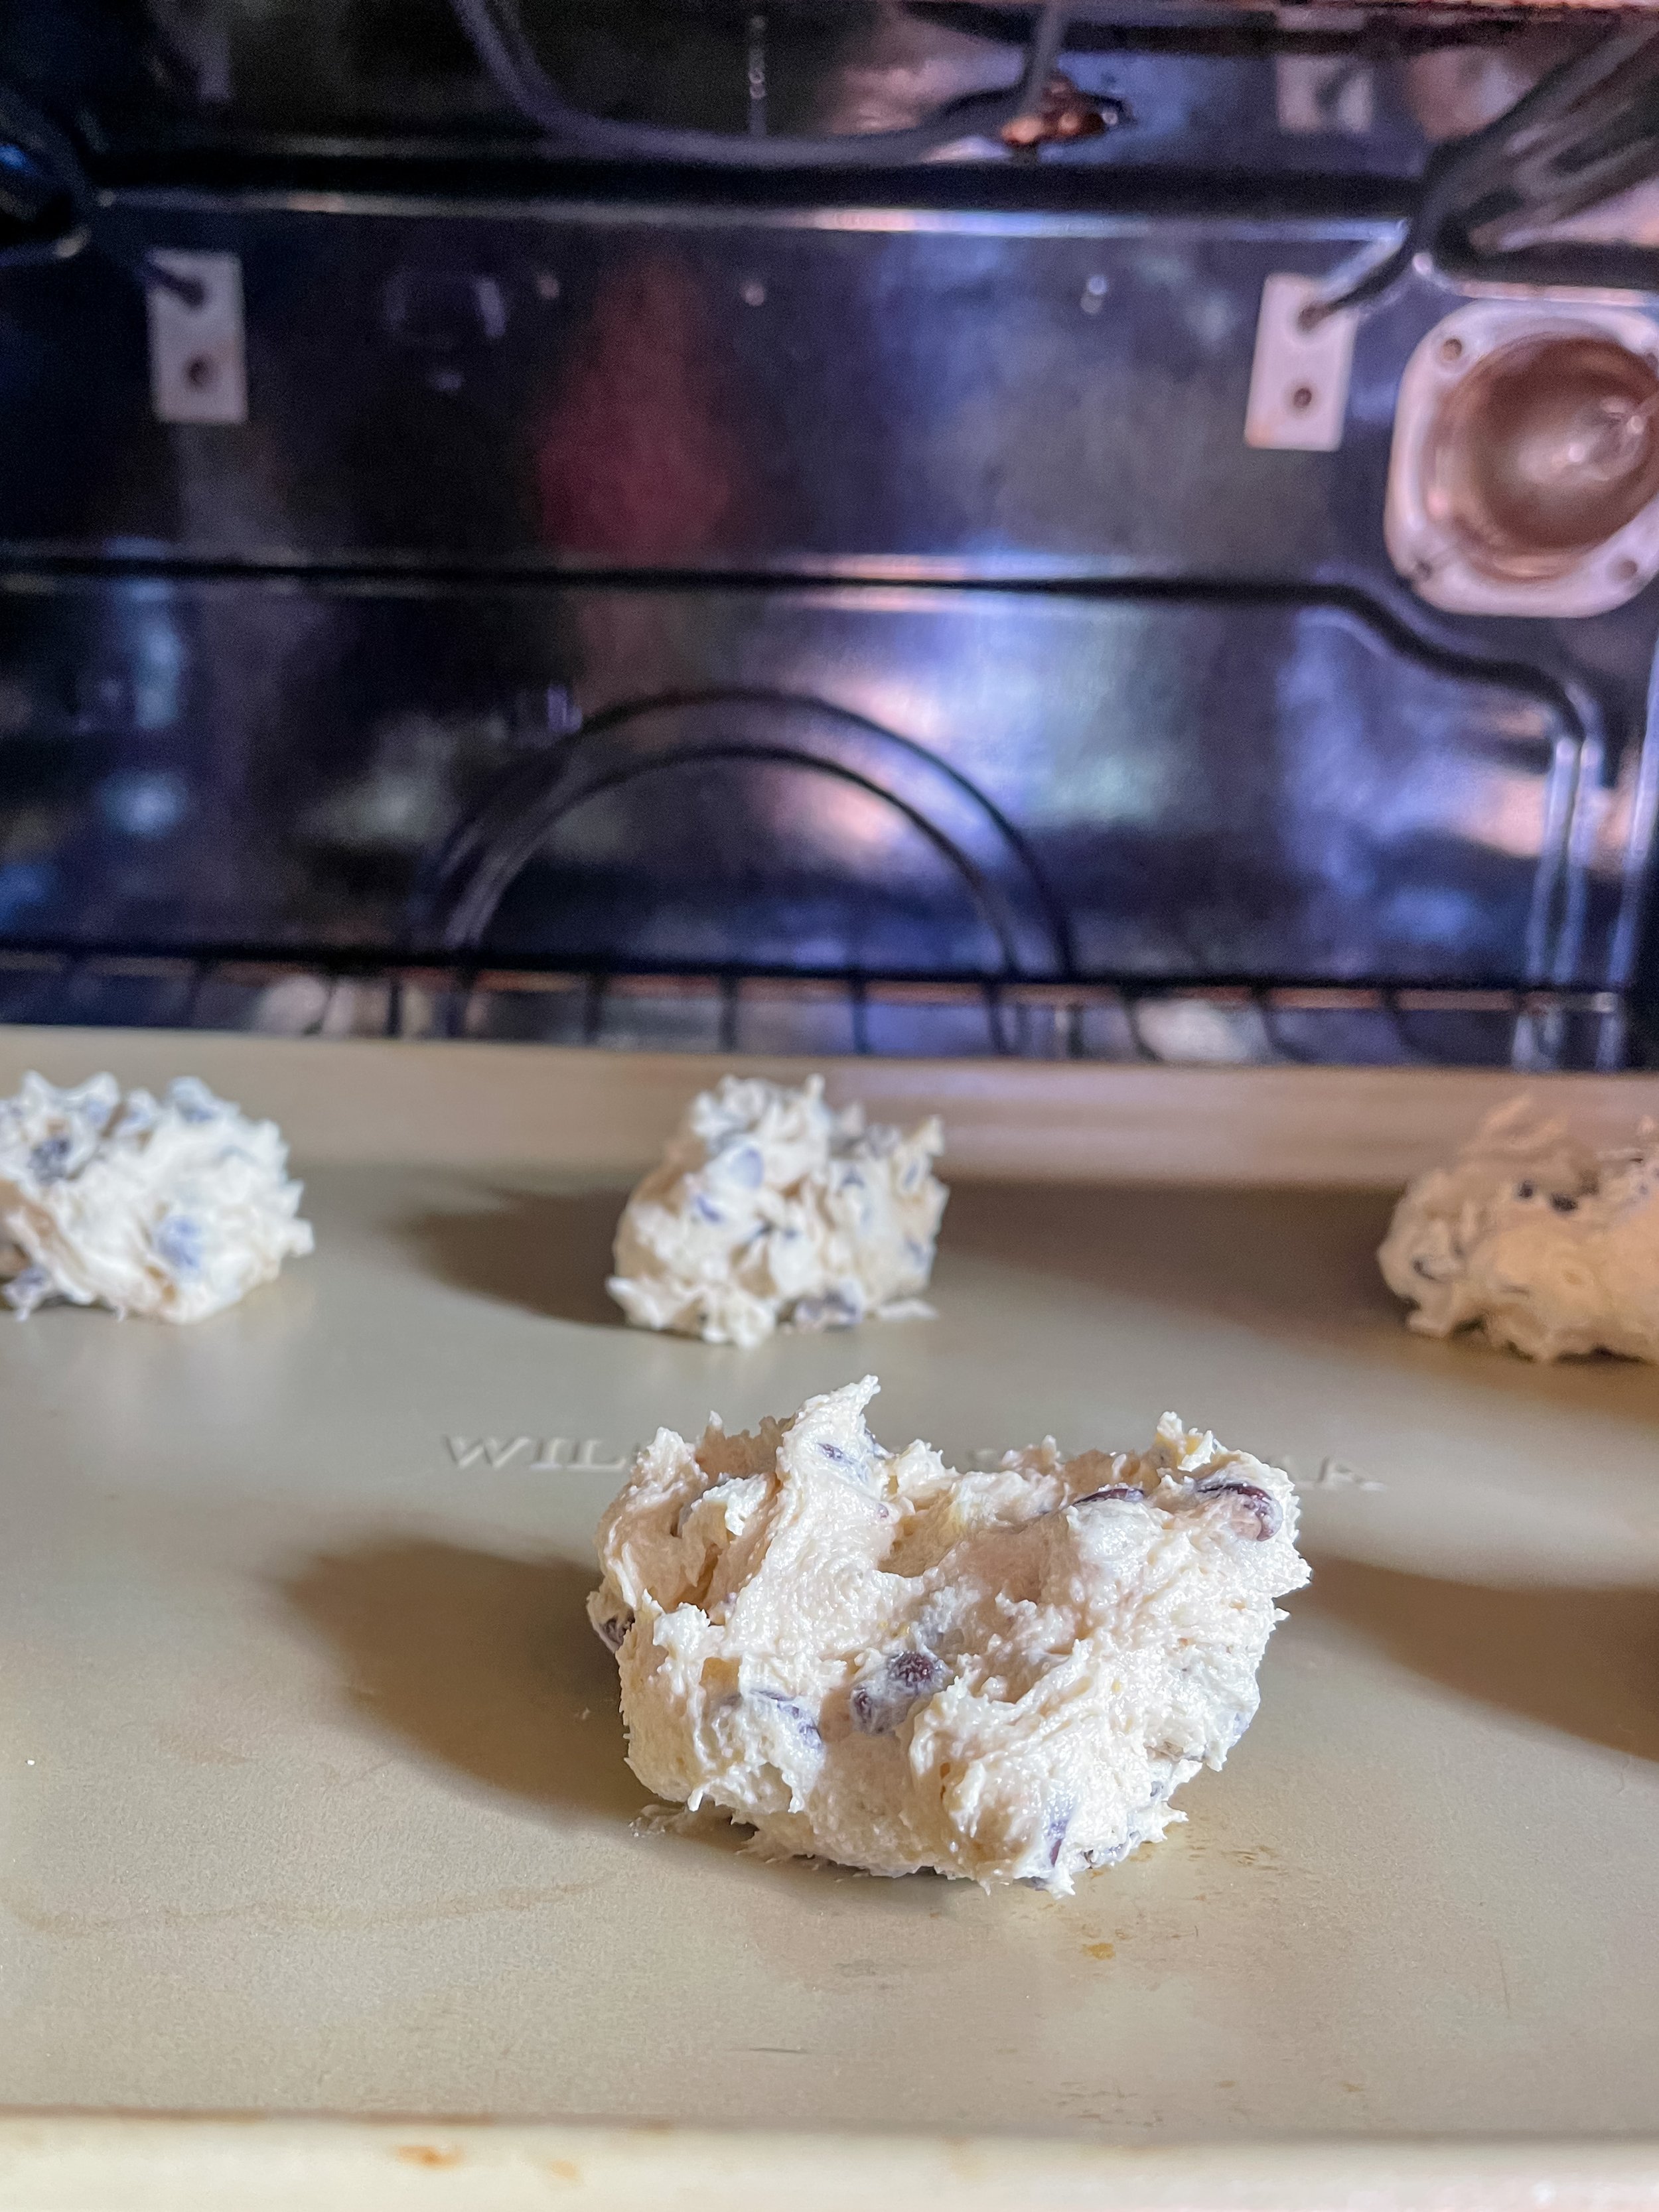
Into a 350 degree oven (what they call Betty Crocker temperature) they go.
God speed, little cookies. God speed!
The recipe says to bake 9-11 minutes. It’s going to depend on your oven. For mine, I usually bake the first batch for 10 minutes and then after that the heat has really banked up in the oven and I bake for 9 minutes each subsequent batch. Just keep an eye on them.
And voila! Chocolate chip cookies!
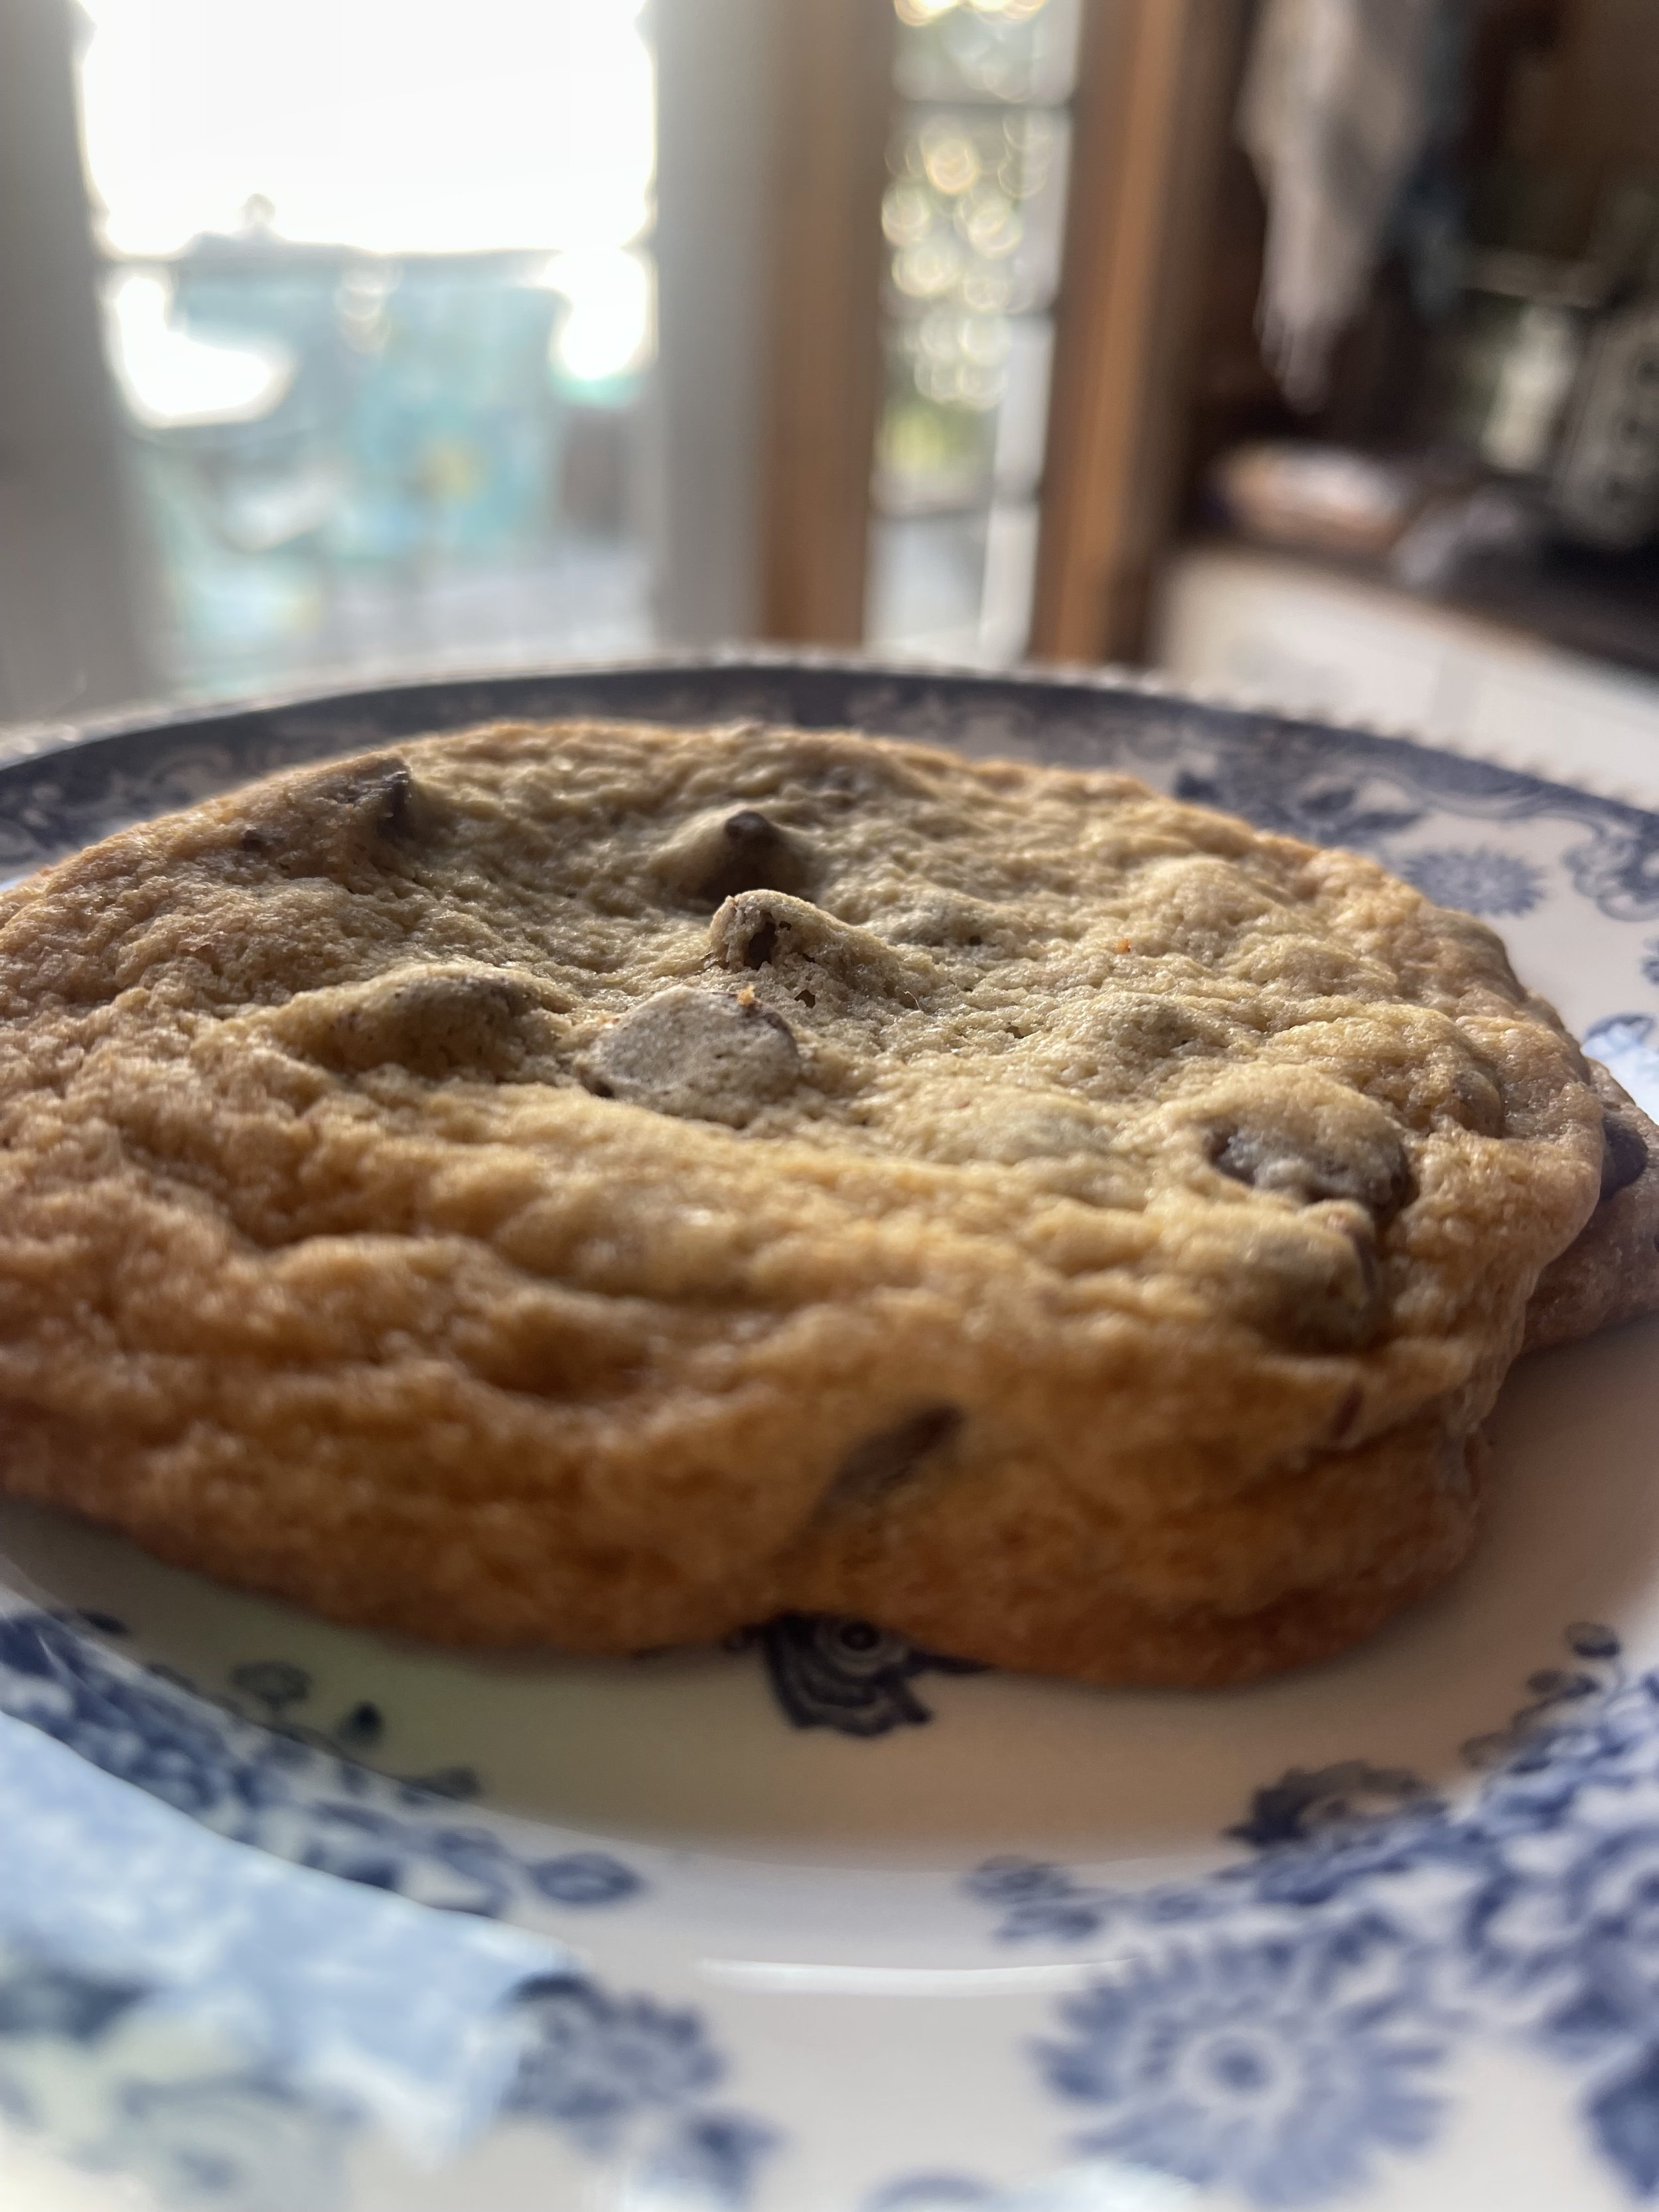
In typical Lindsay fashion I forgot to snap a photo of the baked cookies on the sheet. I keep the cookies on the cookie sheet for about 5 minutes before transferring to a cooling rack/plate/container. I find this helps them set up a bit more.
It’s totally up to how you like yours baked though. I like mine with a light brown, crisp edge (you can see in this photo) with a doughier center.
I hope you enjoyed this recipe and step-by-step instructions.
And I hope you all are having a fabulous Labor Day Weekend!
For your reading pleasure….